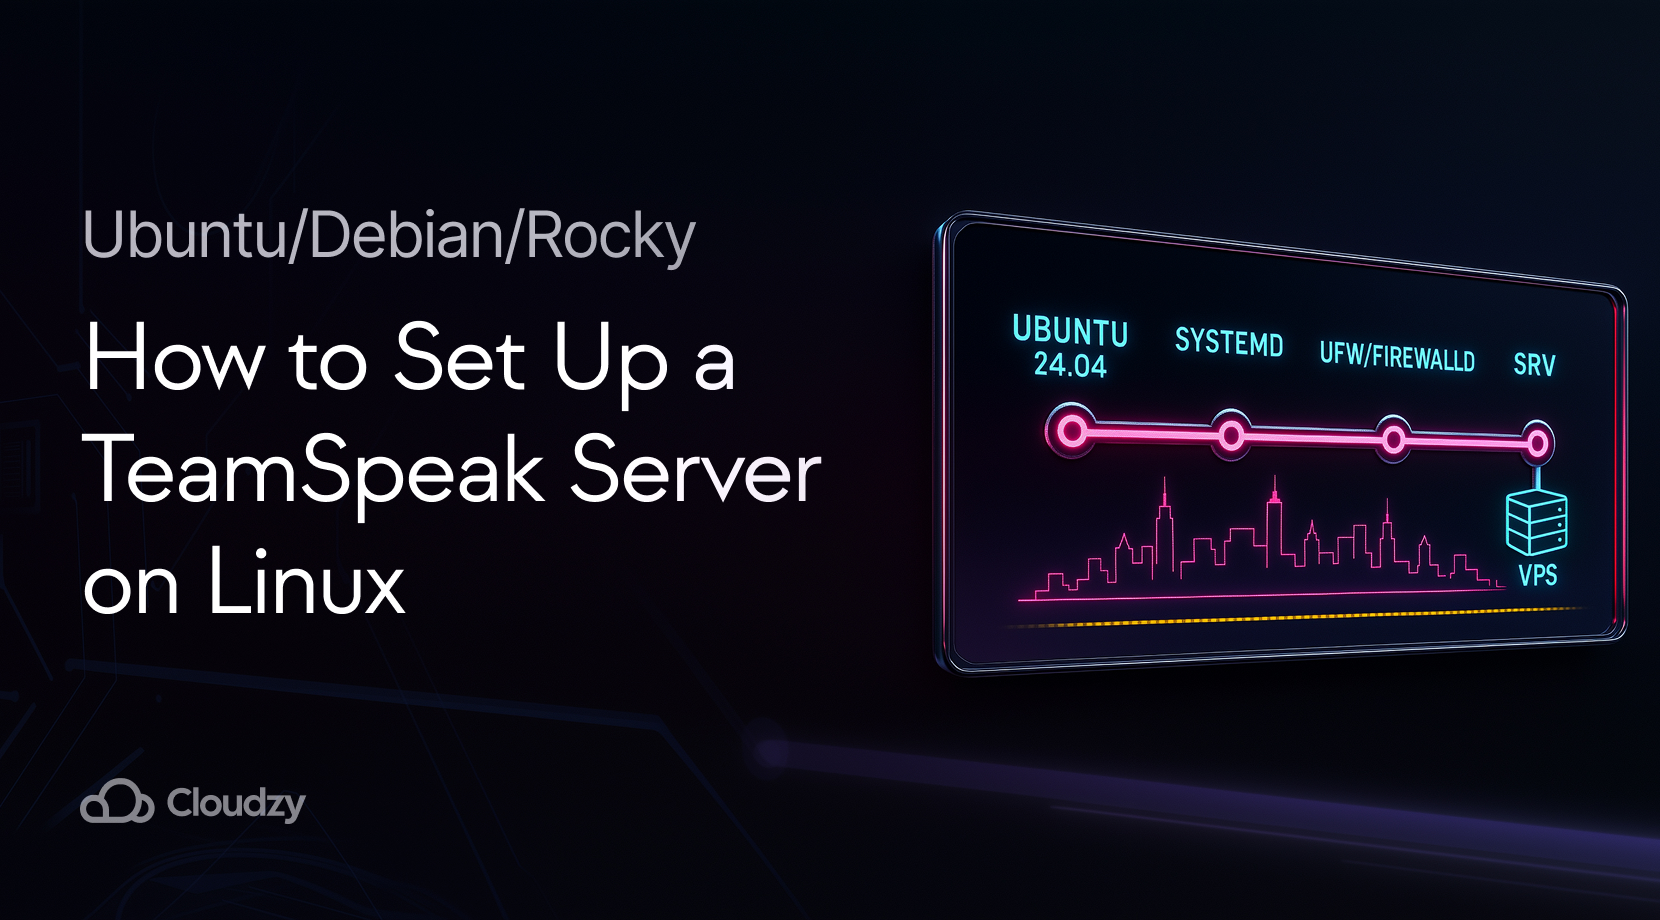
If you want private, low-latency voice with full control, you can set up a TeamSpeak server on Linux in minutes. This guide focuses on current LTS distros, a clean systemd service, and small but important security checks. You will start it as a dedicated user, open the right ports, claim the privilege key, and keep it running on boot. If you are on Windows, you can learn about installing a TeamSpeak server on a Windows Server in another one of our posts.
Prereqs: OS, Ports, and Access

Before you install anything, confirm the basics. A VPS or dedicated machine makes life easier, since residential ISPs often sit behind carrier-grade NAT (CGNAT) that blocks inbound traffic. Use an LTS image and a non-root user with sudo. You can set up a TeamSpeak server on Linux on Ubuntu 24.04 LTS, Debian 12, or Rocky/Alma 9; the steps are the same with small firewall changes.
You will need to allow the core ports. Voice runs on UDP 9987, file transfer is TCP 30033, and ServerQuery is TCP 10011. If you plan to use TSDNS, add TCP 41144, and for the legacy weblist, you may see UDP 2010 outbound. TeamSpeak documents SRV records so that you can map names to the correct target and port. For reference, see the official TeamSpeak Downloads page and port info to confirm current defaults:
If you host at home and your public IP belongs to CGNAT, outside users will not reach you, even with router port forwarding. Moving the service to a VPS avoids that roadblock and gives you a fixed IPv4. With the network picture clear, you can fetch the server files and prepare the service.
Download and Prepare the Server
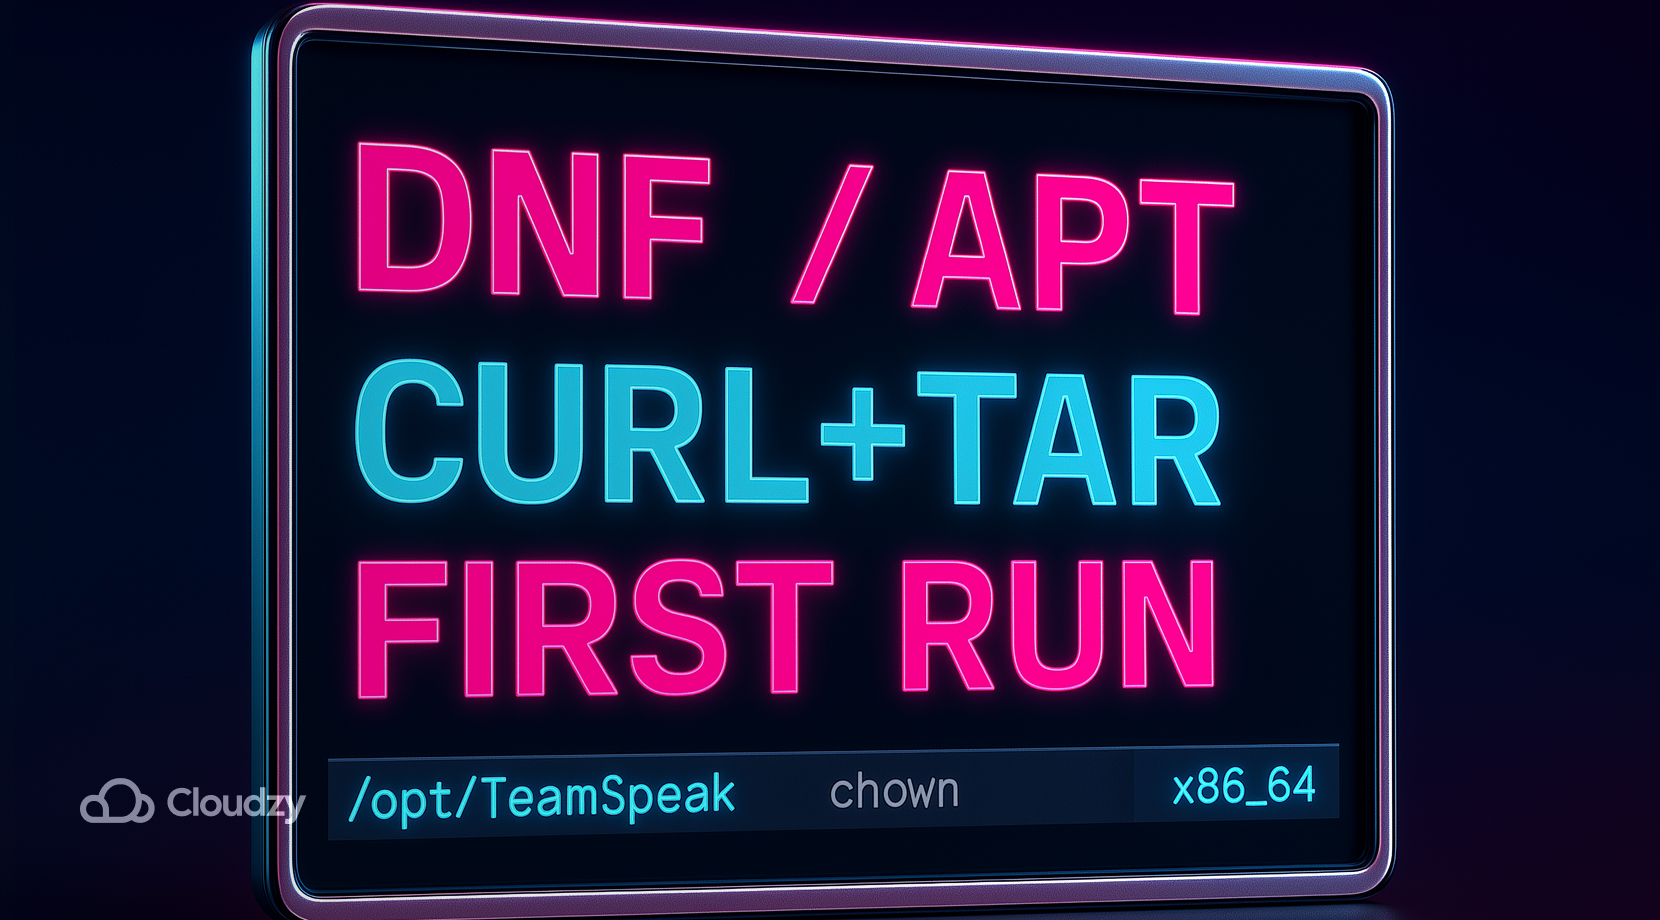
You will download the current 64-bit server, create a dedicated TeamSpeak user, accept the license, and do a one-time start to obtain the privilege key. These commands work across Ubuntu, Debian, and Rocky-based images.
- First, install archive helpers if needed, then add the user and directories:
- Ubuntu / Debian:
sudo apt update
sudo apt install -y bzip2 tar curl- Rocky / Alma:
sudo dnf install -y bzip2 tar curl
- Create the runtime user and folders:
sudo useradd -r -m -d /opt/TeamSpeak -s /usr/sbin/nologin TeamSpeak
sudo mkdir -p /opt/TeamSpeak
sudo chown -R TeamSpeak:TeamSpeak /opt/TeamSpeak
- Next, download the latest release and unpack it into /opt/TeamSpeak. The upstream server is 3.13.7 for Linux x86_64 as of this writing. Always check the official download page for updates and hashes.
cd /tmp
curl -LO https://files.TeamSpeak-services.com/releases/server/3.13.7/TeamSpeak3-server_linux_amd64-3.13.7.tar.bz2
tar xvjf TeamSpeak3-server_linux_amd64-3.13.7.tar.bz2
sudo rsync -a TeamSpeak3-server_linux_amd64/ /opt/TeamSpeak/
sudo chown -R TeamSpeak:TeamSpeak /opt/TeamSpeak
- Accept the license with a file or environment variable. The simplest method on a VM is a small marker file in the TeamSpeak home, then a first run under the TeamSpeak account to generate the admin token.
sudo -u TeamSpeak touch /opt/TeamSpeak/.ts3server_license_accepted
sudo -u TeamSpeak /opt/TeamSpeak/ts3server_minimal_runscript.sh
- Watch the terminal output and write down the “token” line. This key lets you claim admin in the client. Stop the process with Ctrl+C. With binaries in place and the token saved, convert it into a managed service.
A single, clean layout works across distros, so you can set up a TeamSpeak server on Linux once and reuse the playbook for future nodes.
Make it a Service with systemd
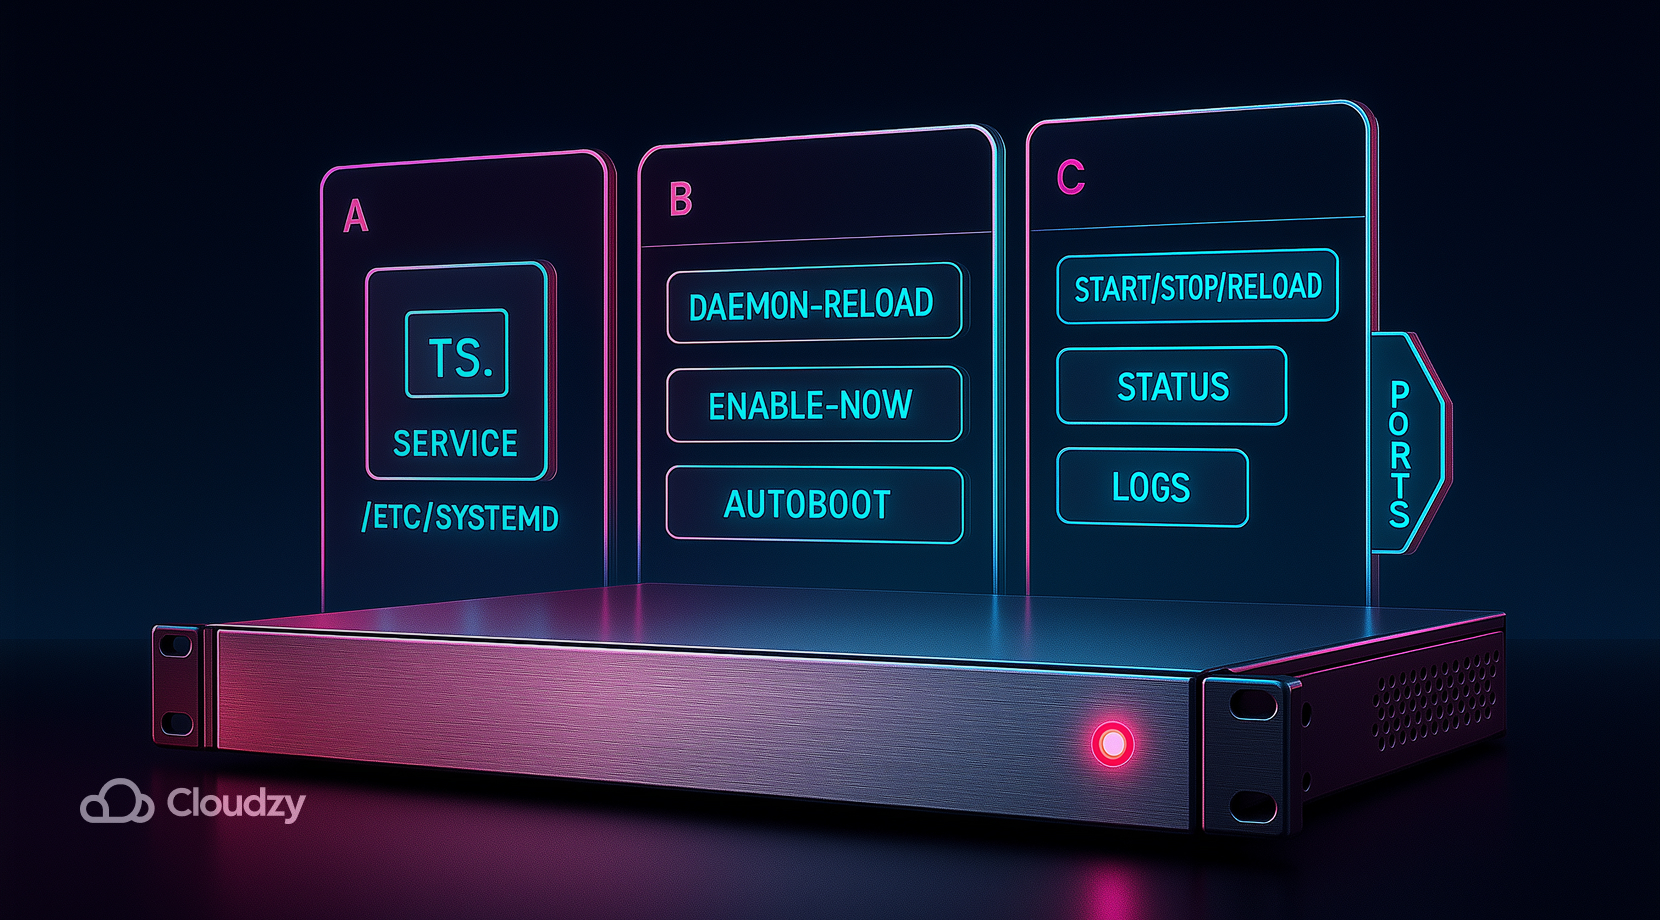
A proper unit gives you start, stop, restart, logs, and auto start at boot. Create a minimal systemd service that points to the installed folder and runs as the unprivileged user. The TeamSpeak community documents Linux service units in depth.
- Create the unit file:
sudo tee /etc/systemd/system/TeamSpeak.service >/dev/null << 'EOF'
[Unit]
Description=TeamSpeak 3 Server
Wants=network-online.target
After=network.target
[Service]
WorkingDirectory=/opt/TeamSpeak
User=TeamSpeak
Type=forking
PIDFile=/opt/TeamSpeak/ts3server.pid
ExecStart=/opt/TeamSpeak/ts3server_startscript.sh start inifile=ts3server.ini
ExecStop=/opt/TeamSpeak/ts3server_startscript.sh stop
ExecReload=/opt/TeamSpeak/ts3server_startscript.sh restart
Restart=always
RestartSec=15
[Install]
WantedBy=multi-user.target
EOF
- Reload systemd and enable the service:
sudo systemctl daemon-reload
sudo systemctl enable --now TeamSpeak
- Check the service and capture the token again if needed:
sudo systemctl status TeamSpeak --no-pager
journalctl -u TeamSpeak -n 50 --no-pager
Now that the service is running, open the necessary ports so clients can reach the voice, query, and file transfer endpoints. Once the server is under systemd, you can install a TeamSpeak server on Linux on any VPS and count on auto-restart after reboots or crashes.
Open the Firewall, UFW, or firewalld
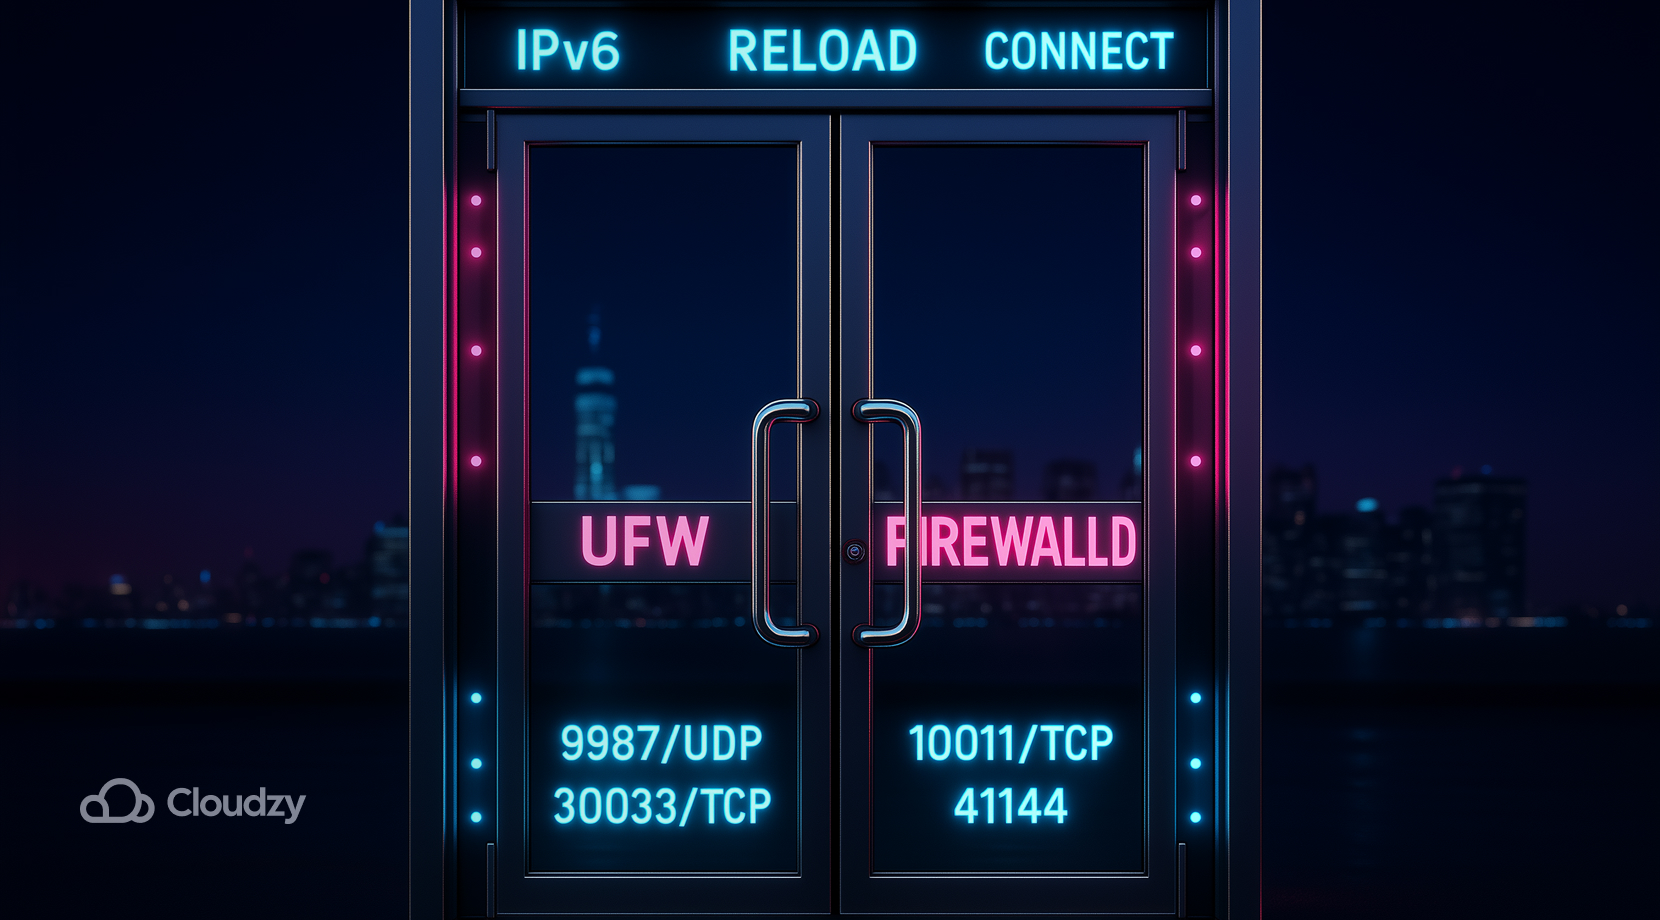
Open the voice, file transfer, and query ports. On Ubuntu, you will likely use UFW. On Rocky or Alma, the default is firewalld.
UFW example:
sudo ufw allow 9987/udp comment "TeamSpeak voice"
sudo ufw allow 30033/tcp comment "TeamSpeak file transfer"
sudo ufw allow 10011/tcp comment "TeamSpeak ServerQuery"
sudo ufw reload
firewalld example:
sudo firewall-cmd --permanent --add-port=9987/udp
sudo firewall-cmd --permanent --add-port=30033/tcp
sudo firewall-cmd --permanent --add-port=10011/tcp
sudo firewall-cmd --reload
If you plan to use TSDNS, add 41144/tcp. If you publish your server in the legacy weblist, allow 2010/udp outbound.
IPv6 note: repeat rules for IPv6 if your host has it; the client can reach you over v4 or v6. With network rules in place, connect from the client and claim admin.
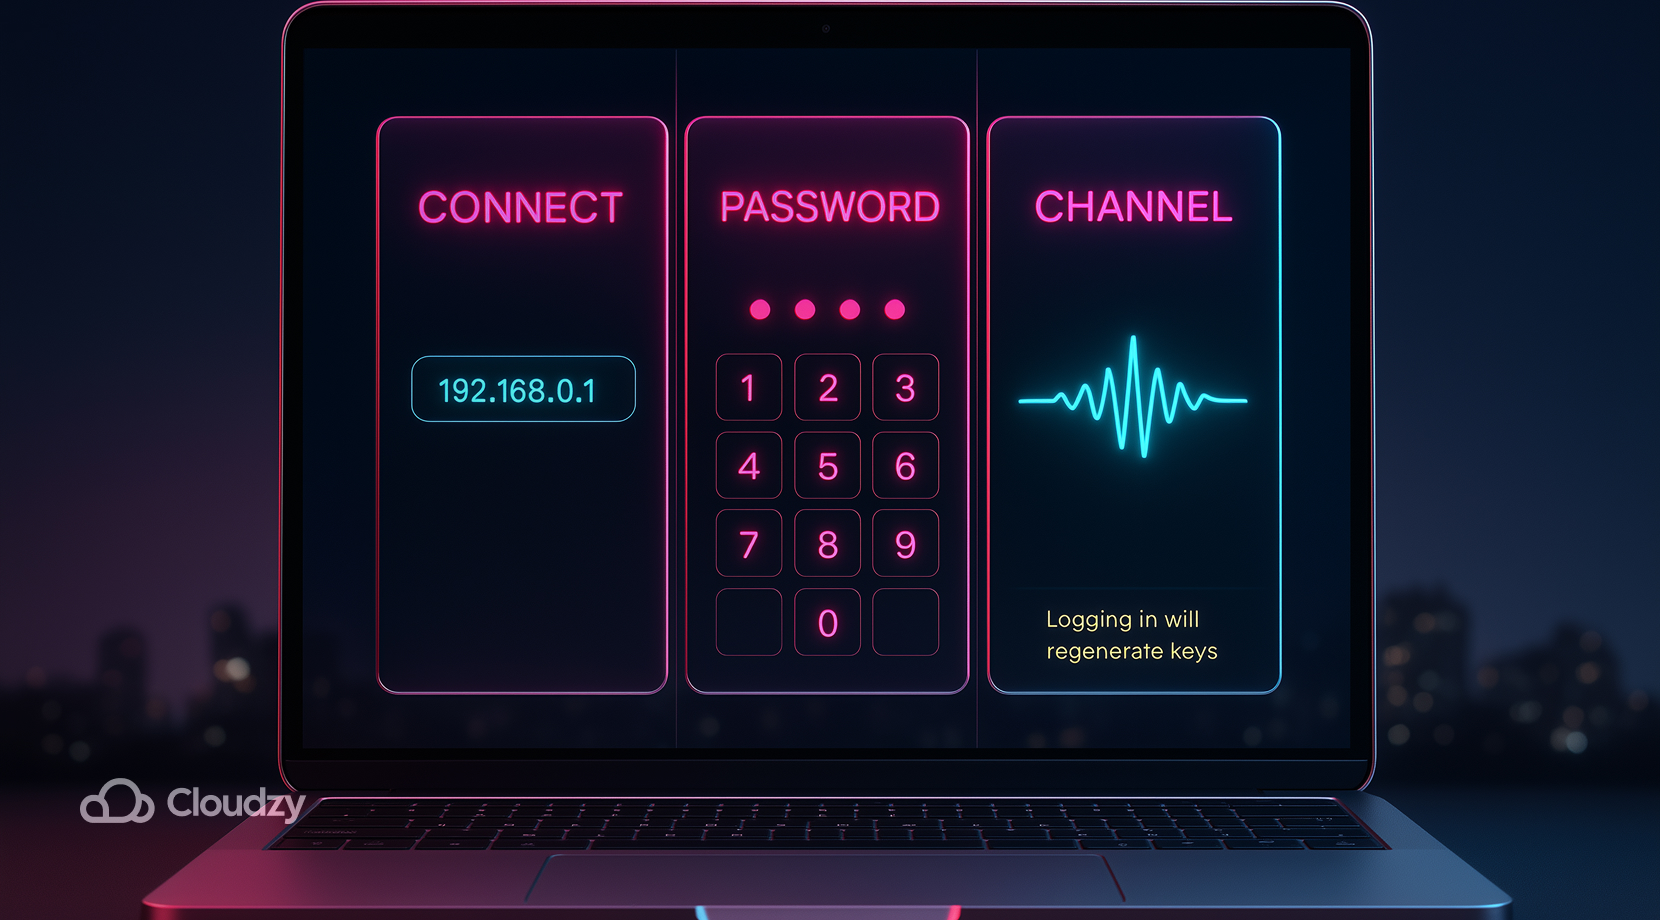
Connect and Claim Admin
Here is a quick reference table for the defaults. You can change these in configuration, but most setups keep them as written.
| Port | Proto | Purpose |
| 9987 | UDP | Voice traffic for channels |
| 30033 | TCP | File transfer service |
| 10011 | TCP | ServerQuery interface |
| 41144 | TCP | TSDNS helper, optional |
| 2010 | UDP | Legacy public server list, out |
TeamSpeak’s port info and SRV guidance confirm these defaults. Once ports are solid, the fastest wins come from quick fixes for common connection problems.
Troubleshooting: Can’t Connect, Token Missing, CGNAT

Use a short runbook so you can go straight from symptom to action. These checks apply regardless of distro as long as you set up a TeamSpeak server on Linux with systemd. Many fixes are the same across any TeamSpeak Linux server install.
- Client times out from the internet, but local LAN works: Verify that UDP 9987 is open on the server firewall and forwarded on any upstream router. Check logs for “listening on 0.0.0.0:9987” to confirm the voice socket.
- Outside users cannot connect, even with forwarding: Check if your ISP assigns a 100.64.0.0/10 address to your WAN. That hints at CGNAT. Hosting on a VPS avoids that block and keeps a static IPv4 that maps cleanly to clients.
- Privilege key lost: Read service logs and search for “token” or restart once to generate a fresh key. Capture it in your password manager.
- Service fails to start: Recheck WorkingDirectory, User, and paths in your unit. A mismatch prevents the PID file from being written. The example shown earlier is a stable baseline.
- File uploads fail: Open TCP 30033 and confirm the file transfer port has not been altered in configuration. The client learns this value during the voice handshake.
Now that you’ve got the basics healthy, add a domain so users connect by name rather than an IP and port.
Optional: Domain and SRV or TSDNS
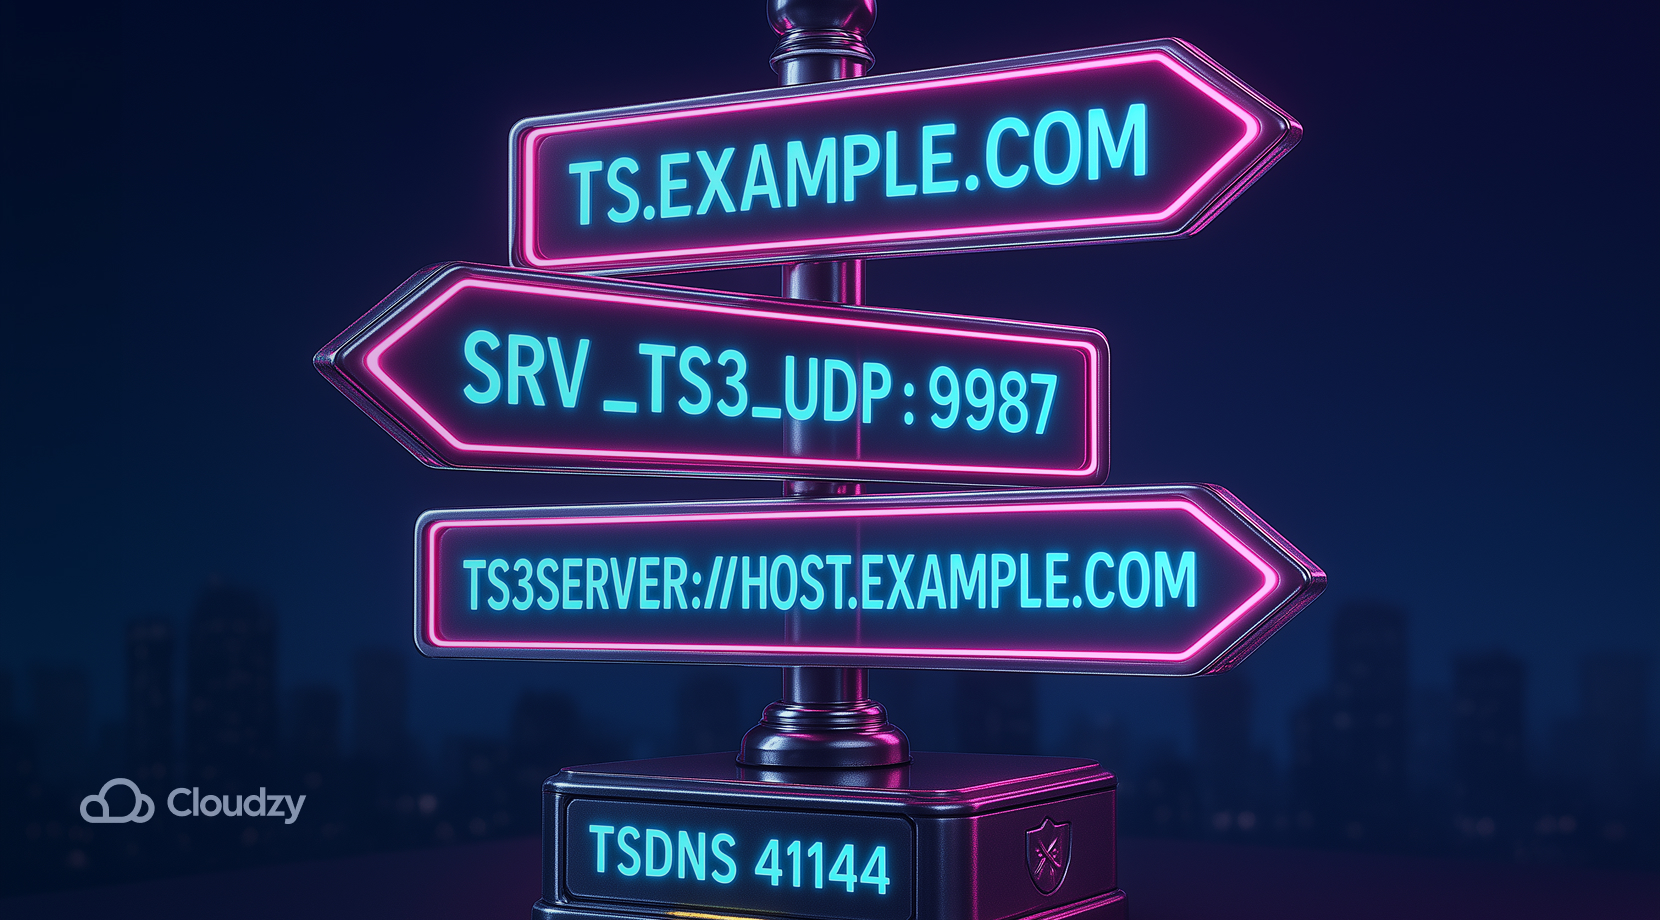
You can map a friendly name to your voice endpoint with a DNS SRV record. Create an A record for the target, then add an SRV entry like this:
_ts3._udp.play.example.com. 3600 IN SRV 0 5 9987 ts.example.com.
Clients will resolve the SRV and connect without needing a port in the address. TeamSpeak also supports a TSDNS service on 41144/tcp for custom name mappings. Both methods are documented by the vendor in the port info article linked earlier.
If you prefer not to manage DNS, you can still give users an easy path by sharing a direct link such as:
ts3server://host.example.com
After naming is done, lock in a few small security and maintenance habits so the service stays stable.
Security and Maintenance

Secure the admin path and protect data at rest. These practices add a few minutes today and save hours later.
- Admin surface: Set a strong server password and review who has ServerQuery access. Use named logins.
- Encryption: Enable channel voice encryption globally if your CPU budget allows. Start with the most sensitive channels.
- Backups: Back up ts3server.sqlitedb or your external database and copy ts3server.ini. Save the unit file and any firewall rules.
- Least privilege: Keep the systemd unit on the dedicated TeamSpeak user. Do not run the binary as root.
- Updates: Apply distro updates on a schedule and restart the service after a kernel change. Test connectivity after each change.
With fundamentals covered, pick a sensible starting size so the service stays smooth for your group.
Selection Advice: Hosting, Distro, and Size
If your only goal is a quick voice for friends, you can set up a TeamSpeak server on Linux on a tiny VM and keep costs low. Bigger groups gain from better networks and more RAM for file transfer. Use this quick matrix to pick a starting point, then adjust after a week of real traffic.
- Home lab on CGNAT: Do not fight port forwarding. Move the service to a VPS with public IPv4, then publish DNS. This is the fastest way to install a TeamSpeak server on Linux for outside access.
- Gaming clan with weekend peaks: Start with 2 vCPU and 2 GB RAM, then watch CPU idle and packet loss. Upgrade once the voice stays near saturation during busy hours.
- University club: Prefer Ubuntu 24.04 LTS and UFW rules. Campus networks often have IPv6, so test inbound IPv6 after you open ports.
- Esports team, match days: Use a VPS near the game region and record a baseline. If recordings or heavy file uploads matter, add storage and bump RAM to 4 GB.
- Mixed modding group: Keep ServerQuery locked down, add channel passwords, and schedule weekly backups. This keeps a busy TeamSpeak server Linux install predictable.
Start simple and iterate. Having chosen a shape, you should know that GUI access on a VM can speed up early configuration, so read the next section for hosted options and a desktop path.
Hosting & Remote Admin

Run TeamSpeak on a platform built for steady voice and clean routing. Our Linux VPS gives you a public IPv4, low-jitter regions, and root control in one place. You can start small, keep latency tight, and scale in minutes as your community grows.
What you get with Cloudzy’s Linux VPS:
- Compute you can count on: modern vCPUs, consistent clock speeds, and dedicated RAM sized for real-time voice.
- Storage that keeps up: NVMe or SSD storage for quick file transfers and fast log writes.
- Network built for voice: 10 Gbps uplinks in core locations, anycast-grade routing, and active DDoS filtering that helps keep UDP 9987 steady.
- OS images that match your playbook: Ubuntu 24.04 LTS, Debian 12, or Rocky 9, all ready for a clean systemd setup.
- Access and control: full root, out-of-band console, rDNS, and firewall rules you can modify without tickets.
- Lifecycle tools: snapshots before upgrades, quick restores, and simple plan resizing.
- Global regions: with over 12 locations in over 3 continents, pick the closest data center to your players to cut round-trip time.
- Support and uptime: 24×7 help from real engineers and a 99.95% uptime SLA.
If you want a desktop on top of your VPS for quick visual changes, deploy a Linux RDP server as a one-click app on your Linux VPS.
Final Thoughts
You just saw how to set up a TeamSpeak server on Linux with a simple, repeatable path. This approach keeps the setup predictable for future nodes or regions. Use an LTS distro, a dedicated user, and a proper systemd unit. Open the UDP and TCP ports that matter, claim the privilege key, and add SRV if you want a friendlier address. For a smoother path and a stable public IP, consider hosting on a Cloudzy Linux VPS so your server stays reachable day and night.