このガイドは、インストールするための簡潔なアプローチを提供します。
自己ホスト型生産性プラットフォームであるNextcloudの最新版を、
Ubuntuサーバー。Nextcloud Hub 6 (27.1.3)はファイルホスティングを提供します。
プライベートサーバーの柔軟性を備えた、コラボレーションなど多くの機能が利用できます。
前提条件
-
Ubuntu 20.04 LTS以降が実行されているサーバー。
-
コマンドラインインターフェースの基本的な操作知識。
インストールプロセス
次の手順に従って、Nextcloud Hub 6 (27.1.3)をUbuntuにインストールします。
サーバー:
ステップ 1: 更新してください
サーバー
サーバーのパッケージリストとシステム自体が最新であることを確認してください
日付:
sudo apt update && sudo apt upgrade -yステップ2: Apacheをインストール
ウェブサーバー
Apache をインストールします。これは Nextcloud ファイルを配信します:
sudo apt install apache2 -yステップ3:
PHPと必要なPHPモジュールをインストール
NextcloudはPHPの実行が必要です。PHPと必要な
モジュール:
sudo apt install php libapache2-mod-php php-mysql php-dom php-xml php-mbstring php-gd php-curl php-zip -yステップ 4: MariaDB のインストール
サーバー
Nextcloudのデータを保存するためのデータベースサーバーであるMariaDBをインストールします。
sudo apt install mariadb-server -yステップ5: 作成する
Nextcloud用データベース
まずMariaDBシェルにログインします。
sudo mariadb -u root -pログイン後、Nextcloud用のデータベースと、
希望する認証情報:
CREATE DATABASE nextcloud;
GRANT ALL PRIVILEGES ON nextcloud.* TO 'your_desired_username'@'localhost' IDENTIFIED BY 'your_desired_password';
FLUSH PRIVILEGES;
EXIT;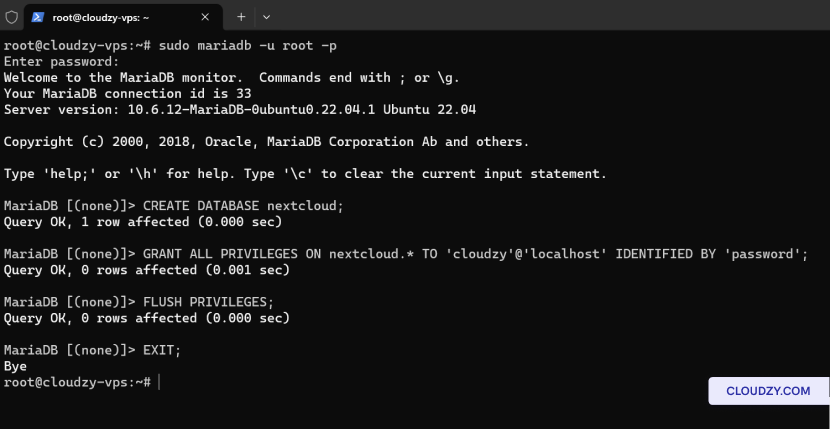
ステップ6:
UnzipをインストールしてNextcloudをダウンロード
Nextcloudをダウンロードする前に、unzipがインストールされていることを確認してください。
ダウンロードしたファイルを解凍する:
sudo apt install unzip -y
wget https://download.nextcloud.com/server/releases/nextcloud-27.1.3.zip
ステップ7:
Nextcloudを抽出してパーミッションを設定
Nextcloudパッケージをウェブルートディレクトリに解凍して設定します
正しい権限
unzip nextcloud-27.1.3.zip -d /var/www/html/
sudo chown -R www-data:www-data /var/www/html/nextcloud/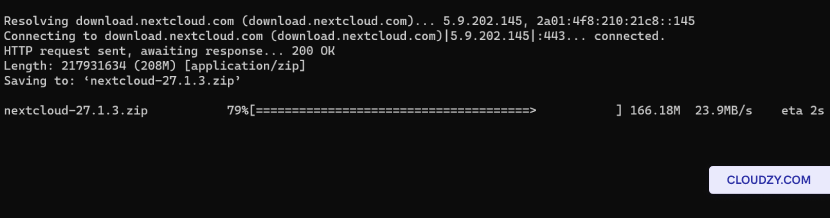
ステップ 8: 設定を構成する
Apache for Nextcloud
Nextcloud用のApache設定ファイルを作成します。
sudo nano /etc/apache2/sites-available/nextcloud.conf次の設定を挿入してファイルを保存します。
Alias /nextcloud "/var/www/html/nextcloud/"
<Directory /var/www/html/nextcloud/>
  Require all granted
  AllowOverride All
  Options FollowSymLinks MultiViews

  <IfModule mod_dav.c>
    Dav off
  </IfModule>
</Directory>
新しいサイトとリライトモジュールを有効にします。
sudo a2ensite nextcloud
sudo a2enmod rewrite
sudo systemctl restart apache2
ステップ
9: ウェブインターフェースを通じてインストールを完了する
ウェブブラウザを開いて、以下に移動してください
http://your_server_ip/nextcloudセットアップを完了してください。
以下の情報を提供する
-
管理者アカウント詳細 ユーザー名を選択して
Nextcloud管理者CDアカウントのパスワード。 -
データフォルダ: データフォルダーへのパスを確認
Nextcloudがファイルを保存する場所。 -
データベース構成: 認証情報を入力
作成したデータベースユーザーと名前を指定します。
localhost データベースホスト(ただし、データベースが
別のサーバー上で実行します。
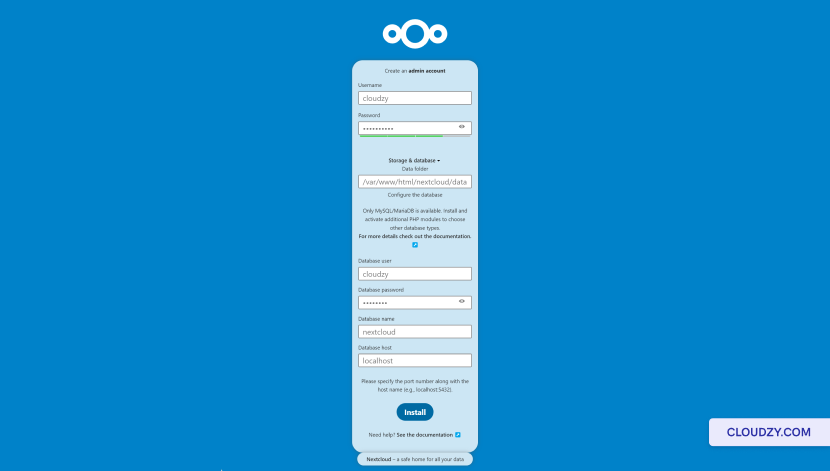
詳細を入力した後、クリックしてください セットアップを完了
インストールを完了するボタンをクリックしてから、次に移動します
http://your_server_ip/nextcloud/index.php/login もしあなたが
自動的にリダイレクトされませんでした。
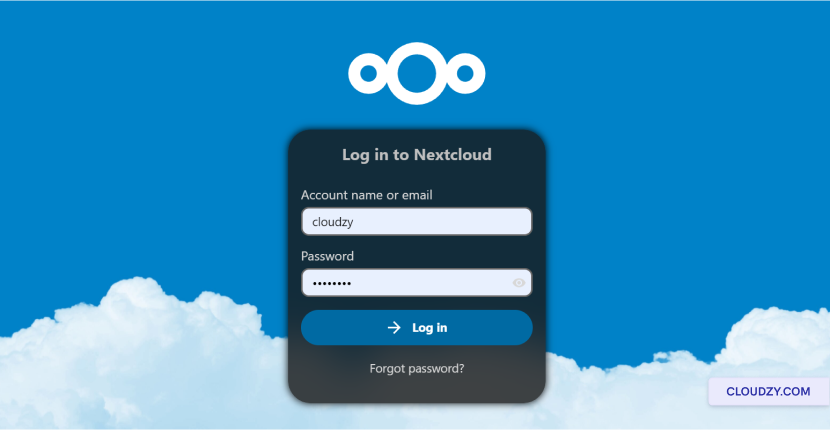
Nextcloud Hub 6 (27.1.3)の実行インスタンスがUbuntuで立ち上がりました。
Ubuntuサーバーのダッシュボードを探索し、
Nextcloud環境を個人またはビジネスのニーズに合わせて設定してください。詳しい情報や
さらにサポートが必要な場合は、お気軽にお問い合わせください。
サポートチームから 送信する
チケット.
同じカテゴリー 手動インストール