リモートアクセス用のグラフィカルデスクトップ環境をセットアップすることは
困難で時間がかかります。しかし、Cloudzyのワンクリック機能があれば
Application (OCA) を使用すれば、XRDP 上で IceWM をすばやくデプロイできます
Virtual Private Server (VPS) を簡単にセットアップできます。このガイドでは手順を説明します
あなたをCloudzyのXRDP上でIceWMをセットアップするプロセスを通じて
OCAで、技術的な知識が限定的でも、アクセスしやすくしています。
初心者でも経験豊かなユーザーでも、あなたは
リモートデスクトップ環境がすぐに立ち上がる。
前提条件
Cloudzy VPS 上で XRDP に IceWM をデプロイする前に、
以下の前提条件を満たしていることを確認してください
-
クレジット十分: Cloudzyアカウントに以下の内容があることを確認してください
IceWM over XRDP OCA をセットアップして使用するのに十分なクレジット。 -
アクティブなアカウント: あなたのCloudzyアカウントは
アクティブで使用可能な状態です。 -
オペレーティングシステム: IceWM over XRDP OCA は
Debian と互換性があります。Debian 10、Debian 11 から選択できます。
Debian 12.
これらの前提条件を整えることで、スムーズなセットアップが保証されます
IceWM over XRDP 環境向けのプロセスです。
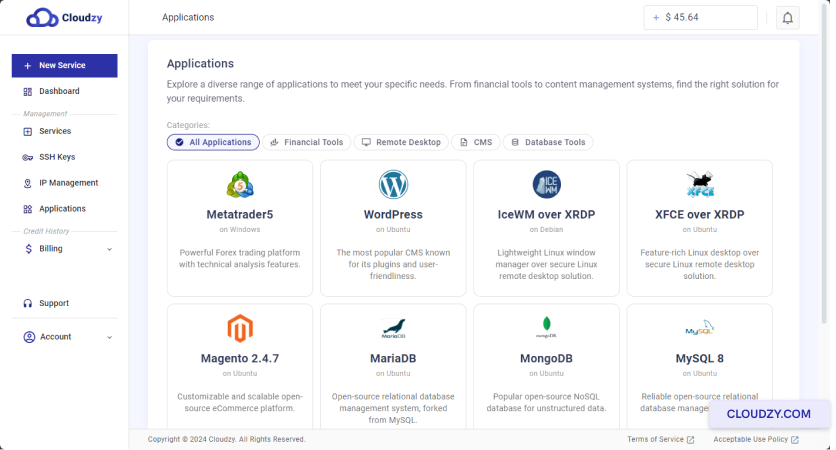
ステップ1: 選択
アプリケーション
-
Cloudzy ダッシュボードにログインする: ウェブを開く
ブラウザを開いて Cloudzy アカウントにログインします。 -
アプリケーションセクションに移動する: 次をクリック:
アプリケーション 左サイドバーの
ダッシュボード
-
IceWMをXRDP上で選択: 見つけてクリック
IceWM over XRDP 利用可能なリストから
アプリケーション -
サービスをデプロイ: クリックしてください デプロイ
サービス XRDP上のIceWM下のボタン
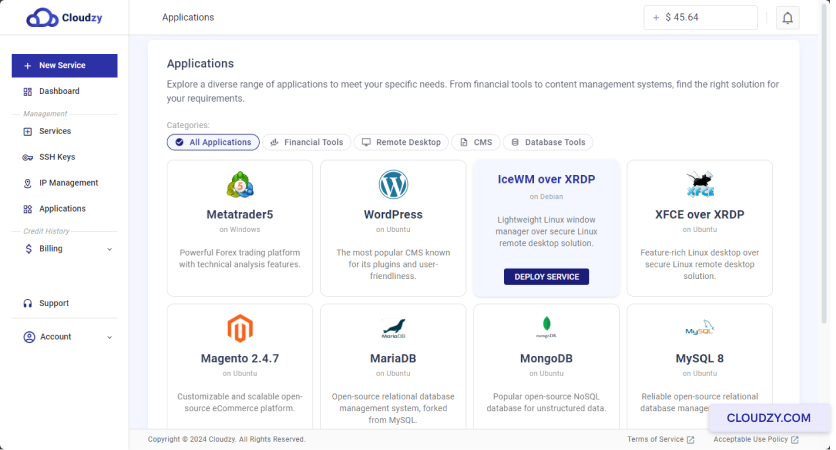
次のステップに進みます。ここで設定を行います。
サービス設定。
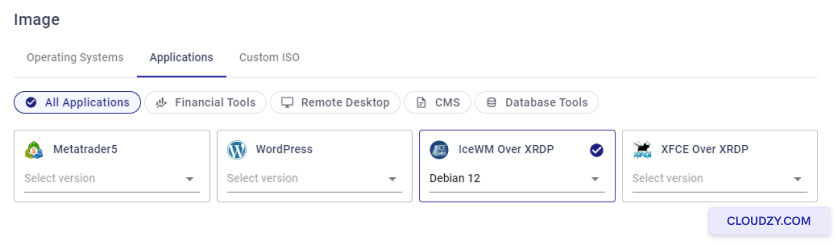
ステップ 2: 設定を構成中
ご利用中のサービス
-
新規サービスページに移動する: あなたは
持ち込まれた 新しいサービス ページ。ここで設定できます
あなたのVPS。 -
サーバーロケーションを選択: サーバーを選択
ニーズに最適なロケーションを選択します。より高いパフォーマンスのため、
あなたまたはエンドユーザーに近い場所を選ぶことをお勧めします。

- オペレーティング システムを選択してください: オペレーティングシステムを選択
IceWM over XRDP のシステムです。利用可能なオプションは Debian 10、Debian です。
11と Debian 12。
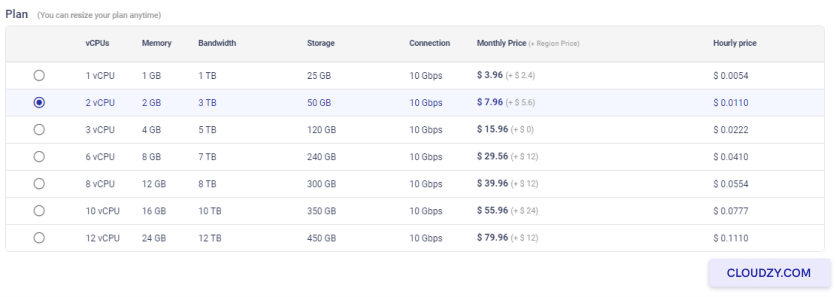
- プランを選択してください: 計画を選択してください
要件を満たしています。このプランには vCPU、メモリ、帯域幅のオプションが含まれています。
ストレージと接続速度から、ニーズに合ったものを選択してください。
パフォーマンスと予算のニーズ。
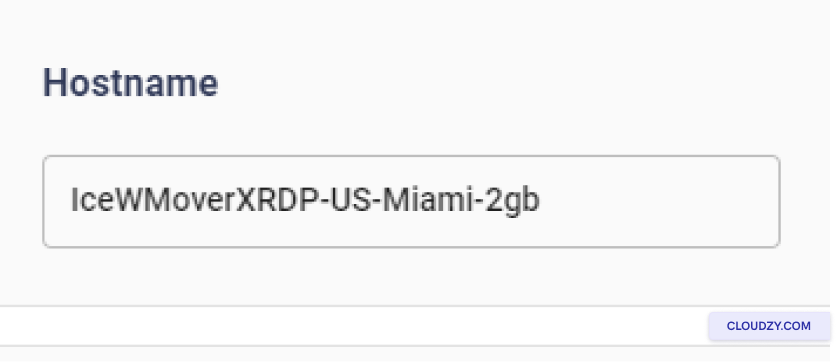
- ホスト名を設定: サービスの名前を入力してください
ザ ホスト名 フィールド。これは任意の説明的な内容が可能です
この VPS を識別するのに役立つタグです。
これらの設定を行った後、確認して最終決定できます。
デプロイメント
ステップ3: レビューと
購入
-
選択内容を確認: すべてを慎重に確認してください
サーバーロケーション、オペレーティングシステム、
プランについて、すべて正しく、ニーズを満たしていることを確認してください。 -
価格確認 月間および時間単位の価格
選択したプランが表示されます。IceWM over XRDP のワンクリックアプリ使用時に
追加料金は発生しません。確認してください。
見積もり合計 下部の価格
ページ。 -
サービスをデプロイ: すべてが問題なければ、
クリックして 今すぐデプロイ 進める ボタン
これにより、IceWM over XRDP のデプロイメント プロセスが開始されます
VPS.
ステップ4: デプロイメント
プロセス
- デプロイメントを監視する: クリック後
今すぐデプロイデプロイプロセスの進行状況を示すプログレスバーが表示されます。
デプロイの段階、たとえば 準備中
ネットワーク と ディスク準備中.
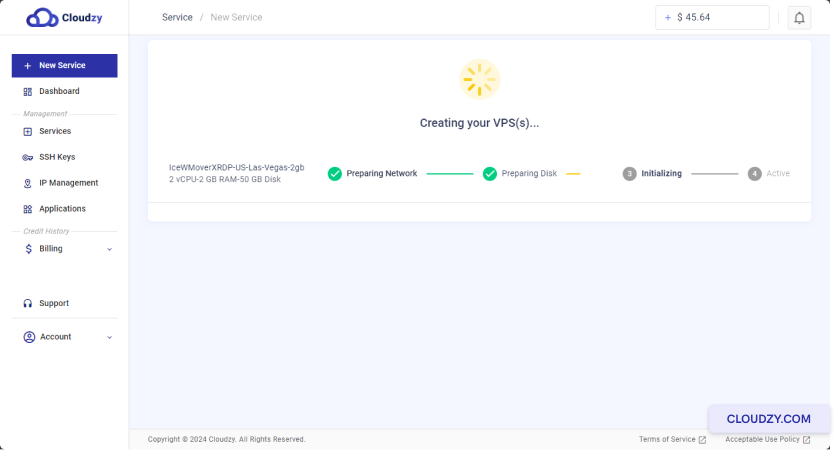
- 完了を待つ デプロイプロセスが
数分かかります。プログレスバーが完了し、ステータスが
表示 Active.
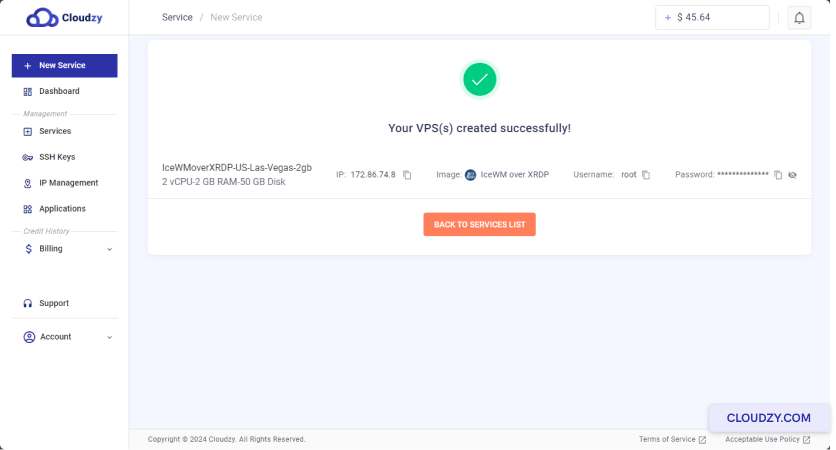
デプロイが完了すると、VPS が使用可能になり、
IP アドレス、ユーザー名、パスワードなど重要な情報が送付されます。
次のステップのため、これらの情報を安全に保管してください。
ステップ
5: XRDP経由でIceWMインストールにアクセスする
-
接続詳細を取得: VPSがになったら
有効になったら、提供されたIPアドレス、ユーザー名、パスワードをメモしてください。
VPS にアクセスするには、これらの詳細情報が必要です。 -
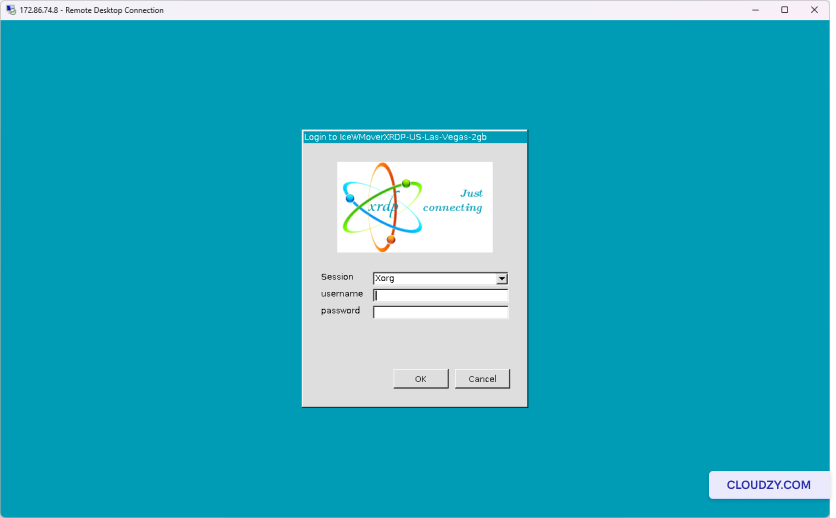
リモートデスクトップで接続: リモートを開く
ローカルマシンのDesktop Clientで VPS のIPアドレスを入力してください
リモートデスクトップクライアントで。

- VPSにログインしてください: プロンプトが表示されたら、以下を入力してください
ユーザー名とパスワードが入力されました。これでログインできます。
XRDP上のIceWMデスクトップ環境。
これらのステップに従えば、VPS に正常に接続できます
XRDP経由でIceWMを実行しています。
IceWM over XRDP のセットアップが完了しました。これで完全な環境を
Cloudzy VPS 上で機能的なリモートデスクトップ環境を実現します。必要な場合は
ご不明な点やさらにサポートが必要な場合は、お気軽にお問い合わせください
サポートチームの 送信する
チケット.