When your VPS operating system fails to load, you risk losing valuable data and facing costly downtime. This guide walks you through how to recover files from a corrupted Linux or Windows VPS using rescue mode before reinstalling your OS.
If your operating system won’t boot, don’t panic. You can still access and save your files by loading your VPS into rescue mode. We’ll show you exactly how to retrieve your data safely before formatting and reinstalling a fresh operating system.
Before You Begin
Confirm that your operating system truly won’t load. Connect to your server via VNC and reboot your VPS from the control panel 2-3 times. If the system still fails to boot after multiple attempts, proceed with this recovery method.
Most corruptions occur on Windows VPS servers, so this tutorial focuses on Windows recovery. However, the same rescue mode process works for Linux and other operating systems. The commands differ slightly, but the fundamental approach remains consistent across platforms.
How to Recover Files from a Corrupted VPS
Follow these steps to access your data from a corrupted VPS using rescue mode. This process works reliably across most VPS configurations and lets you retrieve files before reinstalling your operating system.
Step 1: Log In to Cloudzy and Choose the VPS
First, verify the OS failure by connecting via VNC and attempting a reboot from your control panel. If the system still fails to boot after 2-3 attempts, proceed with rescue mode. Multiple reboot attempts confirm the issue is corruption rather than a temporary glitch.
Log in to your Control Panel at support.cloudzy.com and click on ‘Services’. Navigate to your VPS list and locate the affected server.
Click on the target VPS server you want to reboot into Rescue Mode. If you have multiple VPS servers, make sure you select the correct instance. Choosing the wrong server could interrupt services running on functioning systems, so double-check your selection before proceeding.
At Cloudzy, our VPS infrastructure includes rescue mode capabilities as a standard feature. When you buy VPS server plans from us, this recovery functionality comes included, so you can always access your data even when the operating system fails to boot.
Step 2: Choose Rescue Mode
Choose ‘Rescue Mode’ from your VPS management panel. This option usually appears in the server actions or management section.
When your operating system fails, rescue mode gives you a way to recover files from a corrupted Linux or Windows VPS. This Linux-based utility accesses your drive even when the main OS won’t boot. The rescue environment includes tools for mounting filesystems and transferring data safely.
The rescue environment runs independently from your main operating system. It boots from a separate image stored on the host system, letting you access your corrupted drive as an external volume. This isolation stops the corrupted OS from interfering with recovery operations.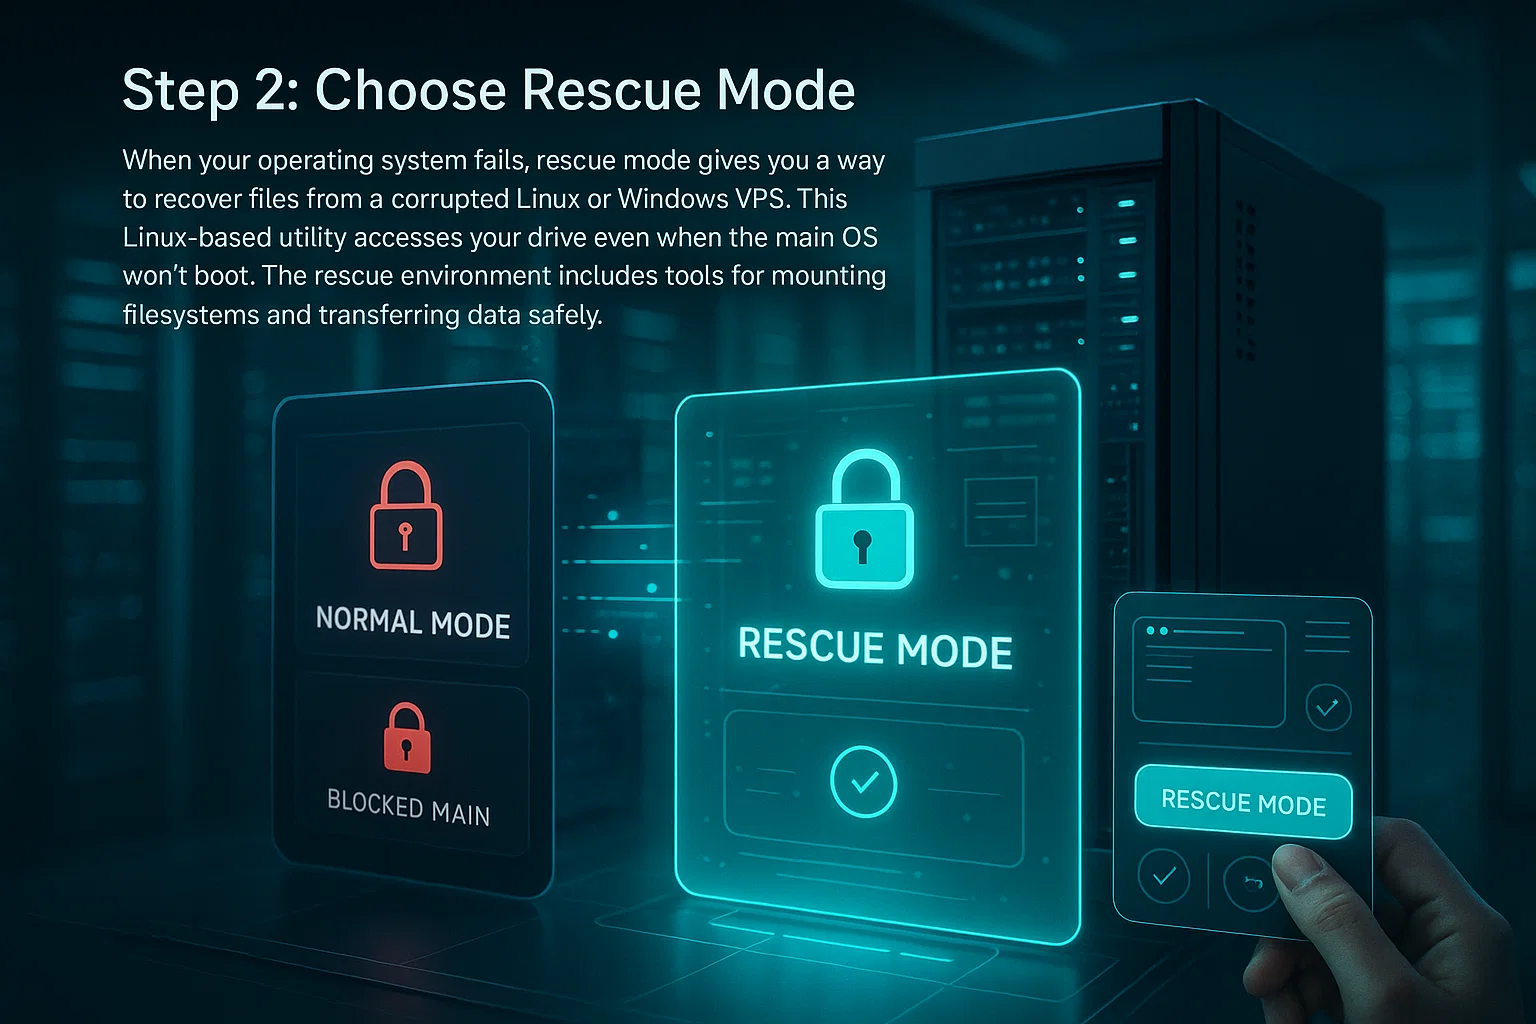
Step 3: Enable Rescue Mode
Set a strong password for rescue mode access, then click Enable Rescue Mode. The system will reboot your VPS into the rescue environment. Choose a password you’ll remember, but that’s difficult for others to guess, as this grants root access to your system.
Wait 2-5 minutes for the reboot to complete, then refresh the page. You will see a confirmation message that your VPS is now running in rescue mode. The actual time needed depends on your system configuration and the host’s current load.
This lightweight Linux environment lets you access your corrupted Windows or Linux drive without relying on the damaged operating system. It delivers a clean, minimal system with recovery tools pre-installed, so you can mount drives and transfer files regardless of your main OS corruption.
Step 4: Install WinSCP and Login
You need a file transfer tool to access your files from the rescue environment. Download WinSCP from the official website, which handles secure file transfers between Windows and Linux operating systems. WinSCP offers a graphical interface that simplifies the file recovery process compared to command-line tools.
WinSCP remains actively maintained in 2025 with regular security updates. It supports SFTP, SCP, and FTP protocols. For recovery operations, use SFTP or SCP since these protocols encrypt your data during transfer, while plain FTP does not. The software is free, open-source, and compatible with all modern Windows versions.
Installation steps:
- A) Download WinSCP from the official website at winscp.net.
- B) Install and launch the software using default settings.
You’ll see a login window with fields for connection details. Enter these details:
- Host Name: Your VPS IP address
- Username: root
- Password: The password you set for rescue mode
Click ‘Login’ to connect to your rescue environment. You may see a security warning about the host key on the first connection, and this is normal for new connections.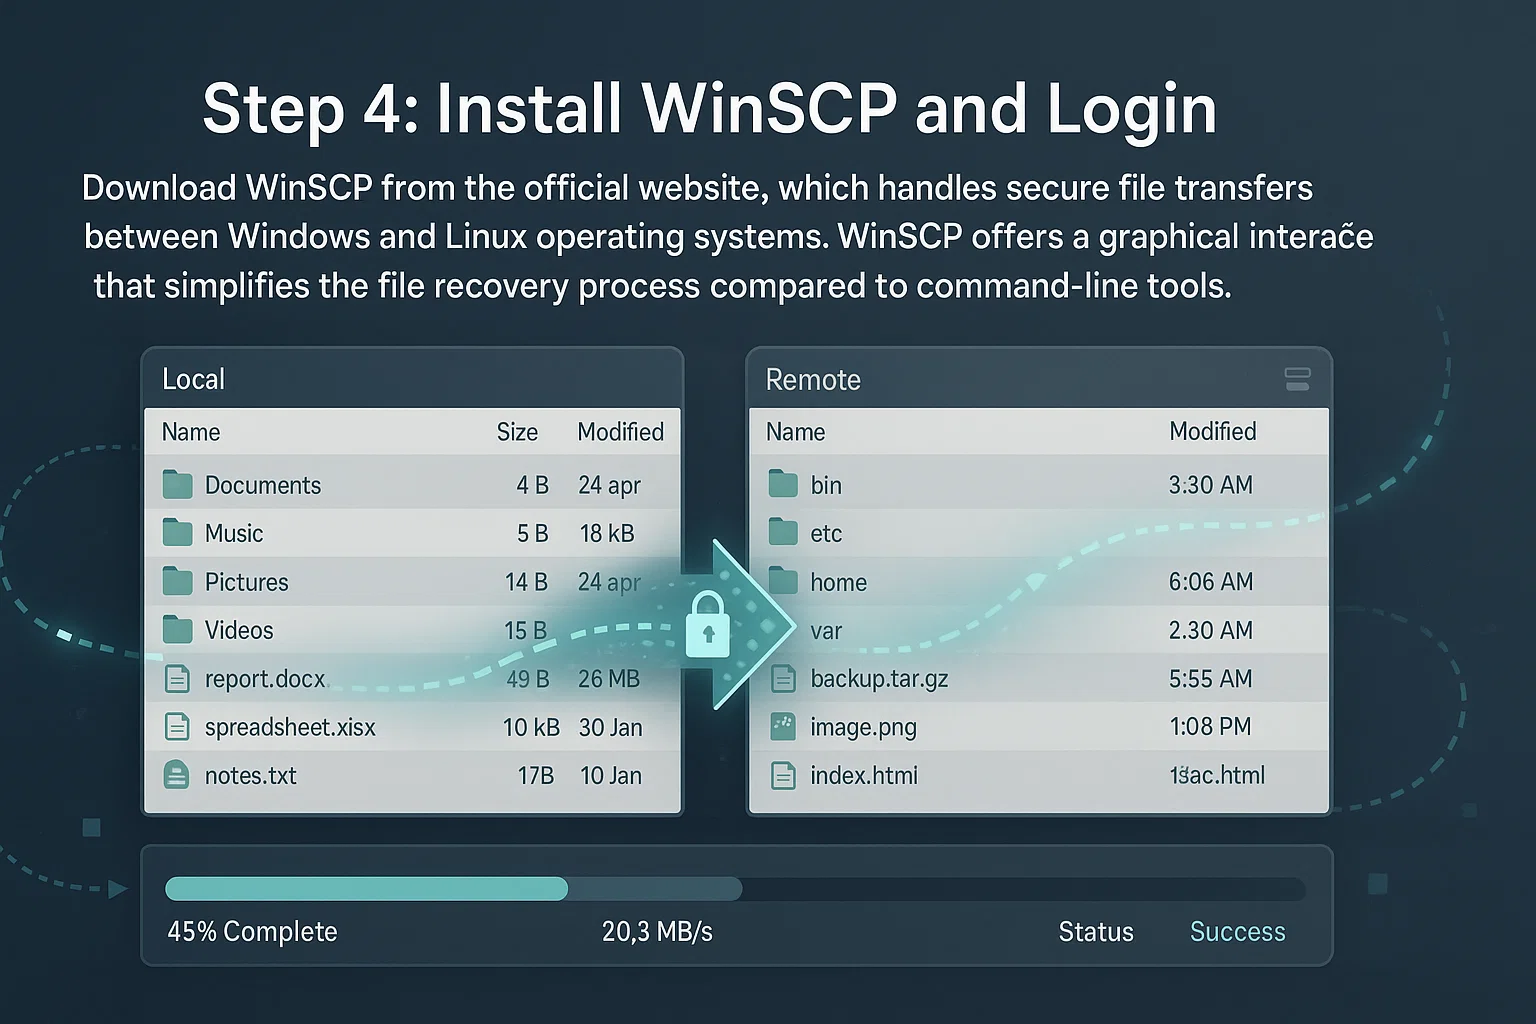
Step 5: Open the Terminal
Press Shift+Ctrl+T to open the integrated terminal window. Click ‘OK’ on any security warnings that appear. These warnings are standard security prompts that appear when executing commands on remote systems.
This terminal lets you execute commands directly on the rescue system. You’ll need it for mounting your corrupted drive and installing the necessary filesystem drivers. The integrated terminal keeps everything within WinSCP for convenience.
Step 6: Run Commands to Mount Your Drive
Run the following commands in this exact order. Each command prepares your system for the next step, so sequence matters:
apt-get update --allow-releaseinfo-change

apt-get install ntfs-3g -y

ntfsfix /dev/vdb1

mount -t ntfs-3g /dev/vdb1 /mnt
These commands update the package list, install the NTFS-3g driver for Windows filesystem support, attempt basic filesystem repairs, and mount your Windows partition to /mnt. The `-t ntfs-3g` flag explicitly tells the system which driver to use, since some distributions might default to read-only drivers or older implementations.
After mounting, verify that the driver and permissions worked correctly:
mount | grep /mntLook for `ntfs-3g` in the output and check for `rw` (read-write) rather than `ro` (read-only). If you see the wrong driver or read-only mode, unmount with `umount /mnt` and try the mount command again with additional options.
The NTFS-3g package provides read and write access to NTFS filesystems from Linux. It handles Windows-specific features like file permissions, alternate data streams, and filesystem journals.
The ntfsfix command clears the dirty flag and fixes a few basic NTFS inconsistencies. It explicitly states in its documentation that it’s not a Linux version of chkdsk. What ntfsfix actually does is mark the filesystem for a proper Windows check on next boot while making it mountable from Linux. If you need comprehensive repairs, you’ll need to boot into Windows and run chkdsk.
Device naming varies by platform: KVM/QEMU uses /dev/vda and /dev/vdb, VMware uses /dev/sda and /dev/sdb, while Xen uses /dev/xvda and /dev/xvdb. Knowing your platform’s naming convention prevents mounting errors.
Use lsblk to identify your correct partition if /dev/vdb1 doesn’t exist. This command lists all block devices and their partition structure, helping you locate your data drive among multiple attached volumes.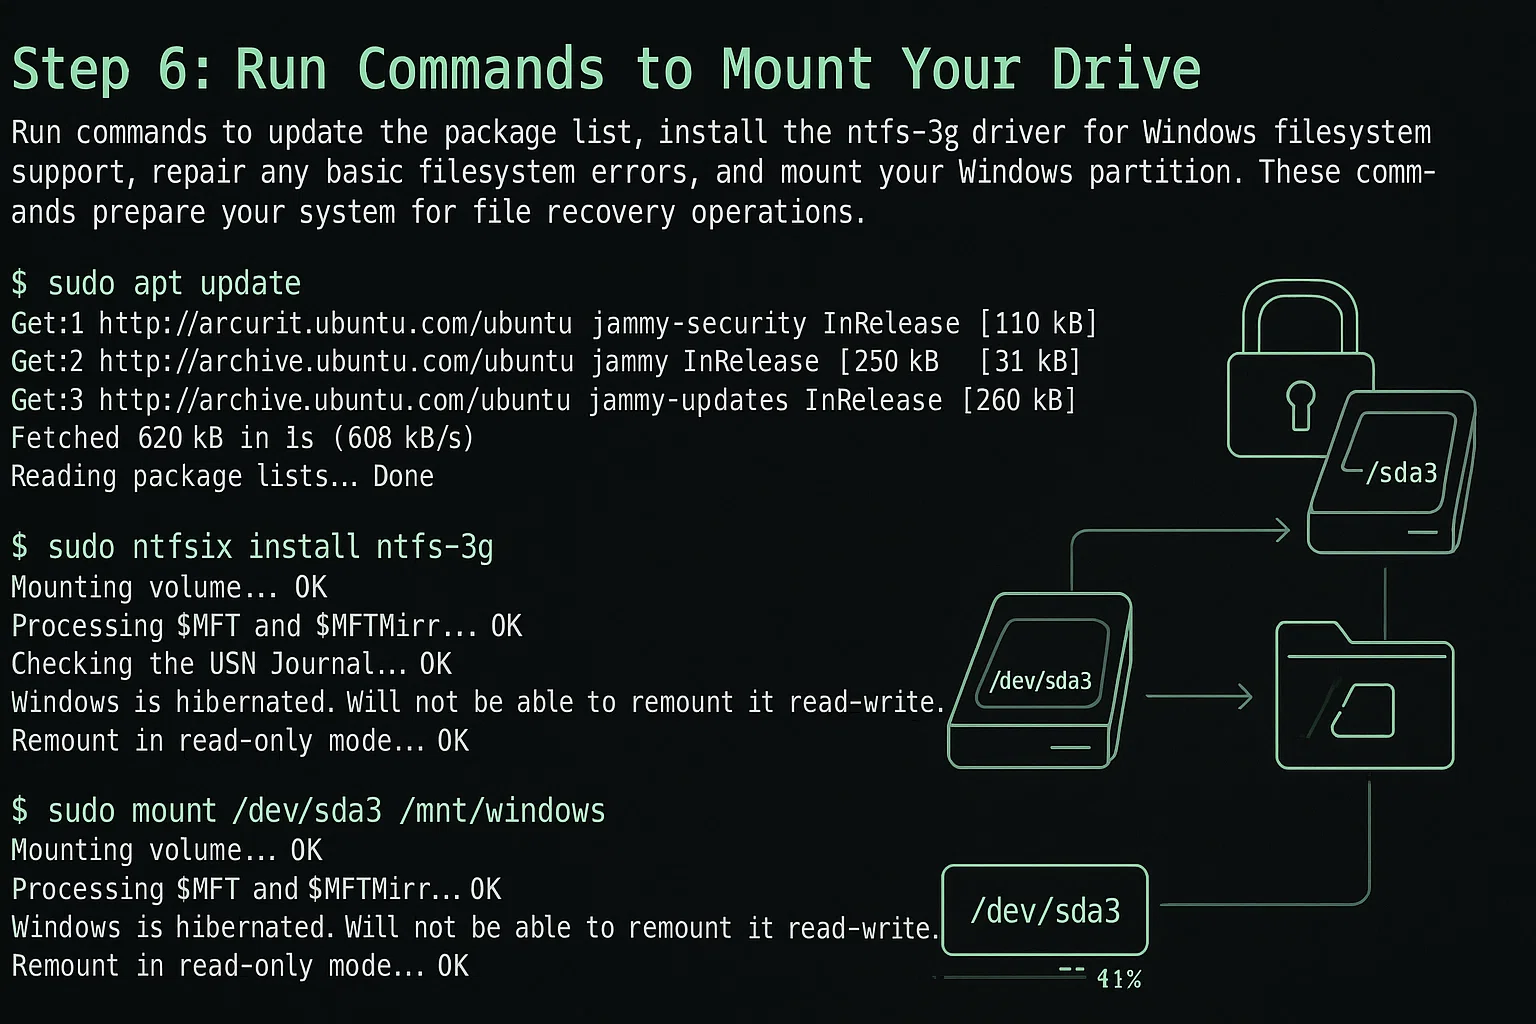
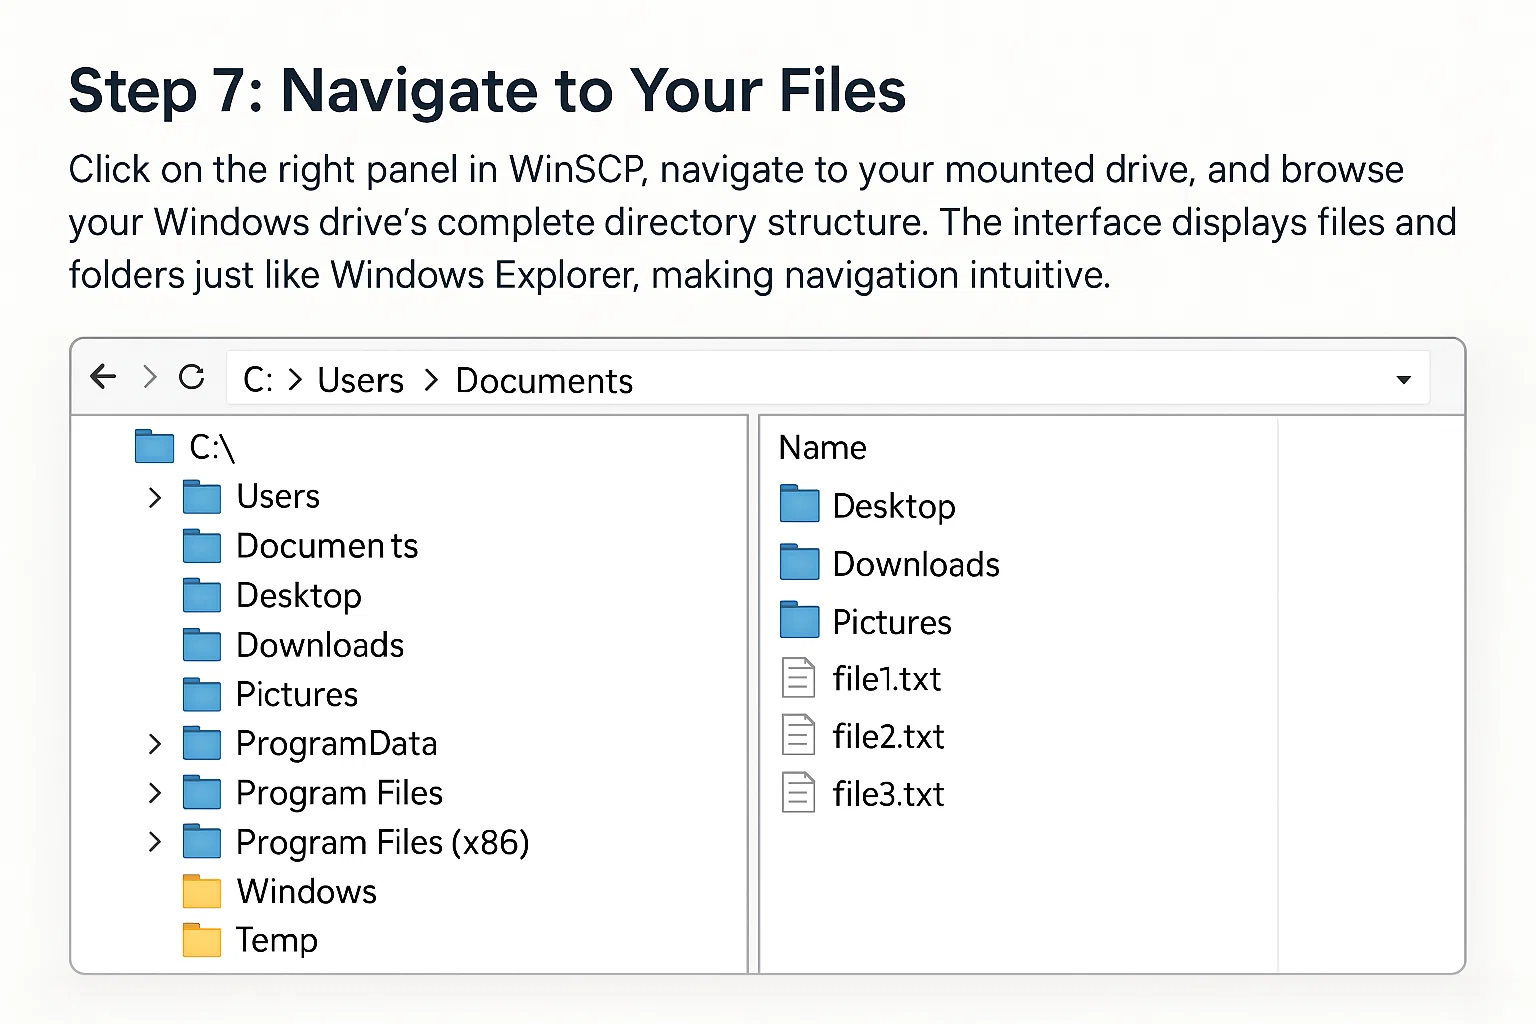
Step 7: Navigate to Your Files
In WinSCP’s right panel, locate the path bar at the top showing the current directory. Click on this path bar to make it editable, then clear it and type /mnt before pressing Enter.
You can now browse your Windows drive’s complete directory structure. The interface displays files and folders just like Windows Explorer, making navigation intuitive even when working with Linux-mounted drives.
- /mnt/Users/Administrator/Desktop
- /mnt/Users/Administrator/Downloads
- /mnt/Users/Administrator/Documents
- /mnt/ProgramData/ (application data)
- /mnt/inetpub/wwwroot/ (web server files)
Step 8: Download Your Files
Right-click on any file or folder you want to save, then select ‘Download’. WinSCP will transfer the files to your local computer using the SFTP protocol. The transfer speed depends on your network connection and the file sizes being transferred.
For large directories, use the synchronize feature to confirm that all files transfer correctly. This feature compares source and destination, transferring only missing or modified files, which saves time when recovering large datasets with partial existing backups.
Pro tips for efficient recovery:
- Monitor transfer progress: WinSCP shows estimated time and transfer speed. If it’s slow, transfer during off-peak hours.
- Prioritize critical files first: Recover documents, databases, and configurations before media files so you have valuable data even if the connection drops.
- Verify file integrity: Compare file sizes between source and destination to confirm complete transfers. Use checksums for valuable files.
- Disable rescue mode: After recovery, return to your VPS control panel and disable Rescue Mode to reboot into normal boot mode.
You can now reinstall your operating system with confidence that your data is safe on local storage.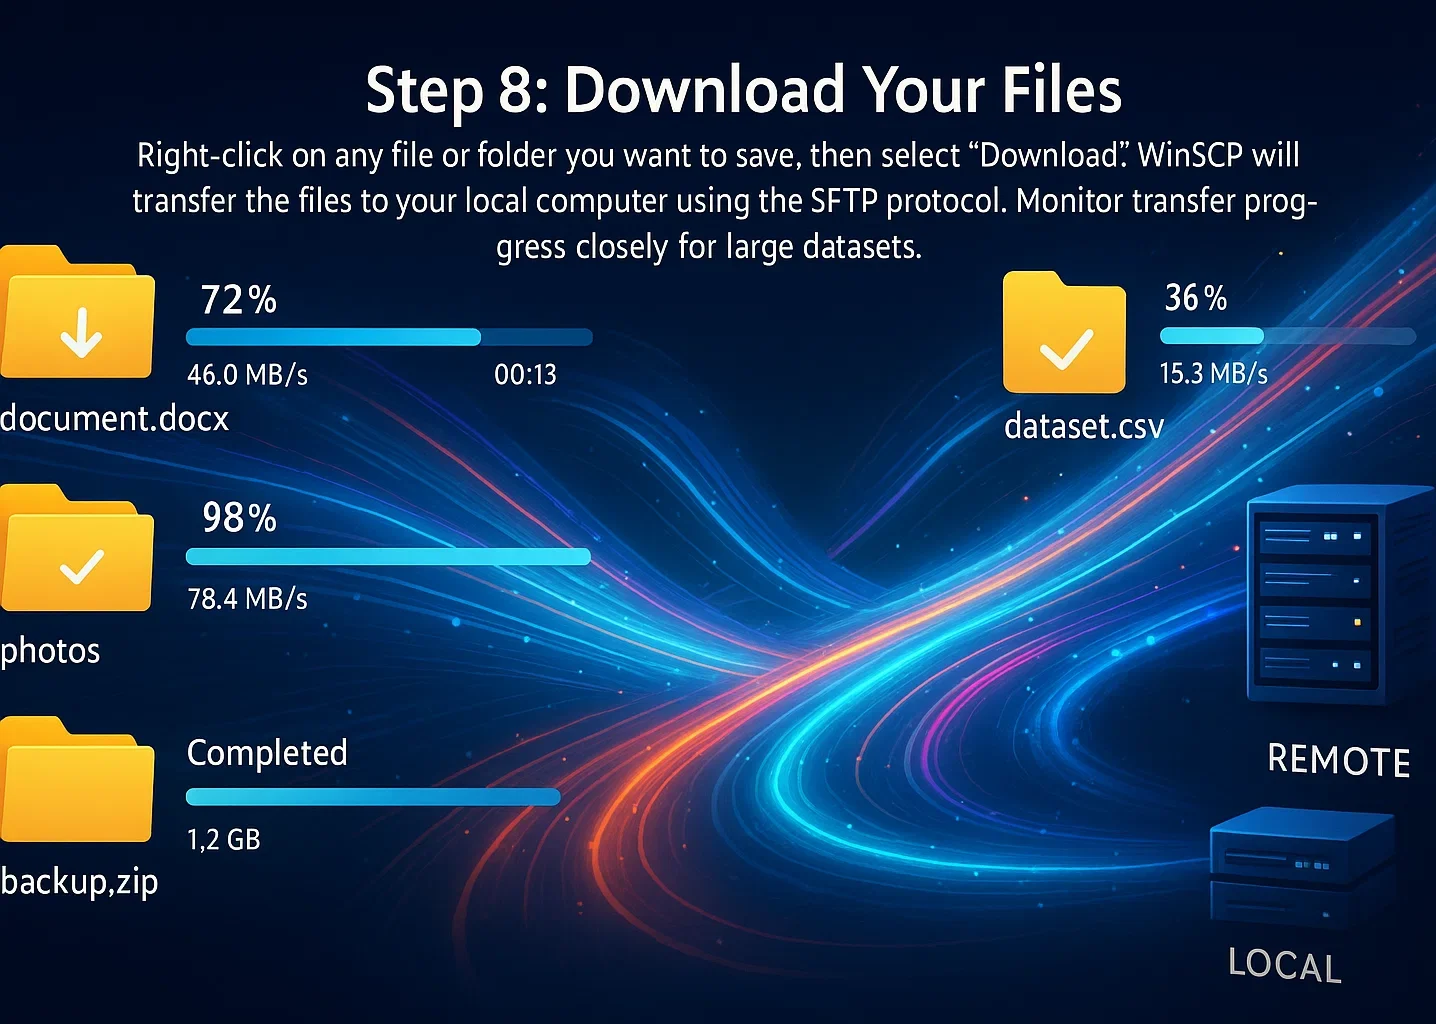
Recovering Files from Linux VPS
Linux VPS recovery follows a similar process with some key differences in the mounting procedure. The core concepts remain the same, but Linux filesystems use different tools and commands than NTFS systems.
Identifying Your Linux Partition
After booting into rescue mode and connecting via SSH, identify your main partition. Run the following command:
lsblkLook for your primary partition, usually the largest one. It might be /dev/vda1, /dev/sda1, or similar, depending on your virtualization platform. The output shows device names, sizes, and mount points, helping you identify your data partition among system and boot partitions.
Mounting Linux Filesystems
For ext4 filesystems (most common), run these commands:
mkdir /mnt/recovery

mount /dev/vda1 /mnt/recovery
If you encounter mounting errors, you need to check the filesystem for issues. First, make sure the partition is unmounted:
umount /dev/vda1Then run the filesystem check:
e2fsck -f /dev/vda1The e2fsck utility can fix many common ext filesystem problems, including corrupted inodes, directory entries, and file allocation tables. Never run e2fsck on a mounted filesystem, as this can cause severe data corruption. The -f flag forces a check even if the filesystem appears clean. After the repairs are complete, mount the partition again with the earlier mount command.
Accessing Your Files
Navigate to your mounted directory:
cd /mnt/recovery

ls -la
Common Linux file locations:
- /mnt/recovery/home/username/ (user files)
- /mnt/recovery/var/www/ (web server files)
- /mnt/recovery/etc/ (configuration files)
- /mnt/recovery/opt/ (optional software)
Use SCP, rsync, or SFTP to transfer files to a safe location before reinstalling your OS. These command-line tools deliver efficient transfer capabilities for large Linux directory structures.
Common Recovery Issues and Solutions
Recognizing common problems helps you navigate recovery more efficiently. Most issues have straightforward solutions once you identify the underlying cause.
NTFS Partition Shows as Dirty
If you encounter errors about an unclean filesystem or Windows hibernation, the NTFS partition was not shut down correctly. This happens when Windows uses Fast Startup or hibernation, leaving the filesystem in an active state that Linux can’t mount safely.
Solution:
ntfsfix /dev/vdb1

mount -t ntfs-3g -o remove_hiberfile /dev/vdb1 /mnt
The `remove_hiberfile` option deletes the Windows hibernation file, letting the mount proceed. Remember that ntfsfix only clears the dirty flag and fixes basic inconsistencies to make the partition mountable from Linux.
It schedules a proper Windows chkdsk check for the next Windows boot. If you need comprehensive filesystem repairs, you’ll need to boot into Windows and run chkdsk after recovering your files.
After mounting, verify it worked:
mount | grep /mntCheck that the output shows `ntfs-3g` as the filesystem type and `rw` for read-write access. If you see `ro` (read-only) or a different driver, the mount may not give you full access to your files.
Wrong Partition Device
If mounting fails with “device not found” errors, verify the correct device name. Different virtualization platforms use different naming conventions, and incorrect device names stop mounting operations from completing successfully.
Use fdisk -l or lsblk to list all available devices and their sizes. The output shows device names, partition tables, and filesystem types for all attached storage, helping you identify the correct partition to mount.
Permission Denied Errors
When accessing mounted filesystems, permission errors can occur even as root. For NTFS partitions, make sure ntfs-3g is installed correctly and that the mount command selects the right driver. For Linux filesystems, verify that the mount completed successfully with appropriate permissions.
Run this command to verify:
mount | grep /mntThis command shows currently mounted filesystems and their mount options. Look for your partition in the output; you should see `type ntfs-3g` and the option `rw` (not `ro`). If the output shows a different filesystem type or read-only mode, unmount and remount with the explicit `-t ntfs-3g` flag to force the correct driver.
Filesystem Corruption Too Severe
If automatic repair tools fail, the corruption may be too severe for standard recovery. In these cases, advanced techniques become necessary, though they demand more technical expertise and carry higher risks of additional data loss.
Follow these steps for severe corruption:
- Create a byte-level image of the partition using dd or ddrescue
- Work on the image copy, preserving the original
- Use advanced recovery tools like TestDisk or PhotoRec
- Consider professional data recovery services for business-critical data
For valuable business data, stop all recovery attempts and contact professional recovery services. Further recovery attempts can overwrite recoverable data, making professional recovery more difficult or impossible. Data recovery specialists have specialized tools and clean room environments for physical recovery.
Why VPS Corruption Happens
VPS corruption happens from three main causes. Knowing which one hit your system helps you prevent it next time.
Power Failures: When your VPS loses power during disk writes, the filesystem gets stuck mid-transaction. Journaling systems like ext4 and NTFS help reduce this risk, but they can’t fix everything without hardware backup. Cloud providers handle this with redundant power systems, while dedicated servers need UPS protection to keep operations running during outages.
To prevent this: Use a hosting provider with backup power infrastructure, or if you’re running your own hardware, install a UPS so writes can complete even during power loss.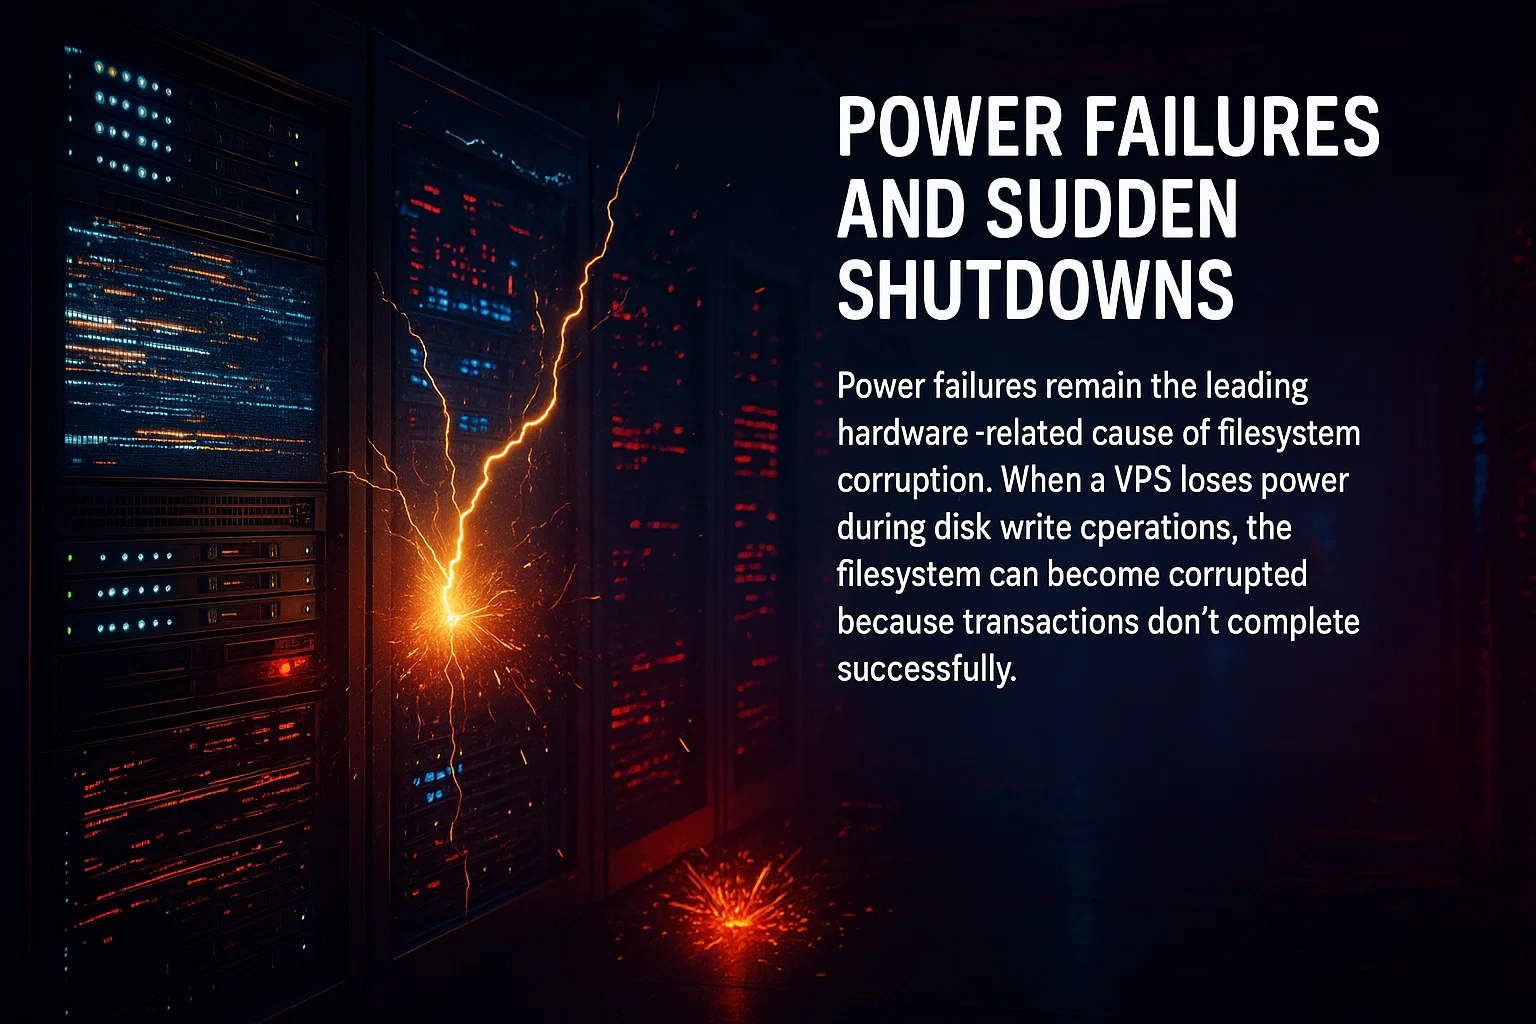
Hardware Issues: Storage failures cause 67% of data loss, and they strike without warning. SSDs wear out over time, hard drives develop bad sectors, and RAID controllers can fail suddenly. The worst part is that devices often report successful writes even while the data corrupts silently, so you won’t know until you try accessing those files.
To prevent this, run regular backups since hardware will eventually fail. Monitor drive health using SMART diagnostics, and replace aging drives before they crash completely.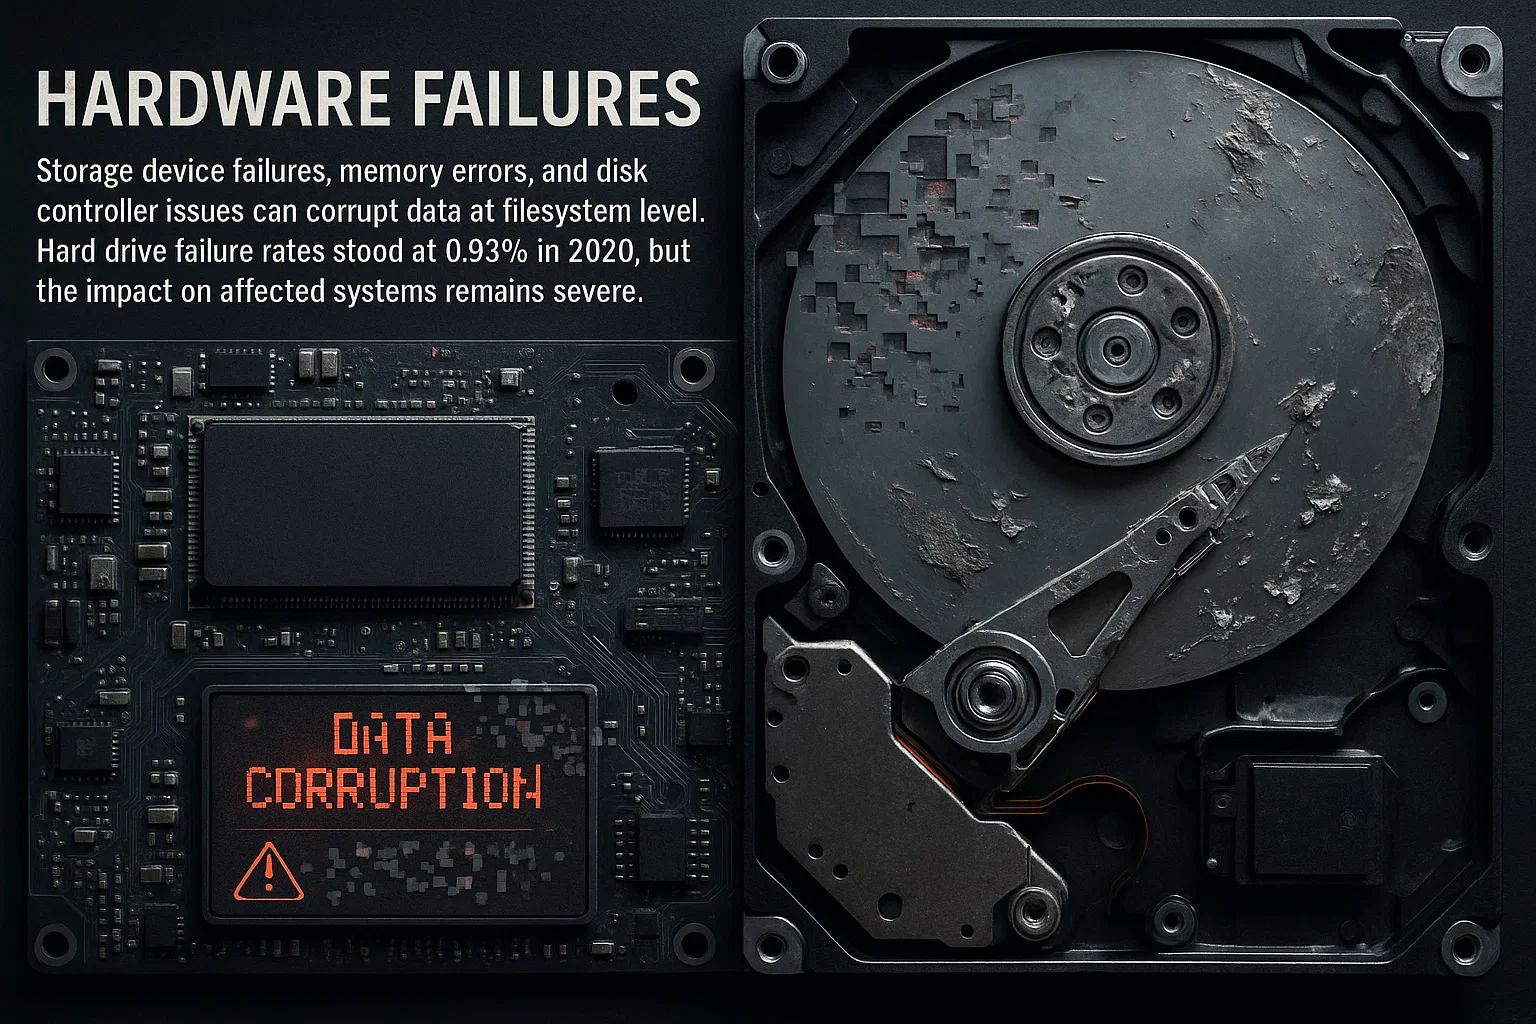
Software Problems: Windows Fast Startup leaves the filesystem in a hibernated state because it doesn’t shut down completely, which prevents safe mounting from Linux rescue mode. Database crashes during commits can corrupt files even when the filesystem stays intact, plus outdated drivers and kernel panics trigger write failures that damage your data.
To prevent this: Disable Fast Startup on Windows VPS to maintain clean shutdowns. Keep your system updated with current drivers, and test database transaction logs regularly so you catch issues early.
What to do now: After recovering your files, identify what caused the corruption by checking server logs for power events, hardware errors, or software crashes. Fix the root cause before reinstalling your OS, or you’ll face the same problem again within weeks.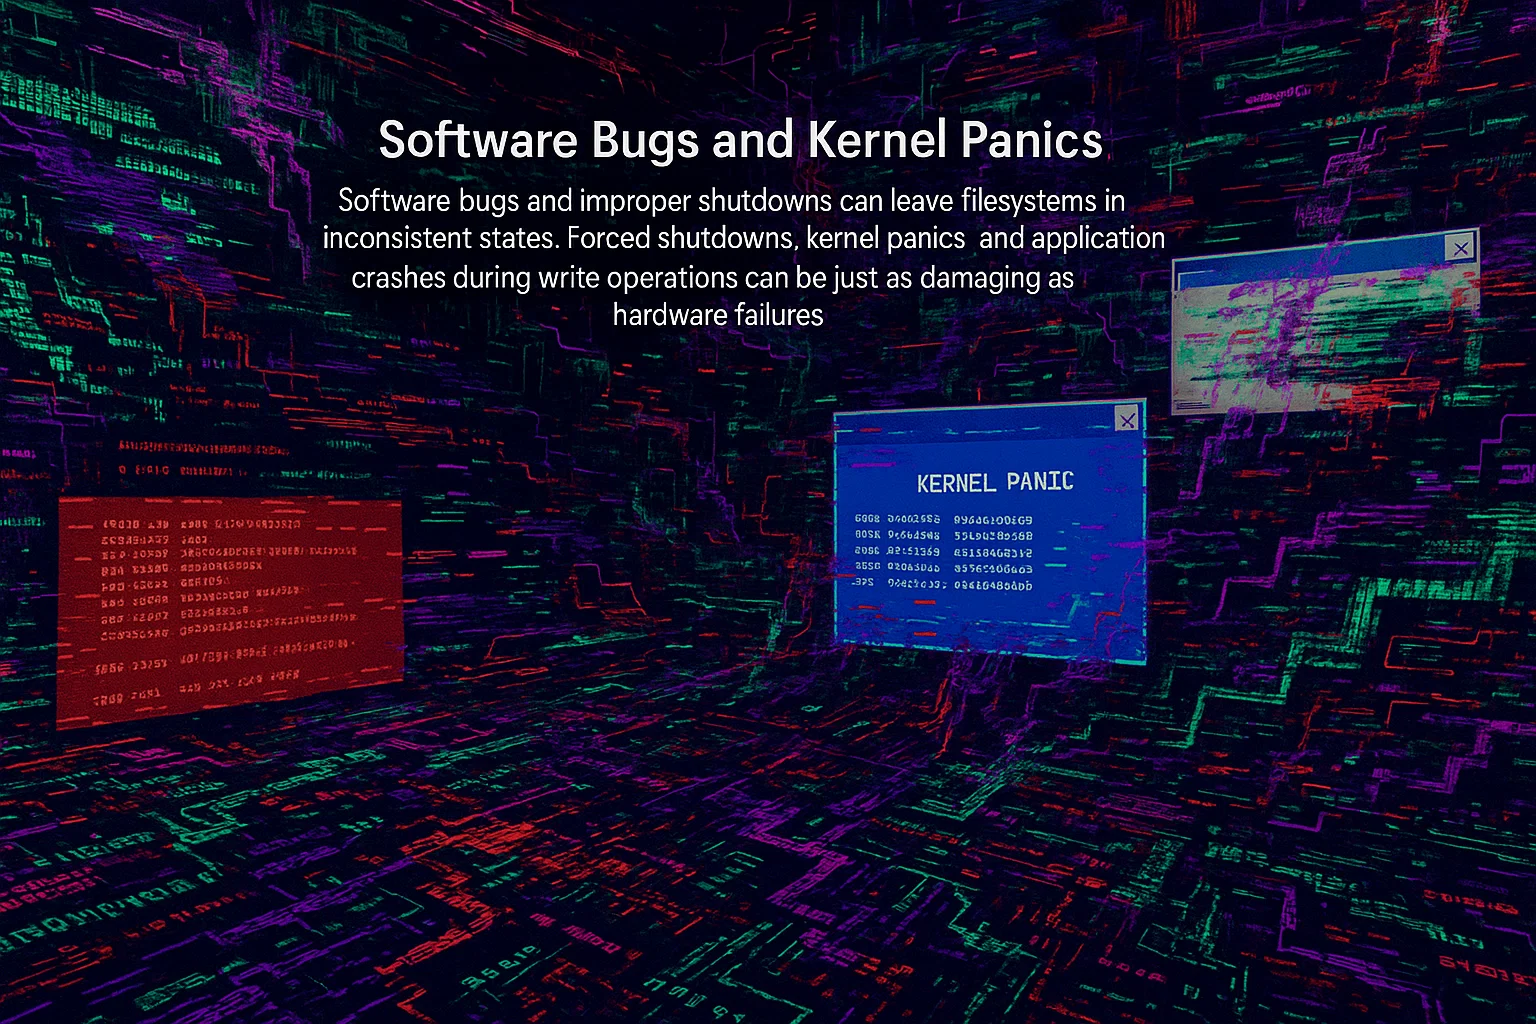
Alternative File Transfer Methods
While WinSCP works well for Windows users, several alternatives exist for different scenarios. Choosing the right tool depends on your operating system, technical expertise, and specific recovery needs.
FileZilla
FileZilla works on Windows, Mac, and Linux with a user-friendly interface similar to WinSCP. It’s a solid alternative if you prefer different software or need cross-platform compatibility.
To use FileZilla for recovery, connect to your rescue mode environment using the same credentials you’d use with WinSCP.
Command Line Tools
For experienced users, command-line tools offer more control and automation capabilities. These tools integrate well with scripts and scheduled tasks, making them ideal for regular backup operations or complex recovery scenarios.
SCP (Secure Copy Protocol) handles direct file transfers:
scp -r root@your-vps-ip:/mnt/Users/Administrator/Desktop ./recovery/The -r flag enables recursive copying for entire directories. Add -C to enable compression during transfer, reducing bandwidth usage for text-based files.
Rsync offers incremental transfers and preserves file permissions:
rsync -avz root@your-vps-ip:/mnt/ ./recovery/Rsync’s advantages include the ability to resume interrupted transfers and only copy changed files. The -a flag preserves permissions and timestamps, -v enables verbose output, and -z compresses data during transfer.
For large recoveries, consider using rsync with –progress to monitor transfer status:
rsync -avz --progress root@your-vps-ip:/mnt/ ./recovery/Native File Managers
Linux users can mount remote filesystems directly using SSHFS or their distribution’s file manager (Nautilus, Dolphin, Nemo).
SSHFS mounting example:
sshfs root@your-vps-ip:/mnt /local/mount/pointAfter mounting, you can use standard file operations (copy, move, delete) through your file manager. This approach feels more natural than command-line transfers and displays visual feedback about folder structures and file sizes.
Remember to unmount after completing recovery:
fusermount -u /local/mount/pointPreventing VPS Data Loss
Proactive measures stop emergency recovery needs. Research shows 93% of organizations experiencing prolonged data loss go bankrupt within a year, so prevention beats recovery.
Regular Backups
Set up automated backups before disaster strikes. VPS providers offer snapshot features that capture your entire system state, giving you quick recovery options when corruption hits.
Follow the 3-2-1 backup rule: maintain 3 copies of your data, on 2 different media types, with 1 copy stored offsite. This protects against multiple failure scenarios simultaneously.
Backup types to combine:
- Full snapshots: Capture your complete VPS weekly during low-traffic periods.
- Incremental backups: Run daily to back up only changes since the last backup.
- Application-level backups: Export databases separately to avoid corruption from live writes.
- Offsite replication: Store copies in different regions using cloud storage.
Schedule snapshots based on how frequently your data changes. At Cloudzy, our VPS plans include snapshot capabilities so you can automate backups without additional tools.
Test your backups quarterly. Industry data says 60% of backups are incomplete, and 50% of restores fail. Also, according to another backup statistics, 76% of organizations have experienced serious data loss, so verify that your backups actually work before you need them.
Document your recovery process so any team member can handle emergencies. Detailed runbooks prevent knowledge gaps when key personnel aren’t available.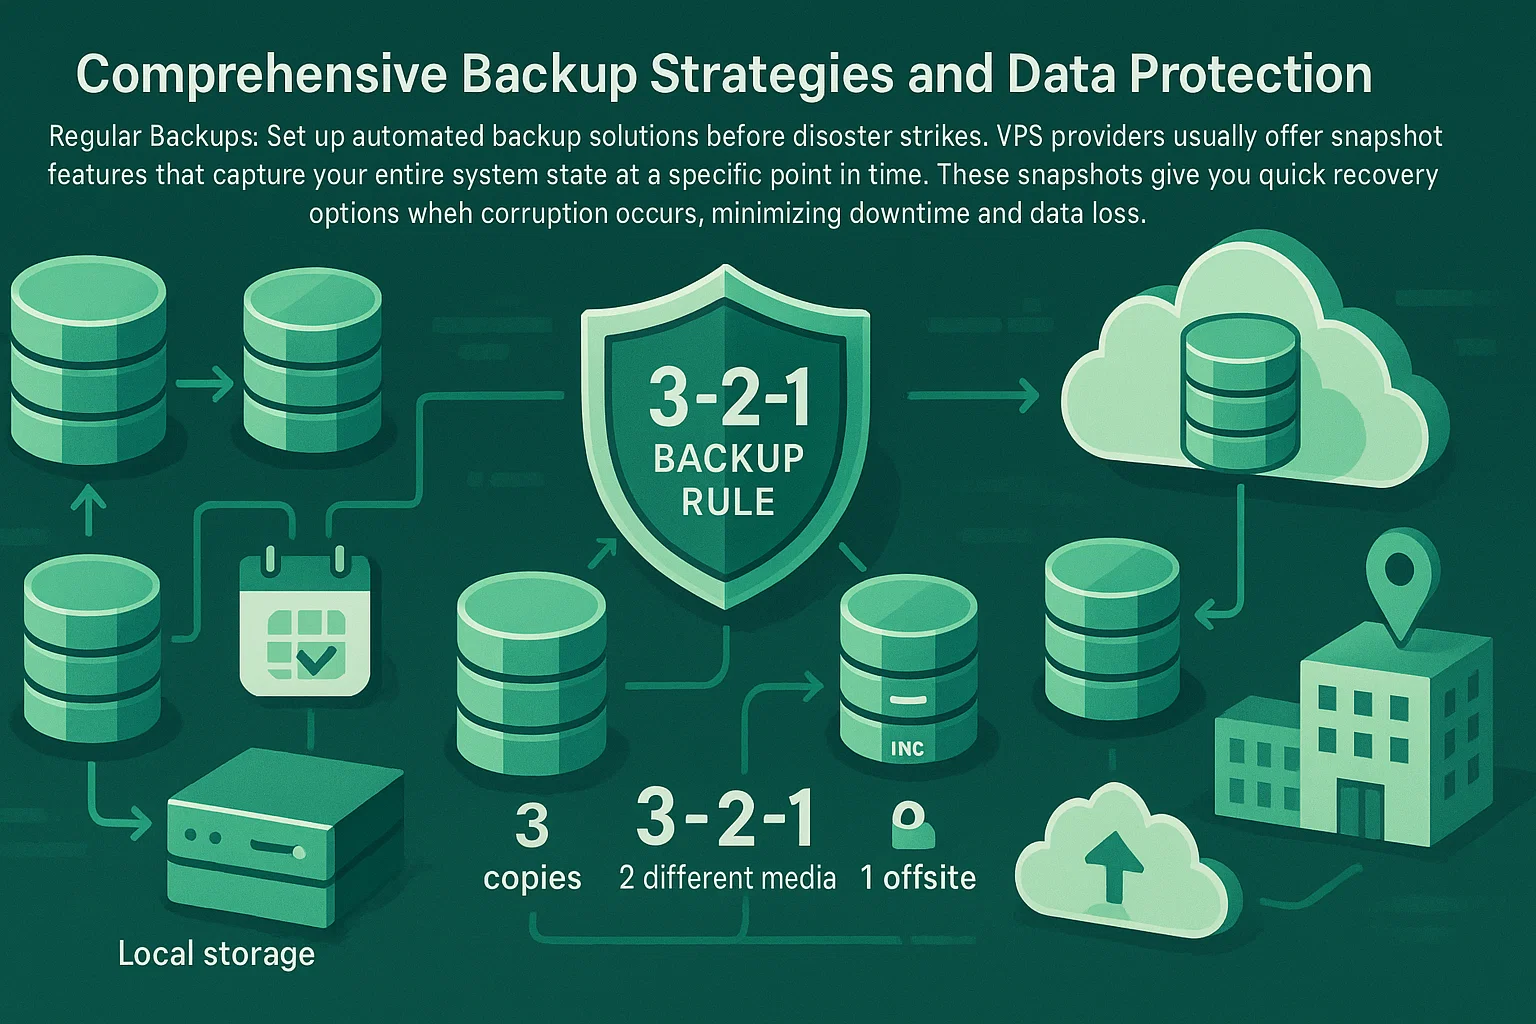
Filesystem Monitoring
Enable monitoring tools to catch corruption early. Linux systems use fsck on boot, while Windows systems benefit from regular chkdsk scans.
Set up automated alerts for filesystem errors so you address issues before they escalate. Modern filesystems include built-in integrity checking that repairs minor corruption automatically.
Power Protection
Choose a VPS provider with strong power redundancy and SLA guarantees. Cloud providers handle this through redundant power systems and backup generators at the datacenter level.
Your defense is regular snapshots and backups. When infrastructure power issues occur, you restore from your recent snapshot without data loss, making provider failures recoverable instead of catastrophic.
Testing Recovery Procedures
Data from recent surveys shows that 85.6% of data loss incidents occur within cloud storage environments. Despite this, many organizations fail to test their recovery procedures until emergencies occur, discovering too late that their backups are incomplete or corrupted.
Test your recovery procedures quarterly at a minimum. Verify that backups are complete, accessible, and can be restored within acceptable timeframes defined by your business continuity requirements. Document each test’s results and address any failures immediately.
Documentation of your recovery process makes sure that any team member can perform recovery when needed. Detailed runbooks stop single points of knowledge failure and enable faster response during emergencies when key personnel may be unavailable.
Conclusion
VPS corruption threatens business continuity, but correct recovery procedures minimize data loss. By using rescue mode and appropriate file transfer tools, you can retrieve valuable data before reinstalling your operating system. The techniques outlined in this guide work across most VPS configurations and hosting providers.
The key steps include: verifying the boot failure, enabling rescue mode, installing necessary drivers (ntfs-3g for Windows NTFS access), mounting your filesystem, and transferring files to safety. Following this sequence maximizes your chances of successful recovery while minimizing risks of additional data loss.
Prevention remains more effective than recovery. Regular backups, filesystem monitoring, and tested recovery procedures protect against unexpected failures. With the right preparation, VPS corruption becomes a manageable incident rather than a catastrophic event that threatens your business’s survival.
FAQ
How long does VPS file recovery typically take?
Can I recover files if rescue mode fails to boot?
Will file recovery work with encrypted VPS drives?
How do I prevent Fast Startup corruption on Windows VPS?
What if my partition table is corrupted?