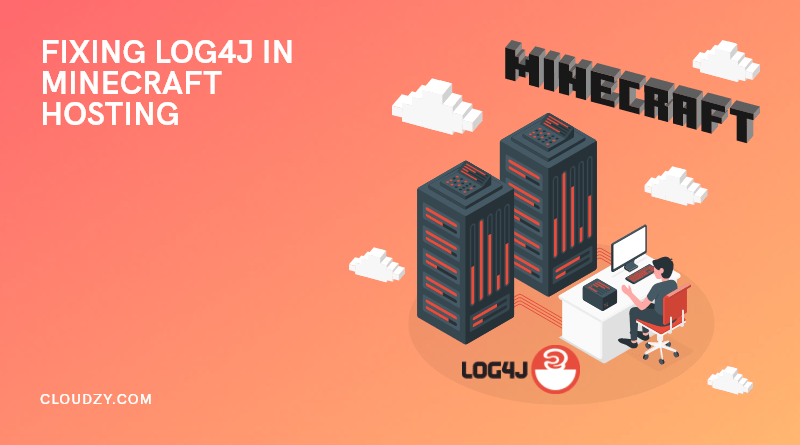
The words “Minecraft Log4j” sent a genuine chill down the spine of players and server administrators alike when the Log4j vulnerability, notoriously dubbed “Log4Shell,” first hit the news. This critical security flaw, which quietly affected countless Java-based applications, posed a particularly severe — and personal — threat to the Minecraft community. Why personal? Because Minecraft: Java Edition thrives on custom, self-hosted servers, placing the critical responsibility for patching this exploit squarely on the shoulders of dedicated server owners like you.
In this guide, I’m going to walk you through a clear, no-nonsense path to securing your game server. We’ll tackle not just this past Log4j scare, but also equip you with broader strategies for a truly safe and enjoyable environment for your players.

What is Log4J?
Log4J is an open-source logging software specifically developed for applications created with the Java framework. It seems that almost all major applications written in Java use Log4J in one way or another. That means a lot of big names are going to scramble to issue security updates and patches for their applications. Minecraft is no exception — worse, it seems the Log4J vulnerability Minecraft or “exploit” is even more effective when it comes to Minecraft. Naturally, vulnerability is limited to Minecraft: Java Edition, and other versions are immune. Then again, the Java Edition is the one you use to host your own Minecraft servers. But what is the Log4J exploit exactly?
The Log4j Minecraft vulnerability is not that straightforward. To explain what it does will take too long without adding much value to stopping it. Instead, let’s go over the basics that will help you get a grip on things as a Minecraft server owner. Log4J in Minecraft was a “zero-day” exploit. That means no one knew it was there and that’s why it was so effective. Now that the companies have discovered the vulnerability, they can quickly fix it and automatically update their applications. Of course, there are always cases where users fail to get the necessary patch or in some other way continue to be vulnerable to the attack. A Minecraft server is the most likely scenario for this kind of delayed vulnerability. That’s because the automatic update isn’t enough for Minecraft hosting. But that’s no cause of concern. Securing your Minecraft server isn’t that hard. In fact, if you follow the simple steps I’ll show you below, you can quickly make things right. Let’s see what these steps are.

What is Minecraft Self-Hosting?
I’ve pointed out before that the vulnerability of Log4J in Minecraft is a much more serious issue if you host your own Minecraft VPS server. But what exactly do we mean by Minecraft hosting? Is it different from playing online? And why is it more critical? To clarify things, I’ll go over some quick definitions. Make sure to follow and see if they apply to you and if you need to do anything to keep your computer and your Minecrafting safe and secure.
First, you need to know if you’re self-hosting your Minecraft games or using Minecraft Realms. Naturally, if you’ve paid a third-party hosting provider like Cloudzy’s Minecraft VPS and installed Minecraft on your own server, you definitely are self-hosting.
Second, Minecraft Realms is Mojang’s official, subscription-based server hosting service. It’s designed to be an incredibly simple, plug-and-play solution for creating a private online world for you and up to ten friends. Mojang handles all the technical backend, including server setup, maintenance, and security updates, meaning you don’t have to worry about manual fixes for issues like the Log4j exploit.

Why is Minecraft Self-Hosting more Vulnerable to Log4J Error?
There are a lot of reasons why a self-hosted Minecraft game is so popular despite it being more challenging to set up. Actually, the same is true for any kind of remote game hosting, including VTT board games.
With the vulnerability of Log4j, this threat mainly loomed over self-hosted Minecraft servers primarily due to the direct ownership and increased exposure brought about by customization. Unlike Realms, owners had to patch vulnerabilities by themselves. Leaving one unpatched meant an unprotected server. These servers were directly exposed to the internet, and with the existence of custom plugins/mods, it opened up more potential security holes, thereby attracting the threat.

How to Fix Log4J on Your Minecraft Server?
The first thing you need to do is to check which version of Minecraft you’re running on your server. The Log4J exploit only affects Minecraft version 1.7 and above — so if you have Minecraft 1.6, for example, you’re in the clear. Now, the first thing you should try is to update your Minecraft to version 1.18.1, which is patched to fix the issue. If you can’t do that, just follow these simple steps, based on the version of Minecraft installed on your server.
Steps For Minecraft 1.7 – 1.11.2
- Download the XML File: Get the log4j2_17-111.xml file from Mojang.
- Placement: Place this XML file in your server’s working directory (where server.jar is).
- Startup Command: Add -Dlog4j.configurationFile=log4j2_17-111.xml to your server’s startup command.
Steps For Minecraft 1.12 – 1.16.5
- Download the XML File: Get the log4j2_112-116.xml file from Mojang.
- Placement: Place this XML file in your server’s working directory.
- Startup Command: Add -Dlog4j.configurationFile=log4j2_112-116.xml to your server’s startup command.
Steps For Minecraft 1.17
For Minecraft 1.17.x, a simpler mitigation was available without the need for an external XML file:
- Startup Command: Startup Command: Simply add -Dlog4j2.formatMsgNoLookups=true to your server’s startup command.
Steps For Minecraft 1.18
For Minecraft 1.18, the most ideal solution remained upgrading to version 1.18.1. However, if an immediate upgrade was not possible, a temporary mitigation could be applied:
- Upgrade: Upgrade to Minecraft 1.18.1.
- Startup Command: If upgrading isn’t possible, use -Dlog4j2.formatMsgNoLookups=true as a temporary fix.

Ways to Secure a Minecraft Server
Alright, now let’s talk about the specific things you can do inside your Minecraft server to prevent the troubles and make sure everyone has a good time. Think of these as your server’s personal bouncers and protective spells!
1. Allow Whitelisting:
For private servers (like for your friends), enable whitelist in your server.properties file. This allows only the players that you have explicitly added to your whitelist to join, thus protecting from unwanted guests!
2. Use a Server Shield (Proxy Servers like BungeeCord/Velocity):
Consider these “backdoors” to your server. They cloak your main server’s IP address to the public-which is a central factor in Minecraft DDoS protection-so that the crime agent cannot just go out and attack your main server!
3. Give Powers Wisely (Permission Systems like LuckPerms):
Think of this as your server’s rulebook. Use a powerful permission plugin to regulate what a player can and cannot do. Never grant OP rights to a random player.
4. List Security Sidekicks (Helpful Plugins/Mods):
Great plugins will only make your server more secure. Anti-cheat is the main guard, with anti-griefing and rollback standing on its shoulders to protect builds. For offline servers, login security is essential, providing password protection.
5. Secure Your Control Panels (RCON & SSH):
Besides the regular gateways, these are the special backdoors that you and only you will be using to manage your server. Only allow your exact IP address to access it; think of it as an entrance reserved for the VIPs!

Conclusion
Securing your Minecraft server is an ongoing process of attention and smart management. By updating software, configuring startup flags, and layering defenses with whitelists, proxies, and permission plugins, you build a strong, trustworthy digital home for your community. These steps are the cornerstone of providing truly secure Minecraft server hosting, ensuring your players can build and explore without fear.