Corrupted Windows files can completely cripple your PC. You might notice sluggish performance, failed Windows updates, or, in worst cases, a blue screen of death that prevents Windows from booting at all. When basic fixes like CHKDSK and SFC don’t work, you’re left with one powerful option before resorting to a full Windows reinstall.
This guide shows you how to use DISM restore health to repair corrupted Windows 10 and 11 system files. You’ll learn when to use each diagnostic command, how long repairs actually take, and what to do when DISM gets stuck. We’ll cover using installation media when Windows Update fails, plus offline repairs for systems that won’t boot.
What Is DISM?
DISM is a command-line tool built into Windows 10 and Windows 11. System administrators use it to prepare and repair Windows images. Note that Windows 10 support has ended. You should upgrade to Windows 11 for a secure, stable environment.

This includes Windows Setup, Windows Preinstallation Environment (Windows PE), and Windows Recovery Environment (Windows RE). The tool is particularly useful for managing Windows VPS environments that need high stability.
So how does DISM actually work? It targets corruption in the Windows component store. DISM repairs these files using Windows Update or a source you specify.
The tool doesn’t reinstall Windows. Instead, it finds core files needed for operation, then repairs corruption in the component store
DISM works closely with the System File Checker (SFC). SFC handles specific errors by scanning for and restoring corrupted Windows system files.
However, SFC becomes ineffective when one or more system files in the local image are corrupted.
That’s when DISM steps in to repair the image using installation media from either install.wim (Windows Image) or install.esd (Electronic Software Delivery) image files.
The tool also offers numerous standalone functions for maintenance and repair.
Now that you understand DISM’s purpose, let’s explore how to use the DISM restore health command to repair your Windows image.
DISM Command with CheckHealth Option
Let’s start with the quickest diagnostic method. The CheckHealth option provides a quick assessment to determine if the Windows image has been flagged as corrupted.

This scan completes rapidly without making any repairs. Use CheckHealth as your initial diagnostic step.
To check your Windows image health, open Command Prompt or Windows PowerShell as Administrator. Click Start, search for either Command Prompt or Windows PowerShell, then select Run as Administrator. This process works the same way for Windows 10 DISM operations.
Run the following command:
DISM /Online /Cleanup-Image /CheckHealthThe CheckHealth scan completes within seconds. If corruption is detected, proceed with the more thorough ScanHealth option.
DISM Command with ScanHealth Option
If CheckHealth finds issues, you’ll need a deeper analysis. ScanHealth performs a thorough scan to detect corruption in your Windows image.

This DISM repair operation takes considerably longer than CheckHealth but provides detailed corruption detection.
Open Command Prompt or Windows PowerShell as Administrator, then execute:
DISM /Online /Cleanup-Image /ScanHealthAccording to Microsoft documentation, ScanHealth may take several minutes to complete the thorough scan.
DISM Command with RestoreHealth Option
Once CheckHealth or ScanHealth identifies corruption, use DISM RestoreHealth to repair the damaged files automatically. Knowing the differences between these three DISM diagnostic and repair options helps you choose the right approach for your situation.

Here’s a quick comparison of the three main DISM health commands:
| Command | Purpose | Duration | Makes Repairs |
| CheckHealth | Quick corruption check | Few seconds | No |
| ScanHealth | Thorough corruption scan | Several minutes | No |
| RestoreHealth | Scan and repair corruption | 10-30 minutes (or longer) | Yes |
DISM.exe Online Cleanup Image Restorehealth
Before proceeding, make sure your PC can boot into Windows and that you can log in normally. The DISM online cleanup-image restorehealth command requires an active Windows session to function properly.
Check the Health of Windows System Files
Open Command Prompt or Windows PowerShell as Administrator. Execute both diagnostic scans:
DISM /Online /Cleanup-Image /CheckHealth

DISM /Online /Cleanup-Image /ScanHealth
After detecting corrupted files, use the DISM restore health command to repair them. This command is particularly effective for resolving system file corruption that can lead to various Windows errors, including kernel security check failure issues:
DISM /Online /Cleanup-Image /RestoreHealthHow Long Does DISM Restore Health Take
The DISM restore health process requires patience. The typical duration ranges from 10 to 30 minutes, though completion time varies based on several factors.

The progress bar may appear stuck at certain percentages, particularly at 20%, 62.3%, or other points. This behavior is normal. The process can extend to several hours when dealing with extensive corruption or slower systems.
Your system’s speed, the extent of corruption, available RAM, and internet connection speed all influence completion time. Windows 11 requires 4GB of RAM, while Windows 10 works with 2GB. Low memory can cause the tool to freeze.
Whatever you do, don’t interrupt the process until the progress bar reaches 100% and displays a completion message.
Even when the progress appears frozen, DISM continues working in the background to download and replace corrupted files.
How to Cancel DISM Restore Health
If you need to stop the restore health DISM process, you can close the Command Prompt or PowerShell window. This terminates the DISM operation immediately.
However, understand that closing the window stops the repair without saving progress. If you restart DISM later, it begins the entire process from the beginning.
The better approach is to wait for the process to complete naturally. DISM doesn’t damage your system if interrupted, but you’ll need to run the full operation again to repair your Windows image.
Use Installation Media to Restore Your PC
When Windows restore health operations cannot repair your Windows installation using Windows Update, your installation files are likely too corrupted. In this scenario, you need an alternative installation source to repair Windows files, such as a Custom ISO VPS image.
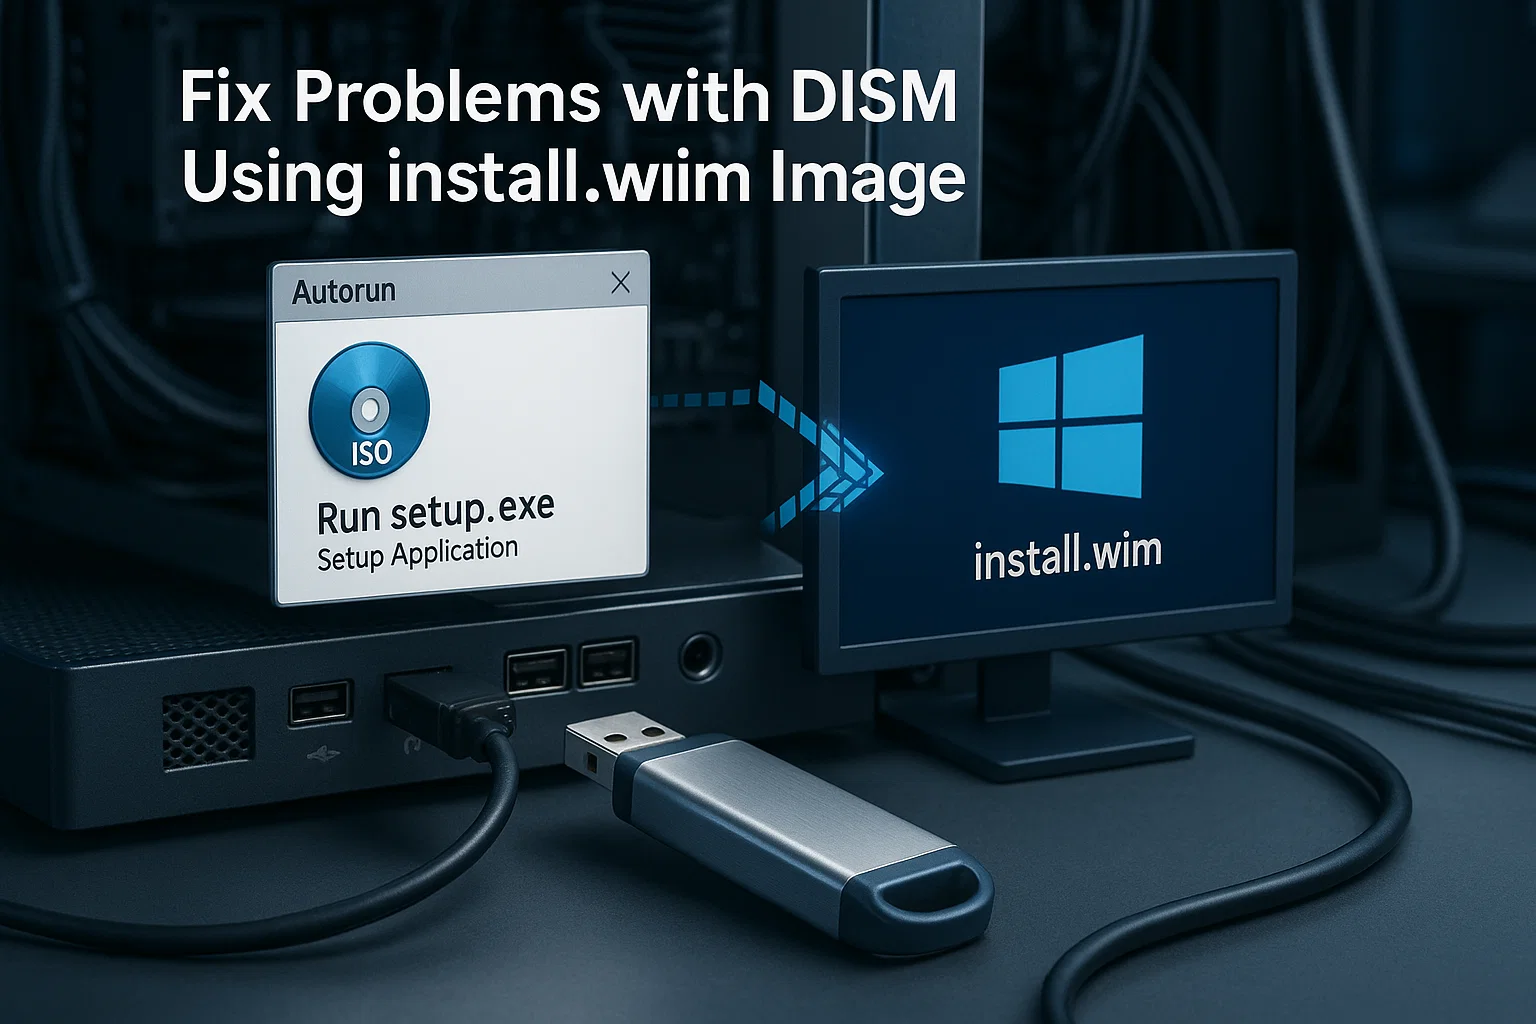
Fix Problems with DISM Using install.wim Image
Download the latest Windows installation media matching your Windows version from Microsoft. Follow these steps to create installation media:
- Launch the Media Creation Tool and accept the terms and conditions
- Select “Create installation media (USB flash drive, DVD, or ISO file) for another PC.”
- Choose the corresponding language, edition, and architecture for your system
- Select either a USB flash drive or an ISO file as your preferred format
- Wait for the tool to finish the download and creation
If you have Windows access, download the Windows ISO file and mount it by double-clicking. This removes the need for a USB drive.
With your installation source ready, here’s the command to restore healthy Windows 10 systems:
DISM /Online /Cleanup-Image /RestoreHealth /Source:wim:D:\Sources\install.wim:1 /LimitAccessReplace D:\ with the actual drive letter of your mounted ISO or USB drive.
Fix Problems with DISM Using ESD Image
Newer Windows installations often use compressed ESD (Electronic Software Delivery) files instead of WIM files. If your installation media contains install.esd rather than install.wim, use this command:
DISM /Online /Cleanup-Image /RestoreHealth /Source:esd:D:\Sources\install.esd:1 /LimitAccessAgain, replace D:\ with your ISO or USB drive letter. The /LimitAccess parameter prevents DISM online repair from attempting to contact Windows Update, relying solely on your local source.
How to Use DISM Offline Repair Windows 11
When Windows 11 won’t boot, you can still repair it using the DISM command to restorehealth from the Windows Recovery Environment. This offline repair method works when your system is unresponsive and is particularly useful for Windows 11 VPS environments.

Boot from your Windows 11 installation USB or DVD. Select “Repair your computer” instead of installing Windows. Navigate to Troubleshoot, then Advanced Options, and finally Command Prompt.
In the Recovery Environment, determine which drive contains Windows using:
diskpart

list volume

exit
Note the drive letter assigned to your Windows installation (often different from C: in recovery mode). Then run DISM against the offline installation:
DISM /Image:C:\ /Cleanup-Image /RestoreHealth /Source:wim:E:\Sources\install.wim:1 /LimitAccessReplace C:\ with your Windows drive letter and E:\ with your installation media drive letter.
Repairing Windows Installation with SFC
DISM repaired the component store. This area holds the source copies of your Windows files. You must now fix the active system files that use this source. Problems may persist because the installation itself remains corrupted.
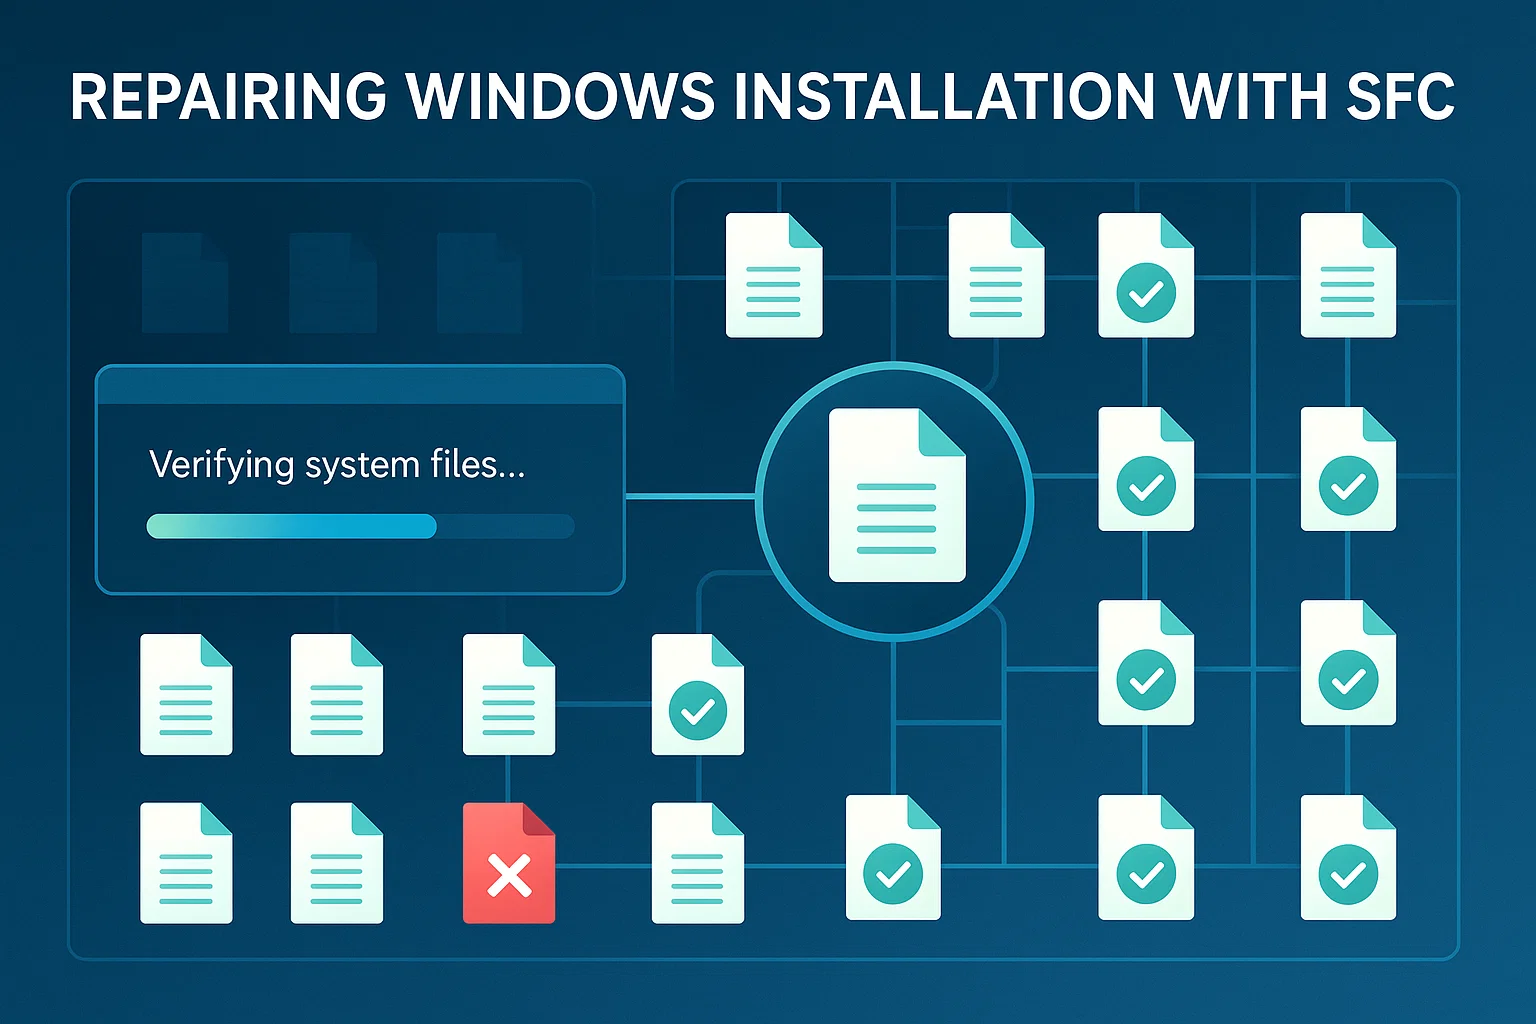
The SFC command completes the repair process. Open Command Prompt or PowerShell as Administrator and run:
sfc /scannowSFC scans all protected system files and replaces corrupted versions with healthy copies from the repaired Windows image. You may need to run this command multiple times if issues persist.
DISM Features on Demand
Beyond repair operations, DISM also manages optional Windows features. Features on Demand (FoD) are Windows capabilities that can be added anytime after installation.
These include language resources, handwriting recognition, and the .NET Framework. The health restore command manages these installations effectively.
When Windows 10 or Windows 11 needs a new feature, it requests the feature package from Windows Update automatically. System administrators can also preinstall FoDs using DISM to make sure features are available immediately when users need them.
DISM manages Features on Demand through the /Add-Capability command. For online systems connected to Windows Update, the command downloads and installs features directly. For offline systems or custom deployments, administrators can specify local source files containing the required capabilities.
WSUS cannot host these feature files locally. Your systems need to reach Windows Update or a network share to get the payload. You can configure Group Policy to allow this. This keeps regular updates on WSUS while letting specific features download directly from Microsoft.
DISM Free Up Space
Once your system is repaired and healthy, you might want to reclaim some disk space. Windows maintains copies of all installed updates so you can uninstall them if problems occur.
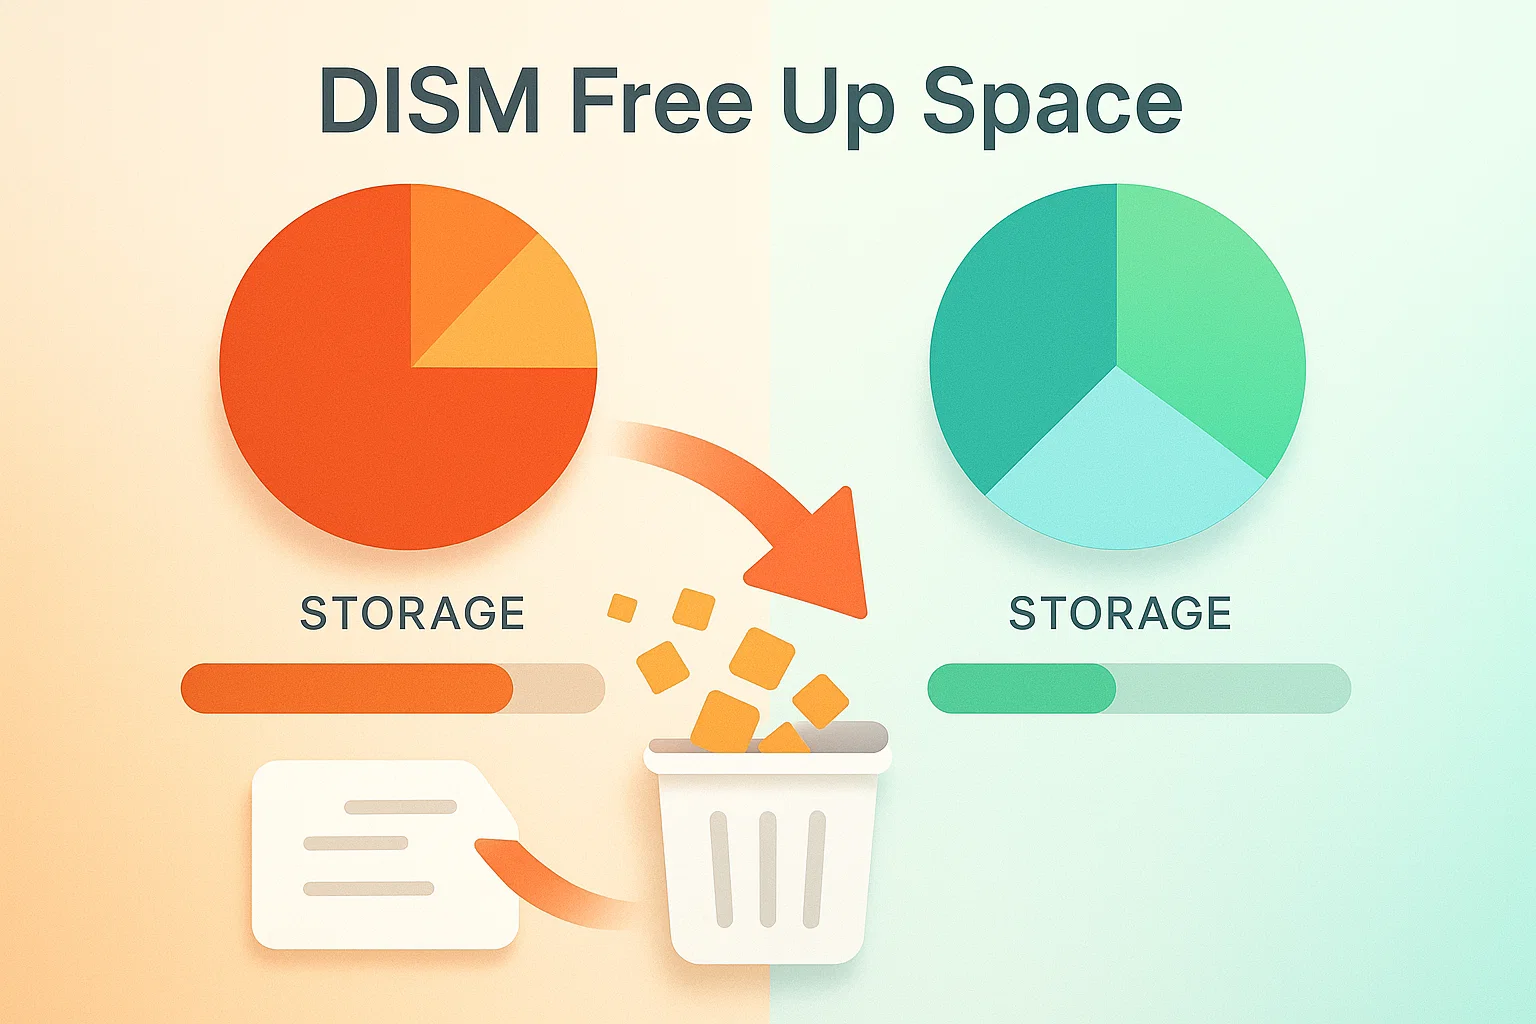
These copies consume considerable disk space over time and are often unnecessary for most users. The DISM component cleanup commands help you manage this storage.
DISM provides commands to remove these old update backups and reclaim disk space. Remember that deleting these copies permanently prevents you from uninstalling Windows updates later.
The three main cleanup options differ in their aggressiveness and impact on update rollback capability:
| DISM Cleanup Command | Purpose | Can Rollback Updates After |
| AnalyzeComponentStore | Check space usage and cleanup recommendations | Yes (analysis only) |
| StartComponentCleanup | Remove unnecessary update files | Yes |
| StartComponentCleanup /ResetBase | Maximum space recovery, remove all superseded components | No |
Analyze Component Store
First, analyze the Windows Update component store. This shows how much space you can recover with DISM cleanup operations. Right-click Start and open Windows PowerShell or Windows Terminal as Administrator.
Enter this command:
DISM /Online /Cleanup-Image /AnalyzeComponentStoreAfter the analysis completes, DISM reports the component store size and recommends whether cleanup would be beneficial.
Start Component Cleanup
For deep cleanup, use the ResetBase parameter. This removes all superseded versions of every component in the component store.
DISM /Online /Cleanup-Image /StartComponentCleanup /ResetBaseWarning: You cannot uninstall current updates after this runs. Use this only when you need to recover disk space.
Troubleshooting DISM Issues
Even with the right commands, things can go wrong. When running DISM restore health commands, you may encounter various errors or situations where the process doesn’t behave as expected.
Knowing common issues and their solutions helps you resolve problems quickly and finish repairs successfully.
The following table outlines frequent DISM problems, their causes, and proven solutions:
| Error/Issue | Cause | Solution |
| DISM stuck at 20% or 62.3% | Normal behavior during file verification | Wait 30-60 minutes before interrupting |
| Error 0x800f081f | Source files not found | Use /Source parameter with matching ISO |
| DISM fails with no internet | Cannot access Windows Update | Use local install.wim or install.esd |
| Insufficient RAM error | RAM is below 2GB (Win10) or 4GB (Win11) | Close apps or add memory |
| Language mismatch error | ISO language differs from Windows | Download the matching language ISO |
Image Mismatch Errors
If DISM encounters problems executing the RestoreHealth command, a mismatch might exist between your running image and the repair source. These mismatches occur when the OS version, architecture (x64 or x86), or default language differs.
For example, if you installed UK English Windows but downloaded US English installation media, DISM reports errors. Check your online image’s international settings:
DISM /Online /Get-IntlFor offline repair sources, check the international settings using:
DISM /Image:<path_to_offline_image_directory> /Get-IntlReplace the path with your actual ISO or USB drive location.
If language discrepancies exist, you can correct them using specific DISM commands. These include /Set-UILang, /Set-UILangFallback, /Set-UserLocale, and /SetInputLocale.
The simpler solution is downloading installation media that exactly matches your Windows version, edition, and language.
How to Run DISM Restore Health
Running DISM online restore health correctly requires administrative privileges and proper syntax. Always open Command Prompt or Windows PowerShell as Administrator before executing DISM commands.
Make sure you have a stable internet connection when using the basic RestoreHealth command without specifying a source. DISM downloads replacement files from Windows Update automatically.
For systems without internet access or when Windows Update is unavailable, always specify a local source using the /Source parameter. This gives DISM access to the files needed for repair.
What Does DISM Restore Health Do
The DISM /online /cleanup-image /restorehealth command scans the Windows component store (located in the WinSxS folder) for corruption. When it finds damaged or missing files, it downloads replacement files from Windows Update or uses files from a specified local source.
The command repairs the component store without affecting your personal files, installed applications, or system settings. It works at the image level, fixing the foundation that Windows uses to keep itself running and healthy.
After DISM repairs the component store, running SFC makes sure all system files throughout Windows match the correct versions from the now-healthy component store.
Additional DISM Capabilities
Beyond repairing Windows, DISM handles numerous technical operations. These include capturing and applying hard disk partition images, mounting and modifying Windows Images, and working with single.WIM files and creating data images.
System administrators and IT professionals regularly use these advanced DISM features for deployment, maintenance, and troubleshooting across multiple systems. You can read more about these tools in the official Microsoft DISM documentation.
Run DISM on Cloudzy Windows VPS
At Cloudzy, our Windows VPS plans give you full admin access. You can run DISM commands whenever you need them. It doesn’t matter if you manage Windows 10 or Windows 11 VPS instances.
You get dedicated resources with network speeds up to 40 Gbps. We also have data centers in 16+ global locations. Our environments include snapshot tools. Also, you can create backups before you run system repairs. If a DISM operation fails, you can roll back instantly.
Plus, our Custom ISO VPS option lets you upload your own installation media. You can fix offline systems without relying on Windows Update.
We also include 24/7 support. Our team can guide you through DISM operations and troubleshooting. You also get NVMe storage for faster scans.
Conclusion
Start with CheckHealth for a quick diagnostic look at your system. If you see errors, move to ScanHealth for a detailed scan of the image. Run RestoreHealth to fix any corruption you find. If Windows Update fails, use installation media. The offline repair method also works for systems that won’t boot.
DISM repairs the component store, which is why you must run SFC afterward to fix the actual Windows installation. Once your system is healthy, use the cleanup commands to remove old update files and reclaim disk space. This helps you solve system errors without performing a full, complex reinstall.
