In this MikroTik L2TP VPN setup, L2TP handles the tunneling while IPsec handles encryption and integrity; pairing them gives you native client compatibility without third-party agents. Validating your cryptographic hardware limits remains an absolute priority.
Ignoring the encapsulation overhead this dual-protocol stack introduces quietly suffocates deployments before they process a single megabyte.
What is MikroTik L2TP VPN?
By its foundational design, L2TP functions purely as a hollow transport bridge. It provides absolutely zero inherent encryption for your moving traffic across hostile networks.
To add encryption and integrity, network architects pair L2TP with IPsec; the result is a dual-protocol stack where L2TP wraps the tunnel, and IPsec secures the payload. This hybrid architecture remains the top choice for legacy compatibility without deploying invasive third-party agents
Understanding this dual-protocol reliance strictly dictates how you build firewall exceptions. Your MikroTik VPN setup will instantly shatter if either the UDP routing or the underlying IPsec encapsulation process fails.
How It Works
Establishing this secured connection demands a precise, two-stage network handshake. IKE Phase 1 first arbitrates the cryptographic security association using your complex Pre-Shared Key.
Once this invisible wall stands, Phase 2 builds the L2TP tunnel directly inside the encrypted payload. If either phase fails because of a PSK mismatch, proposal mismatch, blocked UDP 500/4500, or NAT handling problems, the tunnel will not come up. In some Windows NAT-T edge cases, a registry change may also be needed.
The Double Encapsulation Process
In-flight data in a MikroTik L2TP VPN setup undergoes a severe packaging process. It enters a standard PPP frame, gets enveloped by the L2TP protocol, and is armored by IPsec ESP.

This compounding overhead aggressively inflates packet dimensions, pushing them far beyond standard network Maximum Transmission Unit limits. This sudden inflation inevitably triggers violent packet fragmentation across high-latency environments.
If your enterprise values sheer speed over deep tunneling, check out our guide on Shadowsocks Configuration, which provides a compelling, low-overhead alternative. I argue that heavy tunneling is often overkill for simple web-based enterprise applications.
How to Set Up MikroTik L2TP VPN?
Deploying a fortified server on RouterOS v7 demands absolute precision. For the cleanest setup, give the router a publicly reachable address or stable DNS name. A static public IP is preferred, but not mandatory in every deployment.
You must secure a configuration backup immediately, as broken IPsec policies will lock you out. Review our guide on standard Mikrotik Port Forwarding documentation before manipulating cryptographic traffic chains. Follow this MikroTik L2TP VPN setup precisely. Rushing firewall rules on a live production router is a guaranteed disaster.
Step 1: Create the IP Pool and PPP Profile
You must define local IP addresses. Your connecting clients receive these IPs.
- Open the IP menu. Click the Pool option.
- Click the Add button. Name the pool vpn-pool.
- Set your specific IP range.
- Open the PPP menu. Click the Profiles option.
- Click the Add button. Name the profile l2tp-profile.
- Assign the Local Address to your router gateway.
- Set the Remote Address to vpn-pool.
Step 2: Enable the Global Server and IPsec
This step activates the global L2TP listener in your MikroTik L2TP VPN setup. RouterOS attaches the IPsec encryption dynamically once you enable it.
- Open the PPP menu. Click the Interface option.
- Click the L2TP Server button.
- Check the Enabled check box.
- Select the L2TP-Profile as the Default Profile.
- Select Require under Use IPsec, unless you intentionally need a non-IPsec fallback for a lab or migration case.
- Type a complex string into the IPsec Secret field.
Step 3: Add PPP Users (Secrets)
Your server requires user accounts. You must create remote client authentication credentials.The next part of your MikroTik L2TP VPN setup moves to the PPP profile.
- Open the PPP menu. Click the Secrets option.
- Click the Add button.
- Type a unique Name. Type a secure Password.
- Set the Service to L2TP.
- Set the Profile to l2tp-profile.
Step 4: Configure the Firewall Rules (Priority)
Your firewall blocks IPsec negotiation. You must place these rules in your Input chain.
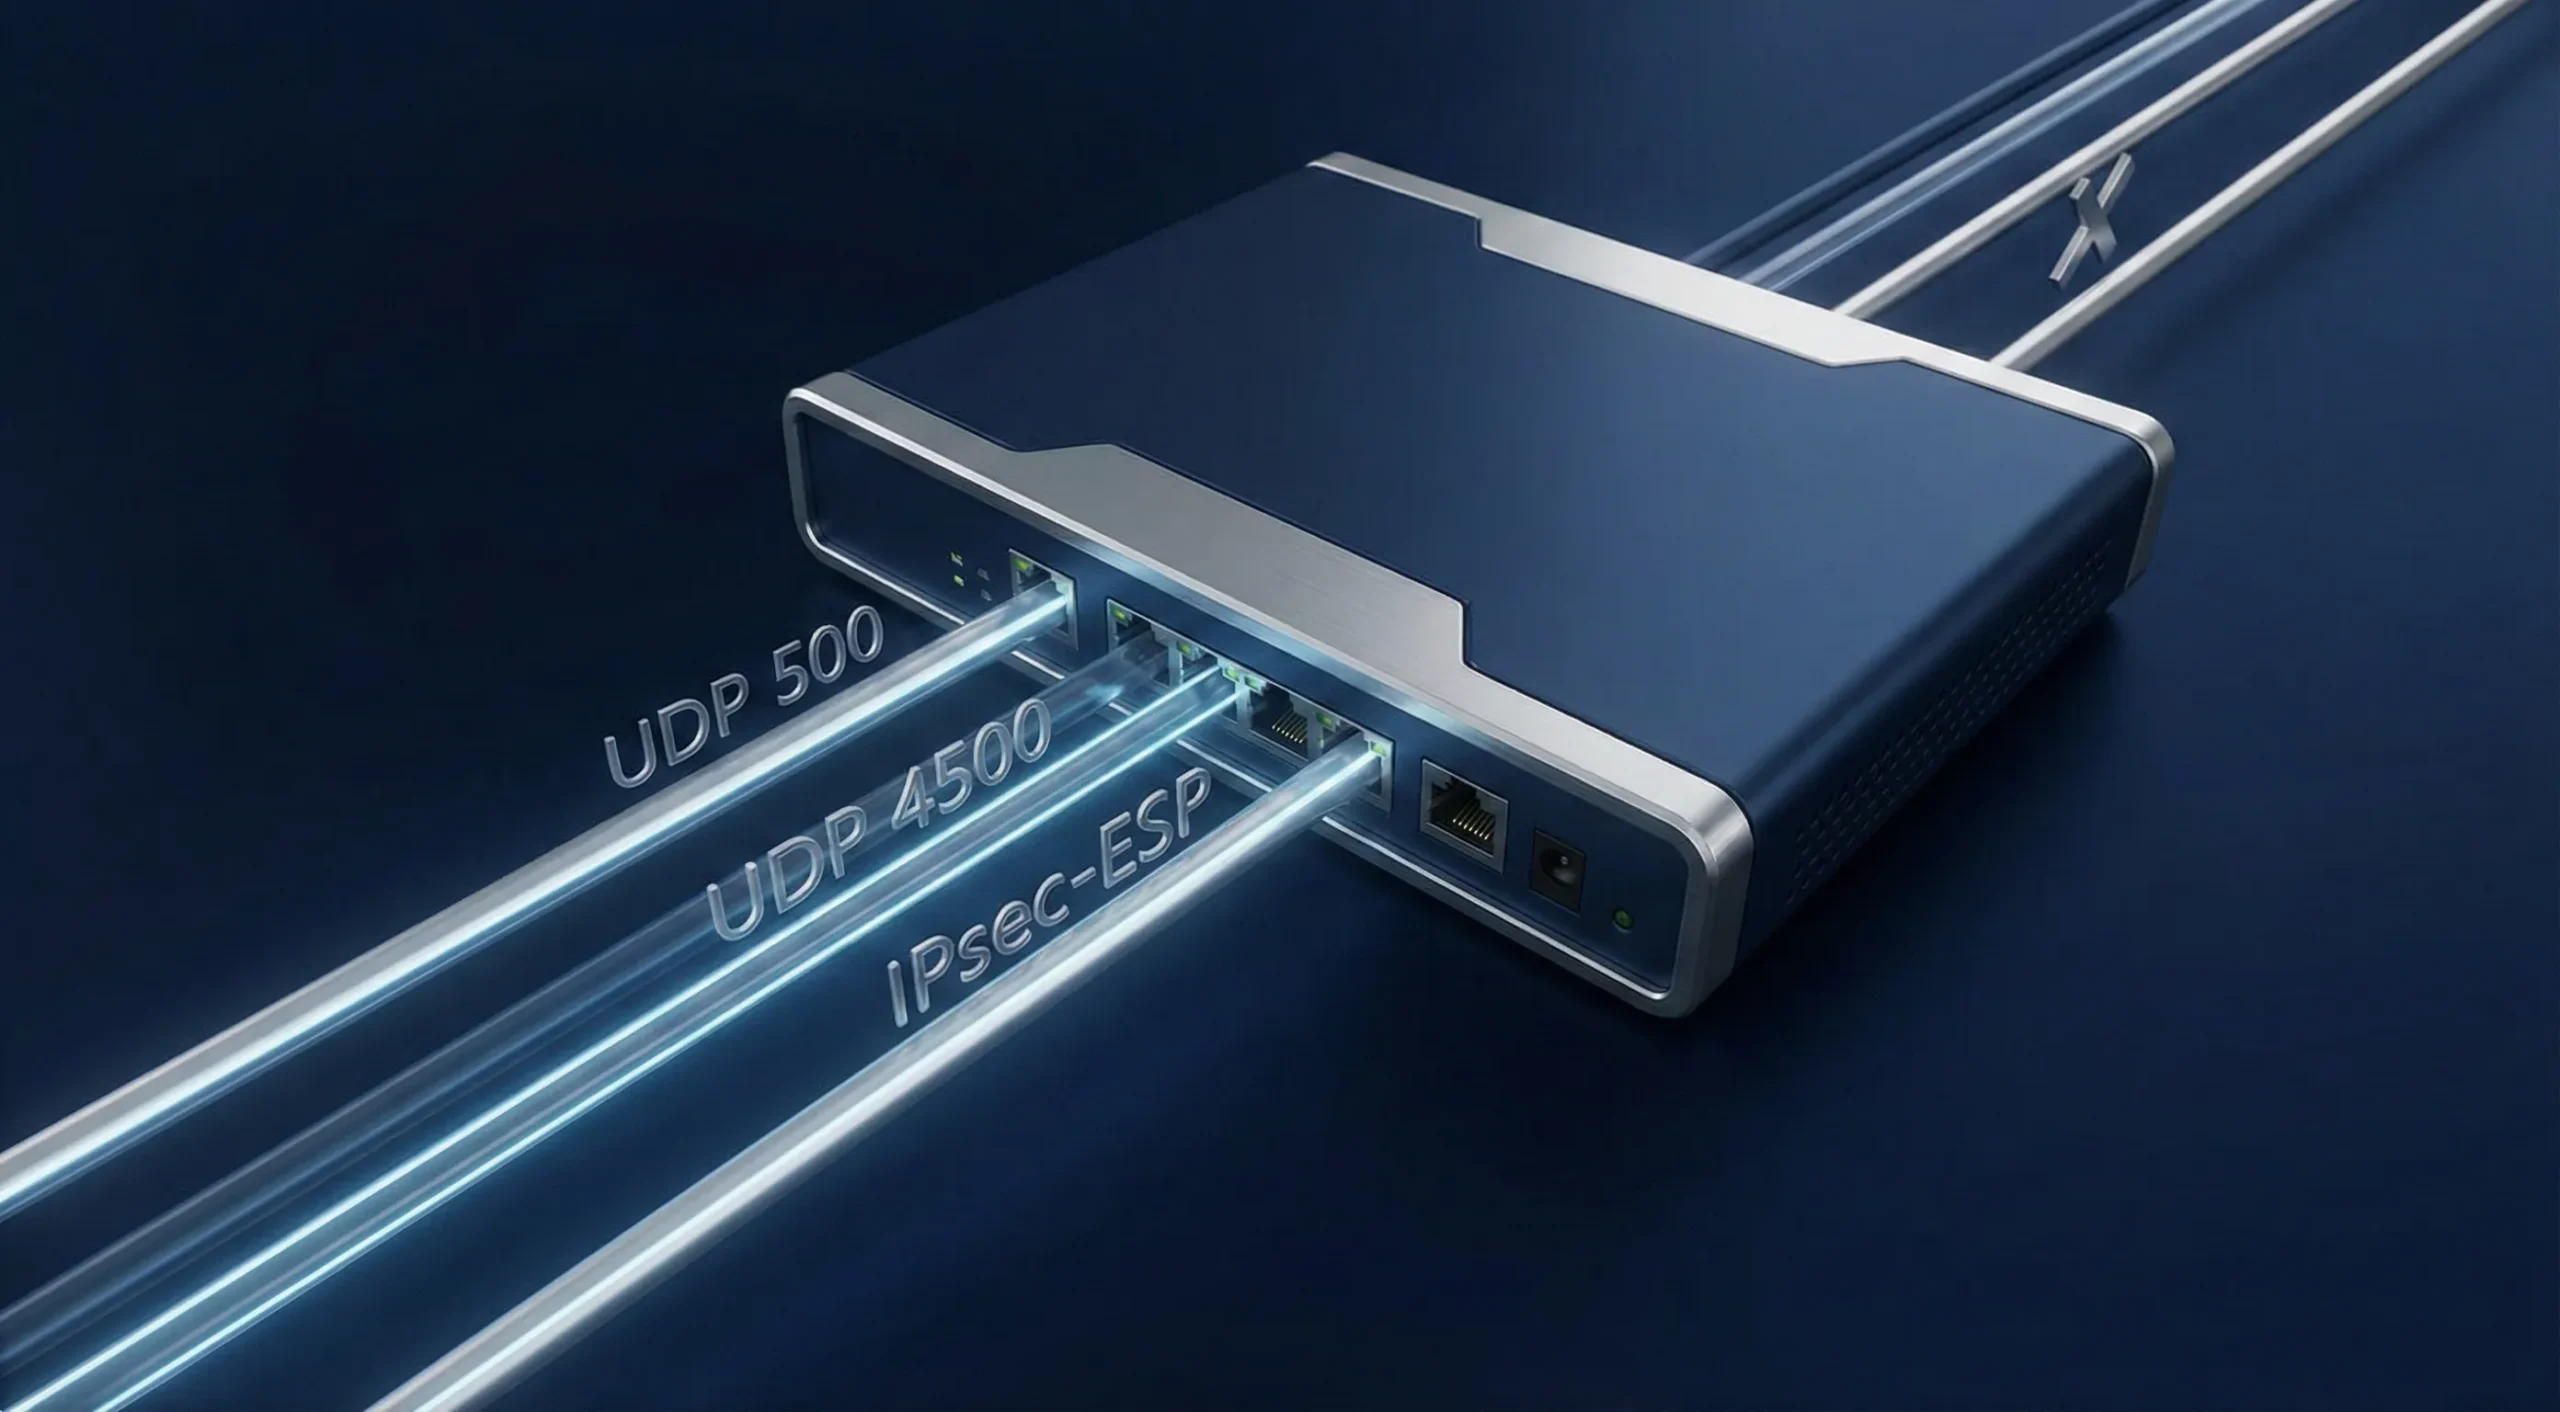
- Accept UDP port 500. This handles Phase 1 security associations.
- Accept UDP port 4500. This processes NAT Traversal.
- Accept UDP port 1701 for L2TP link establishment. After setup, related traffic may use other UDP ports as negotiated.
- Accept the IPsec-ESP protocol. This allows Protocol 50 encrypted payloads.
If VPN clients need routed access to internal subnets, also add IPsec policy match rules in the forward chain and exempt matching traffic from srcnat/masquerade. FastTrack bypass alone is not enough for all routed IPsec cases.
Step 5 & 6: Optimize Default Policies and Peer Profiles
RouterOS uses default dynamic templates. You must secure them manually.
- Open the IP menu. Click the IPsec option. Click the Proposals tab.
- Verify the sha256 hash parameter. Verify AES-256 CBC encryption.
- Set the PFS Group to modp2048 at minimum, or a stronger group if all client platforms in scope support it. Do not use modp1024; RFC 8247 marks it as SHOULD NOT.
- Click the Profiles tab. Set Hash to sha256. Set Encryption to aes-256.
- Check NAT Traversal if clients or the server may sit behind NAT. This lets IPsec work correctly over UDP 4500 in NATed paths.
All proposal values, including the PFS group, hash algorithm, and encryption cipher, must match what your client platforms actually support; mismatches will cause Phase 2 to fail silently.
Advanced Optimization (Bypassing FastTrack)
The default IPv4 FastTrack rule artificially accelerates packet forwarding. This routinely shatters IPsec tunnels because it fast-tracks packets before the encryption cycle occurs.

You must explicitly bypass FastTrack for all cryptographic traffic. Create an Accept rule using IPsec Policy=in,ipsec matchers. Drag this rule above FastTrack. Your MikroTik VPN configuration will stabilize once this is in place.
If VPN clients need routed access to internal subnets, also add IPsec policy match rules in the forward chain and exempt matching traffic from srcnat/masquerade. FastTrack bypass alone is not enough for all routed IPsec cases.
Key Features and Benefits
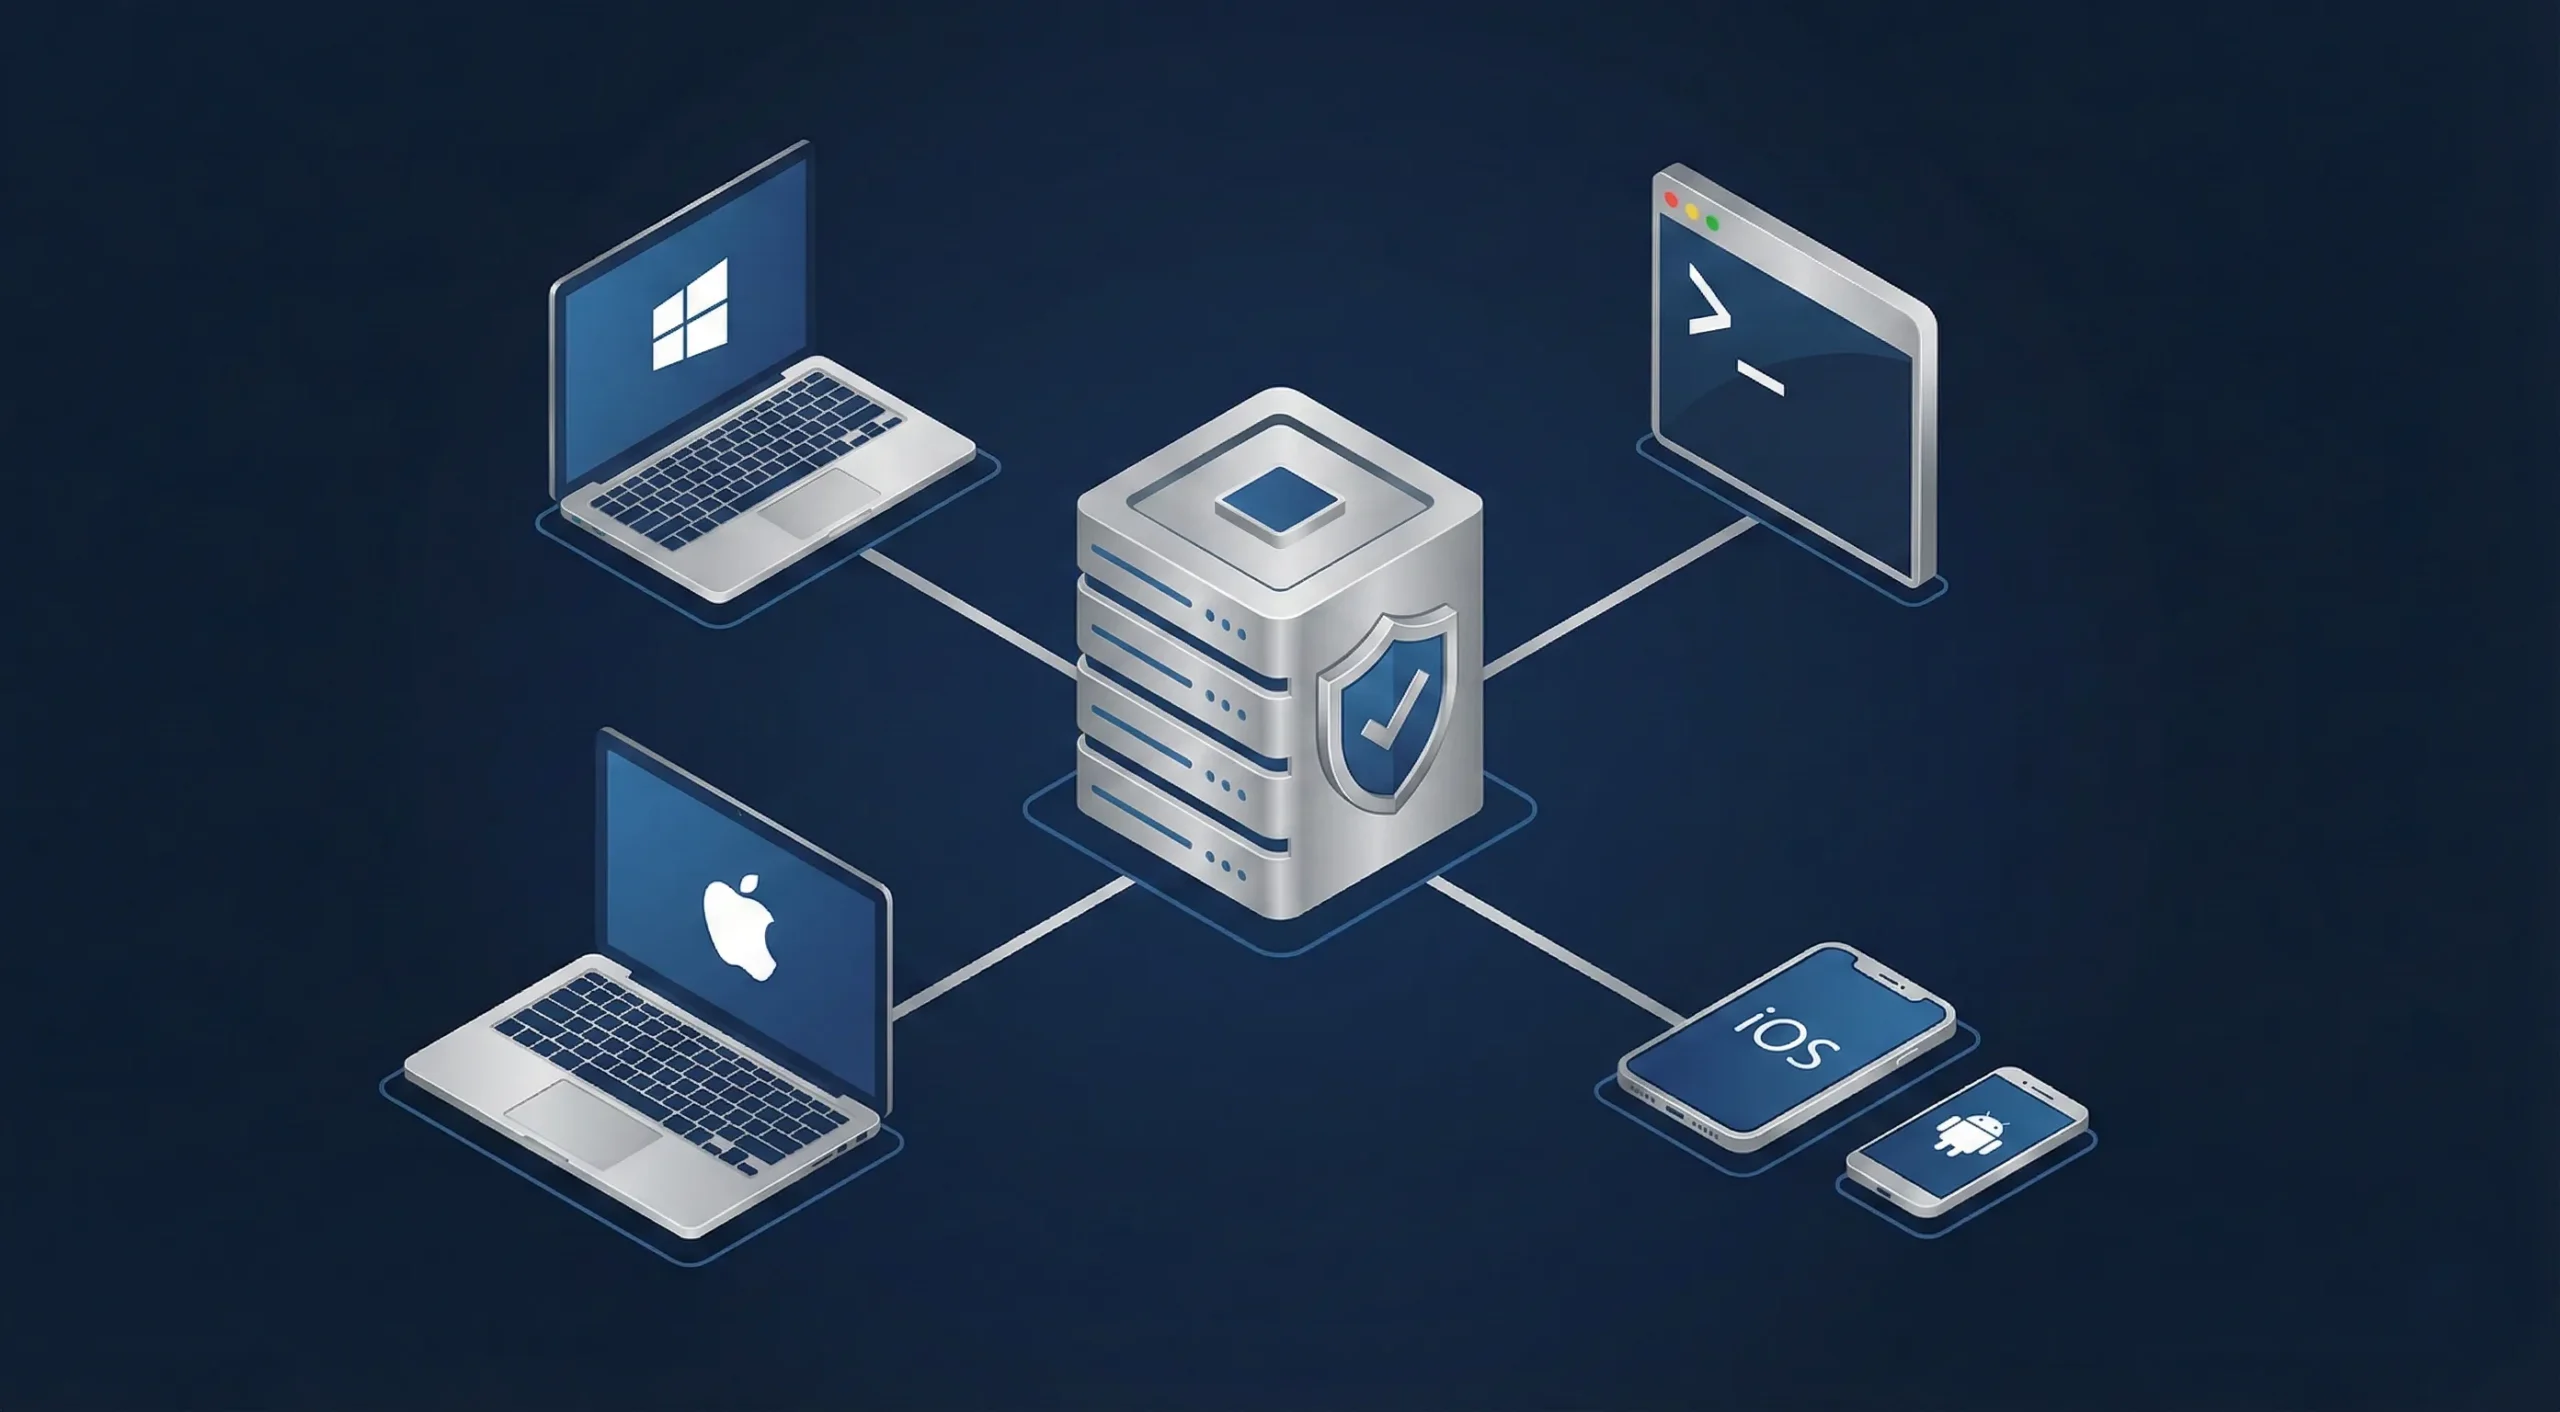
Many teams still choose a MikroTik L2TP VPN setup over zero-trust models to retain native OS compatibility and avoid third-party agents. Yet, veteran sysadmins continue adopting this heavy IPsec overhead purely to retain absolute administrative convenience. Native operating system integration surgically eliminates conflicting third-party software agents from your endpoints.
I often note that native OS tools outlast trending third-party agents every single time. Skipping these mandatory client rollouts easily saves helpdesk departments hundreds of wasted hours annually. Finalizing this MikroTik L2TP VPN setup does impose harsh hardware realities, which are detailed below.
| Feature Area | RouterOS Impact |
| Security Standard | AES-256 IPsec encryption defends against Man-in-the-Middle attacks. |
| Compatibility | Broad built-in support on Windows and Apple platforms, with platform- and version-specific support on other systems. |
| CPU Overhead | IPsec throughput depends on the router model, CPU, traffic pattern, cipher suite, and offload support. On supported hardware, RouterOS can use IPsec acceleration such as AES-NI. |
| Firewall Complexity | Firewall rules vary by topology, but L2TP/IPsec commonly involves UDP 500, UDP 4500, L2TP control traffic, and IPsec policy handling. |
Security and Native Compatibility
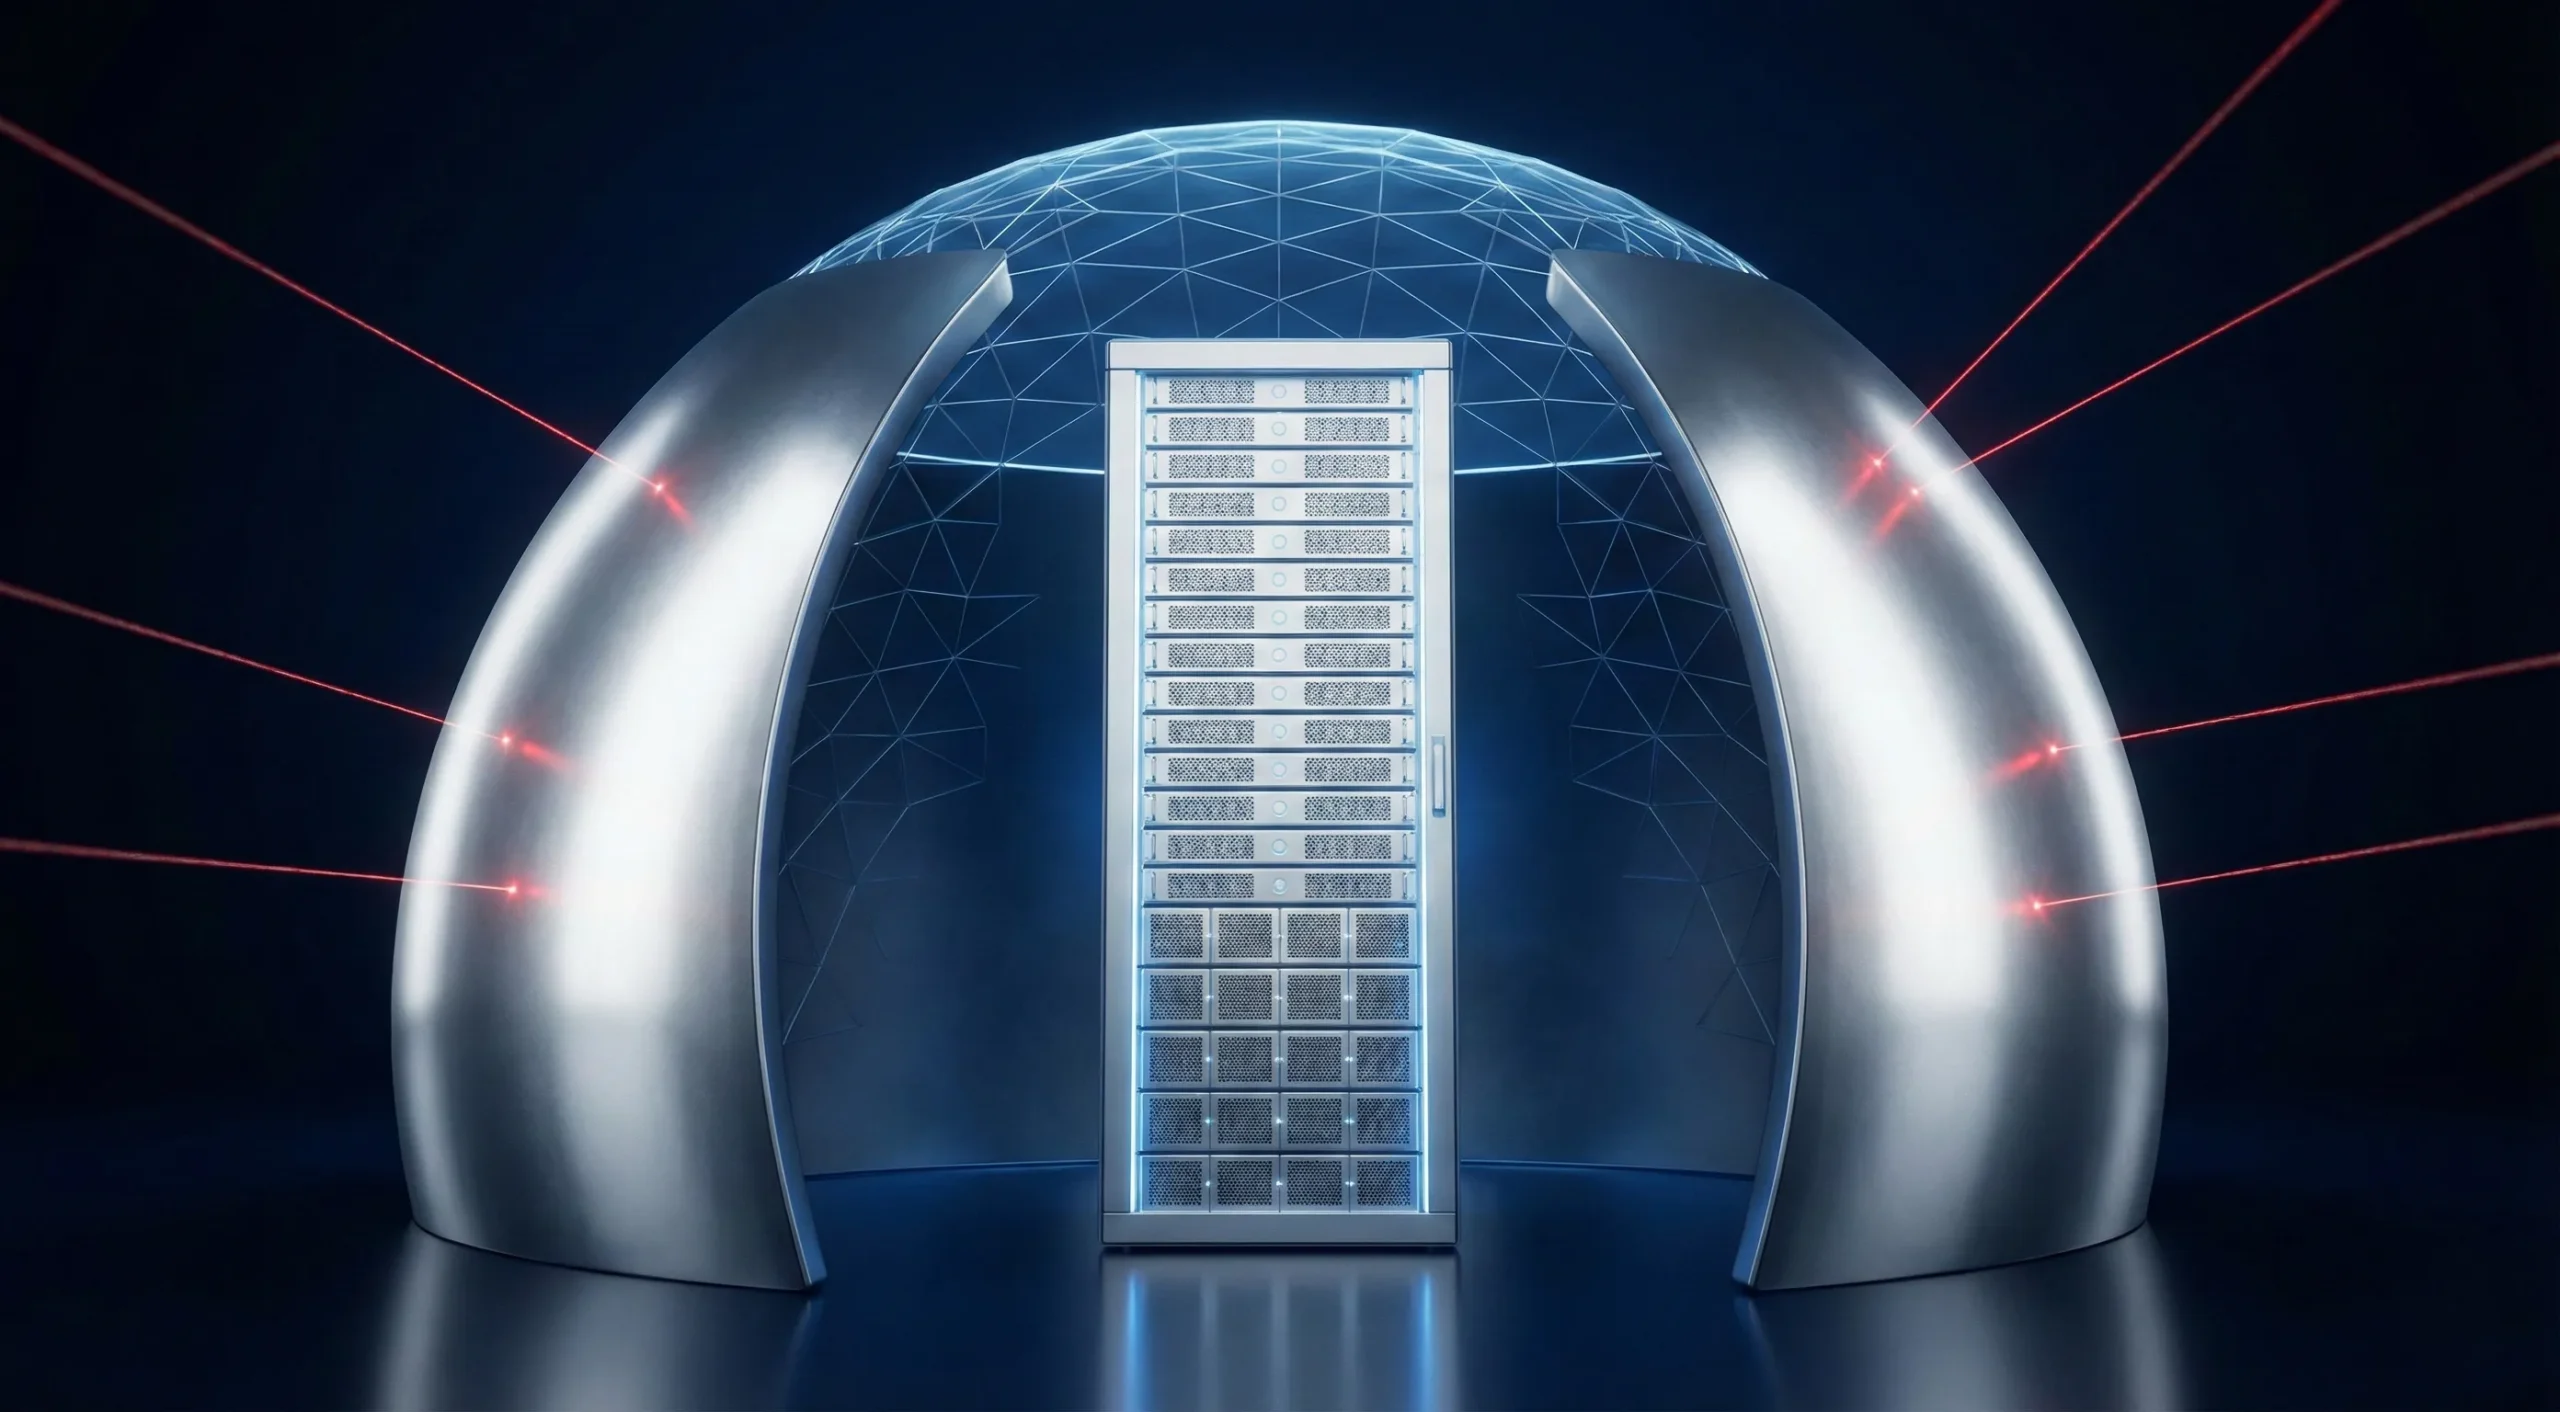
The defining security advantage of this MikroTik L2TP VPN setup is the AES-256 cryptographic suite. The math proves solid. Still, exposed edge gateways continue acting as massive targets for automated scanning arrays. A recent 2024 CISA Report confirmed that exposed VPN gateways drive roughly 22% of initial ransomware access vectors globally.
Rigorous address list filtering stands as a non-negotiable priority. Trusting an exposed port without address filtering is operational negligence. If you face deep-packet inspection, check out our article on deploying an Obfuscated VPN to outmaneuver active censorship.
Performance Considerations (Hardware Offloading)
Without hardware acceleration, the CPU handles all encryption inline, which can push single-core usage to its limit and drag throughput well below your line speed; MikroTik’s own IPsec hardware acceleration docs confirm this directly.
To keep your IPsec tunnels running at full line speed without CPU bottlenecks, you need hardware that can actually handle the load. At Cloudzy, our MikroTik VPS gives you high-frequency Ryzen 9 CPUs, NVMe storage, and 40 Gbps networking; purpose-built for exactly this kind of cryptographic workload.

Typical Use Cases
L2TP/IPsec securely dominates highly isolated transport scenarios rather than general web routing. A 2025 Gartner Analysis revealed that 41% of enterprise edge networks still rely heavily on native protocols to avoid expensive third-party licensing.

These legacy protocols remain deeply embedded across billions of global devices. This MikroTik L2TP VPN setup excels remarkably when you enforce stringent firewall boundaries that restrict access exclusively to internal company subnets. Using this protocol for full-tunnel web browsing is a fundamental misallocation of resources.
Remote Worker Access & Site-to-Site Constraints
This specific protocol configuration thrives when empowering individual remote employees dialing into a central office LAN. Plus, the L2TP wrapper adds unnecessary, heavy latency to static branch routers.
I firmly assess that it is horribly inefficient for permanently bridging two distinct physical offices. For linking permanent corporate branch locations, check out our article on following a Site-To-Site VPN guide.
Conclusion
A properly engineered MikroTik L2TP VPN setup flawlessly arms your remote workforce with native access, avoiding third-party software bloat. Modern protocols currently dominate networking headlines, yet unbreakable AES-256 IPsec encryption makes this architecture an undisputed enterprise titan.
Correct NAT-T settings help avoid some Phase 2 failures in NATed paths, but PSK mismatches, proposal mismatches, and firewall problems can still break negotiation. Remember that L2TP and IPsec together add encapsulation overhead and reduce your effective MTU. The performance cost comes from added packet wrapping, not from a second encryption layer.
MikroTik’s own IPsec documentation confirms that hardware acceleration uses a built-in encryption engine inside the CPU to speed up the encryption process; without it, all cryptographic work falls on the main CPU and throughput drops considerably.
Deploying your architecture on routers equipped with native cryptographic accelerators prevents CPU bottlenecking and keeps your network running at full line speed.
FAQ
How do I fix Phase 1 Negotiation Failed errors?
Why is my connection dropping constantly?
What hardware do I need for this?
Does this work well on RouterOS v7?
What is the difference between PPTP and L2TP/IPsec?
Is this setup safe to use in 2026?