Passwords remain the primary barrier between hackers and your accounts, yet 81% of data breaches stem from weak or stolen credentials. Only one-third of Americans use password managers, leaving millions exposed to credential theft and account takeovers. The real question is whether you can trust someone else with your vault.
This guide shows you how to self-host Bitwarden password manager on your own VPS for complete control. You’ll learn step-by-step installation for Windows Server 2025 and Ubuntu 24.04 LTS, plus security hardening that keeps your vault accessible only to you.
What Will You Build (and Why a VPS)?
When you self-host Bitwarden password manager, you create a private password management infrastructure on your own server. This setup gives you complete control over where credentials are stored, how they’re backed up, and who can access them.
Why Choose a VPS for Bitwarden?
A Virtual Private Server offers the ideal balance of control, performance, and cost-effectiveness for password management.

Complete Data Sovereignty
Your password vault never leaves infrastructure you control. Unlike cloud-hosted services, your encrypted data resides on servers you choose, in locations you specify.
Always-On Accessibility
A VPS runs continuously, making your password vault available from anywhere at any time. You don’t need to keep personal computers running around the clock.
Dedicated Resources
VPS plans offer guaranteed CPU, RAM, and storage resources that aren’t shared with other users’ workloads. Performance stays consistent regardless of what other customers are doing.
Scalability
As your password management needs grow from personal use to team or business deployment, VPS plans can scale to match. Start small and upgrade as needed.
Cost-Effective
VPS hosting costs far less than maintaining dedicated physical hardware. You get similar isolation and control benefits without the upfront investment.
Professional Security
Reputable VPS providers offer DDoS protection, regular backups, and enterprise-grade network security. Implementing these independently would be expensive and time-consuming.
What are the Self-Hosted Requirements?
You need to know the hardware specs to self-host the Bitwarden password manager. This helps you pick the right VPS plan and stops performance issues from popping up later.
Hardware Requirements for Windows Server
For a successful deployment on Windows Server 2025, you need these minimum specifications.
Processor: x64, 1.4GHz CPU minimum; x64, 2GHz dual-core recommended
RAM: 6GB minimum; 8GB or more recommended for production use.
Storage: 76GB minimum; 90GB recommended for production deployments.
Docker: Docker Desktop with Engine 26.0+ (27.x recommended) and Compose; Hyper-V support (not WSL2)
Windows Server 2025 needs nested virtualization support. Azure users should use Standard D2s v3 Virtual Machines with Security Type set to Standard, not Trusted launch.
Hardware Requirements for Linux
Linux distributions need fewer resources. To self-host Bitwarden password manager on Ubuntu 24.04 LTS, Debian 12, or Rocky Linux 9, here’s what you need.
Processor: x64, 1.4GHz CPU minimum; x64, 2GHz dual-core recommended
RAM: 2GB minimum; 4GB or more recommended for multiple users
Storage: 12GB minimum; 25GB recommended for production
Docker: Docker Engine 26.0+ (27.x recommended) and Docker Compose
Linux is the more efficient choice. It uses approximately one-third the RAM of Windows Server deployments while delivering identical functionality.
Performance Comparison:
| Metric | Linux (Ubuntu 24.04) | Windows Server 2025 |
| Minimum RAM | 2GB | 6GB |
| Minimum Storage | 12GB | 76GB |
| Docker Overhead | Lower | Higher (Hyper-V) |
| Update Complexity | Simple | Moderate |
| Community Resources | Extensive | Moderate |
| Initial Setup Time | 15-30 minutes | 30-60 minutes |
Choosing Your VPS Provider
To self-host Bitwarden, you need a VPS with full root access, Docker support, and a stable public IP address. You also need high network throughput and uptime reliability so your password vault syncs instantly across all your devices.
At Cloudzy, we provide the high-performance infrastructure this workload demands. Our Docker VPS hosting plans run on AMD Ryzen 9 processors (up to 5.7 GHz) with NVMe storage. This delivers the single-thread speed needed for encrypted database operations.
We back this with up to 40 Gbps network connections and a 99.95% uptime SLA, so your vault is always accessible. Plus, we offer locations in 12 global cities, allowing you to host your data where you want it.
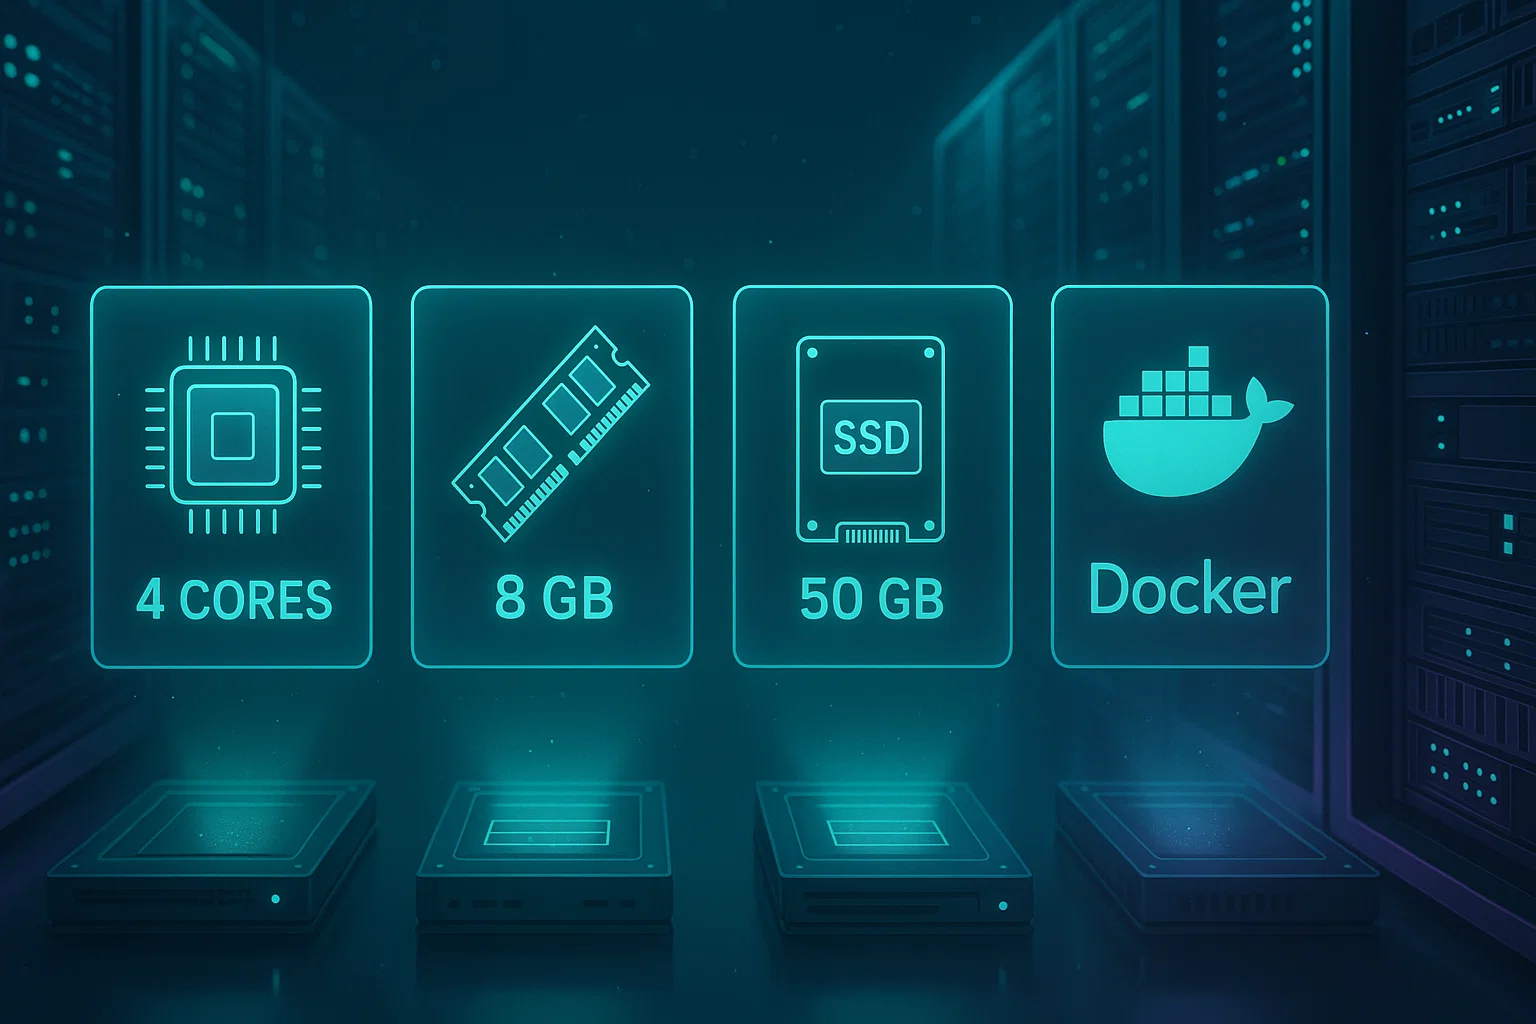
Recommended Configurations:
- For personal use (under 10 users): 2 CPU cores, 4GB RAM, 25GB NVMe storage.
- For teams (10–50 users): 4 CPU cores, 8GB RAM, 50GB NVMe storage.
What Should You Prepare Before Installing?
Before beginning the installation, gather these items to ease the process.
1. Domain Name and DNS Records
Configure a domain name (like vault.yourdomain.com) with DNS A records pointing to your VPS IP address. Bitwarden works best with a domain name. Using only an IP address limits your SSL options and makes certificate management difficult.
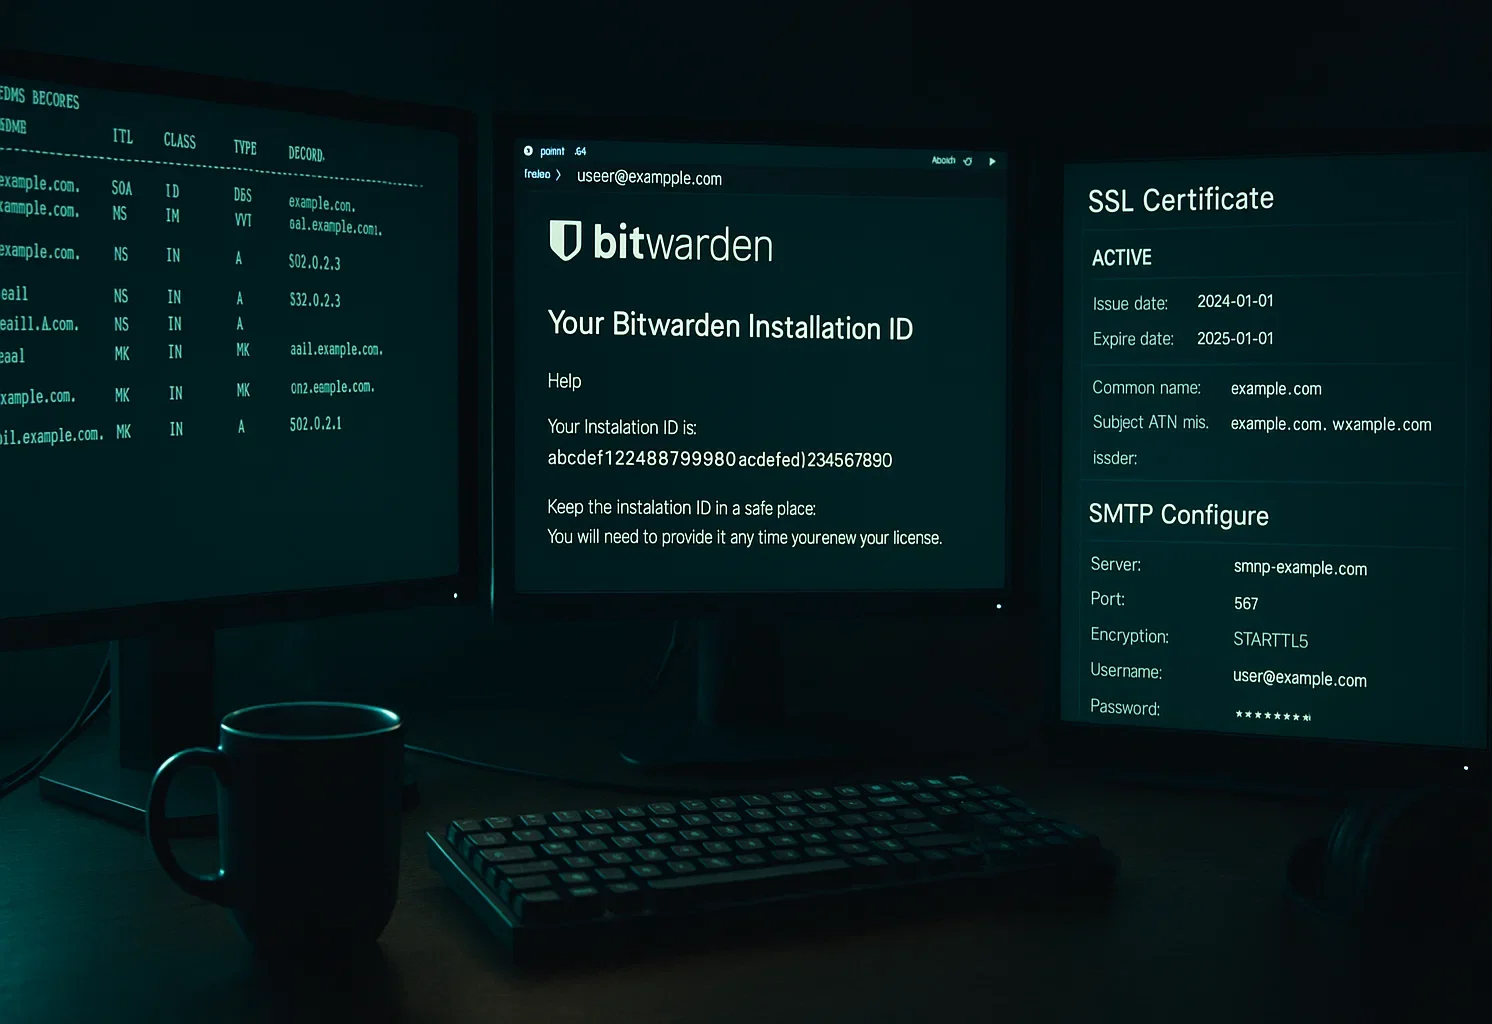
2. Bitwarden Installation ID and Key
Visit the Bitwarden hosting portal and provide a valid email address. You’ll receive your installation ID and installation key via email. Save both values securely as you’ll need them during setup.
3. VPS Access Credentials
Confirm you have the following ready:
- SSH access credentials for Linux servers
- Remote Desktop (RDP) access for Windows servers
- Administrator or root-level permissions
4. SSL Certificate Plan
Decide how you’ll handle SSL/TLS encryption:
- Let’s Encrypt automatic certificate generation during installation
- Pre-obtained SSL certificates from a certificate authority
- Self-signed certificates for testing environments only
5. SMTP Server Details
For user invitations and email verification, you’ll need SMTP server credentials:
- SMTP hostname and port
- Authentication username and password
- Sender email address
Without SMTP setup, you cannot invite users or verify email addresses. However, the system will still function for the initial admin account.
How Do You Install on Linux (Ubuntu/Debian/Rocky)?
This guide uses Ubuntu 24.04 LTS. The steps work identically on Debian 12 and Rocky Linux 9 with appropriate package manager adjustments. Following these steps will help you self-host the Bitwarden password manager on any of these Linux distributions.
Step 1: Initial Server Configuration
Connect to your Linux VPS via SSH and update the system:
sudo apt update && sudo apt upgrade -yVerify that ports 80 (HTTP) and 443 (HTTPS) are open in your firewall. For UFW on Ubuntu:
sudo ufw allow 80/tcp

sudo ufw allow 443/tcp

sudo ufw reload
Step 2: Install Docker Engine
Bitwarden runs within Docker containers. Docker Engine forms the foundation of your installation. Install Docker Engine 26.0+ and the Docker Compose V2 plugin:
sudo apt install docker.io docker-compose-plugin -y

sudo systemctl enable --now docker

sudo systemctl status docker
The enable –now command starts Docker immediately and ensures it launches after server reboots.
Verify the installation succeeded:
docker --version

docker compose version
Both commands should return version numbers. Docker Engine should be 26.0 or higher, Docker Compose should be 2.0 or higher.
Step 3: Create Bitwarden User and Directory
Running Bitwarden as a dedicated non-root user follows security best practices. This limits potential damage if the application is compromised. Create this dedicated user account:
sudo adduser bitwardenSet a strong password when prompted. This password secures SSH access if you ever need to log in as the Bitwarden user directly.
Create a Docker group if it doesn’t exist (most systems already have this):
sudo groupadd dockerAdd the Bitwarden user to the Docker group. This grants permission to run Docker commands without sudo:
sudo usermod -aG docker bitwardenCreate the Bitwarden installation directory with restricted permissions:
sudo mkdir /opt/bitwarden

sudo chmod -R 700 /opt/bitwarden

sudo chown -R bitwarden:bitwarden /opt/bitwarden
The 700 permission means only the Bitwarden user can read, write, or execute files in this directory. This protects your password database from other system users.
Switch to the Bitwarden user for all remaining installation steps:
sudo su - bitwarden

cd /opt/bitwarden
Step 4: Download and Run the Installation Script
Download the Bitwarden installation script:

curl -Lso bitwarden.sh "https://func.bitwarden.com/api/dl/?app=self-host&platform=linux" && chmod 700 bitwarden.shBegin the installation:
./bitwarden.sh installStep 5: Configure Installation Prompts
The installer will prompt for several values:
Domain Name: Enter your configured DNS record (vault.yourdomain.com)
SSL Certificate: Type Y if you want Let’s Encrypt to generate a certificate, or N if you already have one
Installation ID: Enter the ID from https://bitwarden.com/host/
Installation Key: Enter the key from https://bitwarden.com/host/
Follow the remaining prompts based on your SSL certificate choice. The installation process will download Docker images and configure the environment.
Step 6: Configure Email Settings
Edit the environment file:
nano ./bwdata/env/global.override.envSet your SMTP credentials:
globalSettings__mail__smtp__host=smtp.yourprovider.com

globalSettings__mail__smtp__port=587

globalSettings__mail__smtp__ssl=false

globalSettings__mail__smtp__startTls=true

[email protected]

globalSettings__mail__smtp__password=yourpassword
Save the file (Ctrl+X, then Y, then Enter).
Step 7: Start Bitwarden
Launch your Bitwarden instance:
./bitwarden.sh startThe first startup downloads all Docker images from GitHub Container Registry. This may take several minutes. Verify all containers are running:
docker psYou should see multiple Bitwarden containers listed as “Up”.
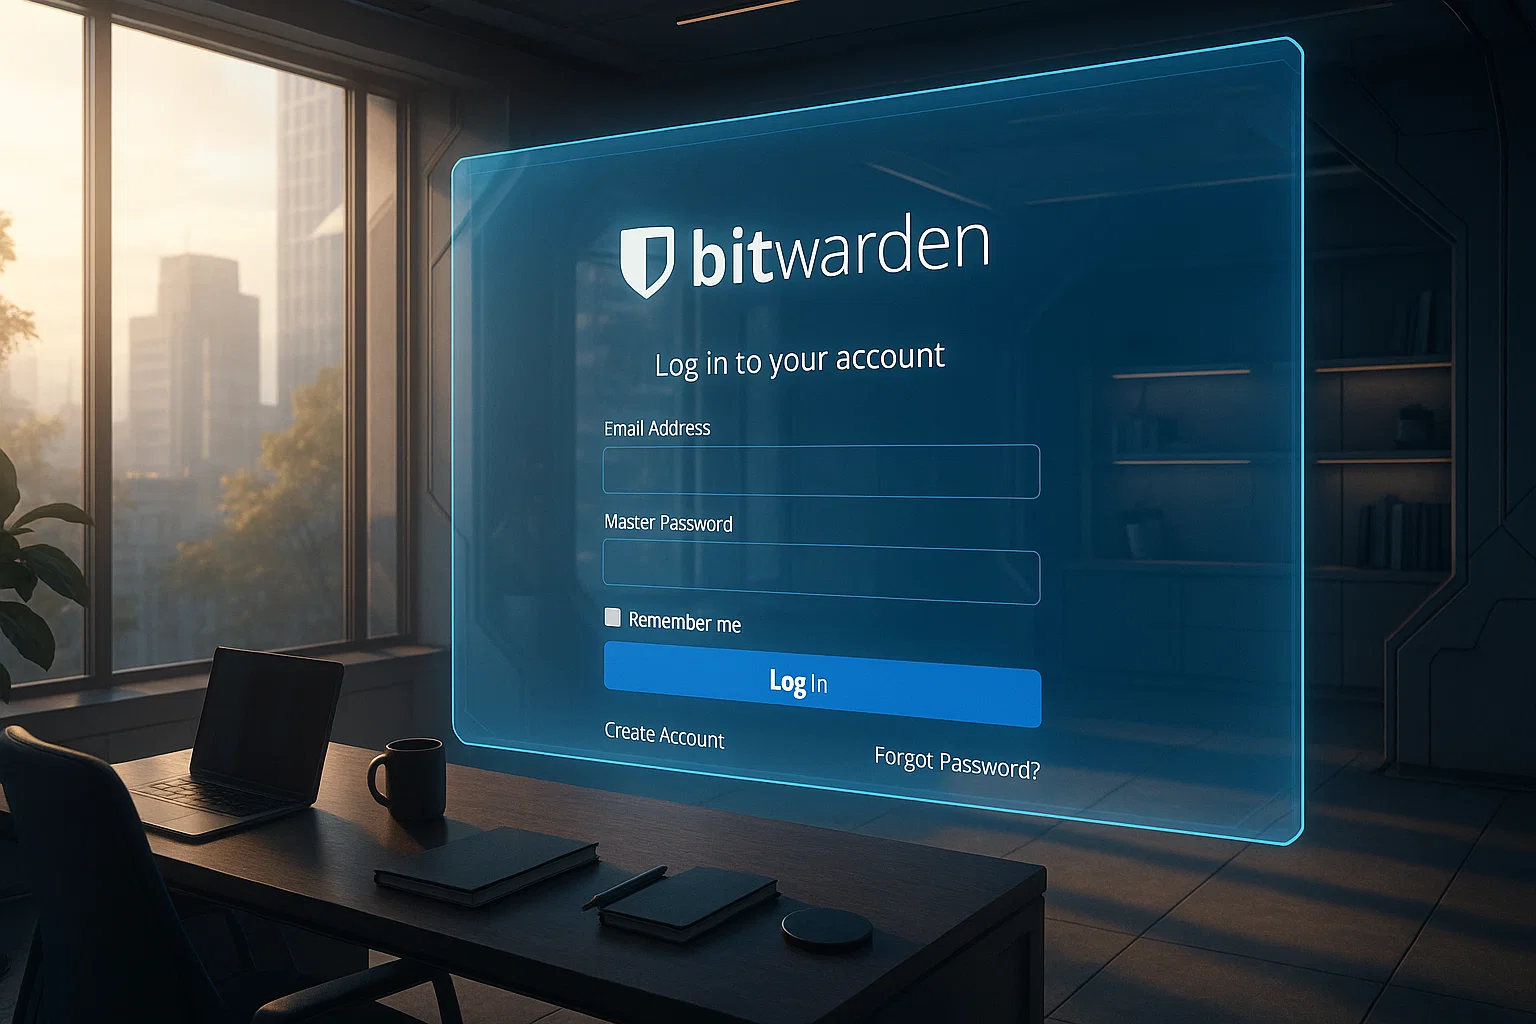
Visit your configured domain (https://vault.yourdomain.com) in a web browser. You should see the Bitwarden web vault login page. Create your master account to begin using your password manager.
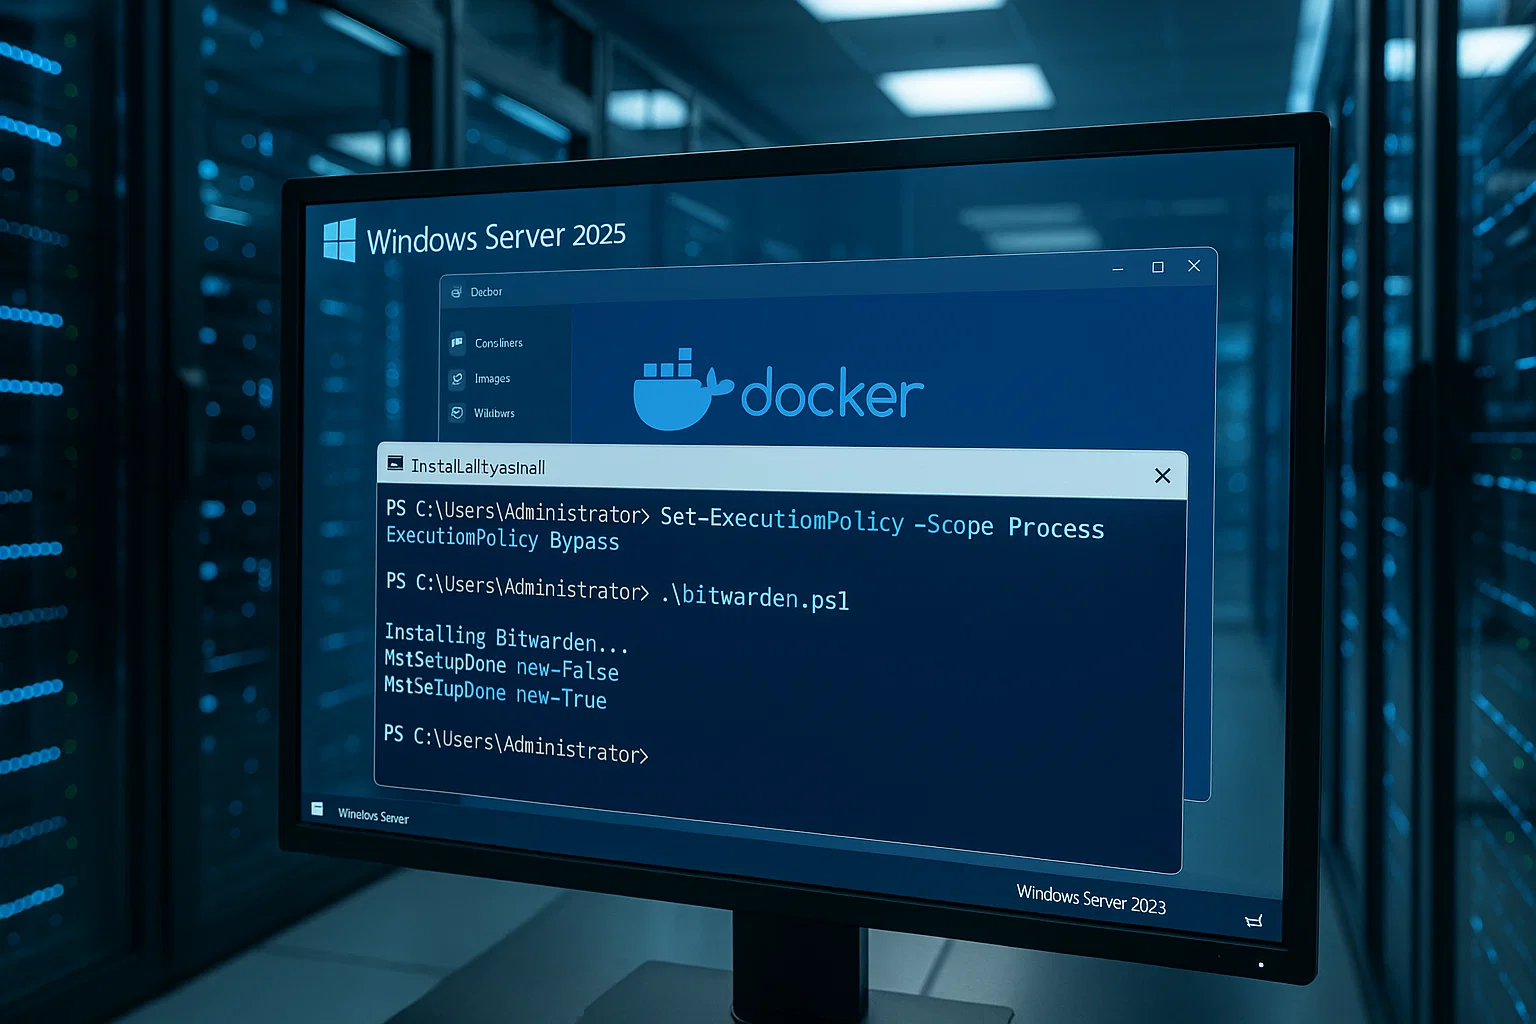
How Do You Install on Windows Server (PowerShell)?
This section covers installation on Windows Server 2025 using PowerShell. The process mirrors the Linux installation but uses Windows-specific commands to self-host the Bitwarden password manager on your Windows VPS.
Step 1: Initial Windows Configuration
Connect to your Windows VPS using Remote Desktop Protocol (RDP). RDP delivers the full GUI experience needed for Docker Desktop setup.
Confirm Windows Firewall allows traffic on ports 80 and 443. Open PowerShell as Administrator and run:
New-NetFirewallRule -DisplayName "Allow HTTP" -Direction Inbound -Protocol TCP -LocalPort 80 -Action Allow

New-NetFirewallRule -DisplayName "Allow HTTPS" -Direction Inbound -Protocol TCP -LocalPort 443 -Action Allow
Step 2: Install Docker Desktop
Docker Desktop does not officially support Windows Server. You might face stability issues. We recommend Linux for a smoother experience.
Download and install Docker Desktop for Windows from https://www.docker.com/products/docker-desktop/. During installation, uncheck “Use WSL2 instead of Hyper-V”. Bitwarden needs Hyper-V mode to run.
After installation, open Docker Desktop and go to Settings → Resources. Set RAM allocation to at least 4GB. This gives RAM from Windows to Docker.
Step 3: Create Bitwarden User and Directory
Open PowerShell with Administrator privileges and create the Bitwarden user:
$Password = Read-Host -AsSecureStringEnter a secure password when prompted. Then create the user account:
New-LocalUser "Bitwarden" -Password $Password -Description "Bitwarden Local Admin"Add the Bitwarden user to the docker-users group:
Add-LocalGroupMember -Group "docker-users" -Member "Bitwarden"Create the Bitwarden installation directory:
mkdir C:\BitwardenIn Docker Desktop, navigate to Settings → Resources → File Sharing. Add C:\Bitwarden to the Resources list. Click Apply & Restart.
Step 4: Download Bitwarden Installation Script
Navigate to the Bitwarden directory:
cd C:\BitwardenDownload the installation script:
Invoke-RestMethod -OutFile bitwarden.ps1 -Uri "https://func.bitwarden.com/api/dl/?app=self-host&platform=windows"Run the installer:
.\bitwarden.ps1 -installStep 5: Configure Installation Prompts
The installer prompts mirror the Linux installation:
Domain Name: Enter your DNS-configured domain name
SSL Certificate: Enter Y for Let’s Encrypt certificate or N if providing your own
Installation ID: From https://bitwarden.com/host/
Installation Key: From https://bitwarden.com/host/
Complete the remaining prompts based on your SSL setup choice.
Step 6: Configure Email and Start
Edit C:\Bitwarden\bwdata\env\global.override.env with your SMTP settings, then restart Bitwarden:
.\bitwarden.ps1 -restartAccess your Bitwarden vault at your configured domain to create your master account.
What’s the Quickest Way to Verify and Harden?
Once you self-host Bitwarden password manager, verify your instance works before adding users or importing passwords.
Verification Steps
SSL Certificate Check: Open your Bitwarden domain in a web browser (https://vault.yourdomain.com). You should see the Bitwarden web vault login screen, a padlock icon in the address bar, and no “Not Secure” warnings.
If you see certificate warnings, review the SSL setup section.
Admin Account Creation: Click “Create Account” on the login screen. Use a strong master password with at least 12 characters mixing uppercase, lowercase, numbers, and symbols. Write this password down and store it securely offline.
Bitwarden cannot recover lost master passwords.
Client Application Test: Install the Bitwarden browser extension or mobile app. Before logging in, tap the settings/gear icon, change “Server URL” to your self-hosted domain, save, and return to login.
Enter your credentials and verify you can add a new password entry, see it sync to the web vault, and retrieve it from the browser extension.
Docker Container Health: Verify all containers are running.
Linux:
cd /opt/bitwarden

docker ps
Windows:
cd C:\Bitwarden

docker ps
Expected output: 5-7 containers listed, all showing “Up” in the STATUS column. Container names include: bitwarden-web, bitwarden-api, bitwarden-identity, bitwarden-attachments, bitwarden-icons, bitwarden-mssql, bitwarden-nginx.
If any container shows “Exited” or is missing, check logs: docker compose logs [container-name]
Security Hardening Checklist
Enable Two-Factor Authentication: Configure 2FA for your admin account right away. Bitwarden supports authenticator apps, email, and hardware keys for second-factor verification.
Configure Firewall Rules: Restrict SSH (port 22 on Linux) or RDP (port 3389 on Windows) to known IP addresses. Consider using fail2ban on Linux to block brute-force attempts.
Set Up Regular Backups: Back up /opt/bitwarden/bwdata (Linux) or C:\Bitwarden\bwdata (Windows) on a schedule. This directory contains your database and settings. Store backups off-server for true disaster recovery.
Update Certificate Renewal: If using Let’s Encrypt, verify renewal is set up. Test renewal with the command: ./bitwarden.sh renewcert on Linux.
Disable User Registration: After creating needed accounts, disable new user registration to prevent unauthorized signups. Edit global.override.env and add: globalSettings__disableUserRegistration=true then restart Bitwarden.
Configure Admin Portal Access: Authorize specific email addresses to access the System Administrator Portal. Add [email protected] to your settings file.
Review Access Logs: Monitor /opt/bitwarden/bwdata/logs (Linux) or C:\Bitwarden\bwdata\logs (Windows) weekly for suspicious activity patterns.
How Do You Maintain and Upgrade Bitwarden Safely?
Ongoing maintenance keeps your instance secure and performing well. Proper maintenance practices help you self-host Bitwarden password manager reliably for years.
Update Procedure
Bitwarden releases updates with security patches and new features. Update your instance monthly or when security updates are announced through official channels.
Linux Update Process:
cd /opt/bitwarden

./bitwarden.sh updateself

./bitwarden.sh update

./bitwarden.sh start
The updateself command updates the installation script itself, while update pulls new Docker images.
Windows Update Process:
cd C:\Bitwarden

.\bitwarden.ps1 -updateself

.\bitwarden.ps1 -update

.\bitwarden.ps1 -start
Backup Strategy
Your bwdata directory contains everything: the database, settings files, SSL certificates, and logs. Automated backups are a mandatory safety step when you self-host Bitwarden password manager.
What to backup:
Database: Linux uses bwdata/mssql/data (SQL Server), Windows uses bwdata/mssql/data.
Configuration: The bwdata/env directory contains environment variables, SMTP settings, and domain setup details.
SSL Certificates: Located in bwdata/ssl if using custom certificates rather than Let’s Encrypt.
Automated Backup Script (Linux):
#!/bin/bash

# Save as /home/bitwarden/backup-bitwarden.sh

BACKUP_DIR="/home/bitwarden/backups"

DATE=$(date +%Y%m%d-%H%M%S)

# Create backup directory if it doesn't exist

mkdir -p $BACKUP_DIR

# Create compressed backup

cd /opt/bitwarden

tar -czf $BACKUP_DIR/bitwarden-backup-$DATE.tar.gz bwdata/

# Keep only last 30 days of backups

find $BACKUP_DIR -name "bitwarden-backup-*.tar.gz" -mtime +30 -delete

# Optional: Copy to remote storage

# rsync -az $BACKUP_DIR/ user@remoteserver:/backups/bitwarden/
Make the script executable and add to crontab:
chmod +x /home/bitwarden/backup-bitwarden.sh

# Run daily at 2 AM

crontab -e

# Add this line:

0 2 * * * /home/bitwarden/backup-bitwarden.sh
Windows Backup (PowerShell):
# Run as scheduled task

$Date = Get-Date -Format "yyyyMMdd-HHmmss"

$BackupPath = "C:\Backups\Bitwarden"

New-Item -ItemType Directory -Force -Path $BackupPath

Compress-Archive -Path "C:\Bitwarden\bwdata" -DestinationPath "$BackupPath\bitwarden-backup-$Date.zip"

# Clean old backups (older than 30 days)

Get-ChildItem -Path $BackupPath -Filter "*.zip" |

  Where-Object {$_.LastWriteTime -lt (Get-Date).AddDays(-30)} |

  Remove-Item
Store backups off-server using rsync, encrypted cloud storage, or a separate backup VPS. On-server backups don’t protect against hardware failure. For secure file transfer of backups to remote locations, consider encrypted protocols like SFTP or FTPS.
Monitoring
Set up basic monitoring to catch issues before they affect users:
Container Status: Check that all Docker containers remain running throughout the day.
Disk Space: Monitor available storage in the bwdata directory to prevent database corruption from full disks.
SSL Certificate Expiry: Verify certificates renew on schedule and haven’t expired unexpectedly.
Log Review: Check error logs weekly for unusual activity or authentication failures.
Recovery Testing
Test your backup restoration process quarterly so you can recover from data loss:
- Stop Bitwarden
- Rename the current bwdata directory
- Restore from backup
- Start Bitwarden and verify functionality
- If successful, delete the old directory
Linux vs. Windows: Which Should You Choose?
Both platforms successfully allow you to self-host Bitwarden password manager. Each has distinct advantages and trade-offs worth considering.

Linux Advantages
Resource Efficiency: Linux needs approximately 2GB RAM minimum versus Windows’ 4GB minimum. This translates to lower hosting costs month-to-month.
Lower Operating Overhead: Linux dedicates more resources to running Bitwarden rather than the operating system itself.
Simpler Updates: Package managers streamline system updates. Docker integration is native and straightforward without extra layers.
Community Support: The self-hosting community predominantly uses Linux. You’ll find more community guides and troubleshooting resources available online.
Cost: Most Linux distributions are free, eliminating OS licensing costs.
Windows Server Advantages
Familiarity: System administrators experienced with Windows Server can leverage existing knowledge right away.
Integration: Better integration with existing Windows-based infrastructure and Active Directory environments.
Management Tools: Windows Server Management tools may be preferred in Windows-heavy organizational environments.
Support: Commercial support options from Microsoft for troubleshooting and assistance.
Performance Comparison
| Metric | Linux (Ubuntu 24.04) | Windows Server 2025 |
| Minimum RAM | 2GB | 6GB |
| Minimum Storage | 12GB | 76GB |
| Docker Overhead | Lower | Higher (Hyper-V) |
| Update Complexity | Simple | Moderate |
| Community Resources | Extensive | Moderate |
| Initial Setup Time | 15-30 minutes | 30-60 minutes |
Recommendation
Choose Linux unless you have specific Windows Server requirements. Ubuntu 24.04 LTS offers the best balance of stability, resource efficiency, and community support. The five-year support period aligns well with typical VPS deployment lifecycles.
Troubleshooting (Fast Answers)
Bitwarden Won’t Start: If containers fail or the vault is unreachable, check the Docker service status first. On Linux, run sudo systemctl status docker. On Windows, verify Docker Desktop is active. Inspect error logs with docker compose logs to spot port conflicts or file permission issues preventing startup.
Domain Unreachable: If you see connection timeout errors, verify your DNS A records point to the VPS IP. Ensure your firewall allows ports 80 and 443. Run docker ps to confirm all containers show “Up”. If any are “Exited,” check that specific container’s logs.
Email Failures: If users don’t receive invites, verify SMTP settings in bwdata/env/global.override.env. Most providers need port 587 with StartTLS. Test SMTP independently to rule out credential issues, or check identity.txt logs for server-side rejection errors.
SSL Certificate Errors: Browser warnings usually mean Let’s Encrypt validation failed. Confirm port 80 is open to the public internet. To fix expired certs, force a renewal with ./bitwarden.sh renewcert (Linux) or .\bitwarden.ps1 -renewcert (Windows).
High Memory Usage: If the VPS slows down, use docker stats to identify resource-heavy containers. Restarting Bitwarden can temporarily clear memory leaks. However, persistent issues often require upgrading to a plan with 4GB+ RAM.
Update Breaks Installation: Always backup your bwdata directory before updating. If an update fails, restore this directory and revert to the previous version. Check the official release notes for breaking changes before attempting the update again.
Check release notes at https://github.com/bitwarden/server/releases for breaking changes before updating.
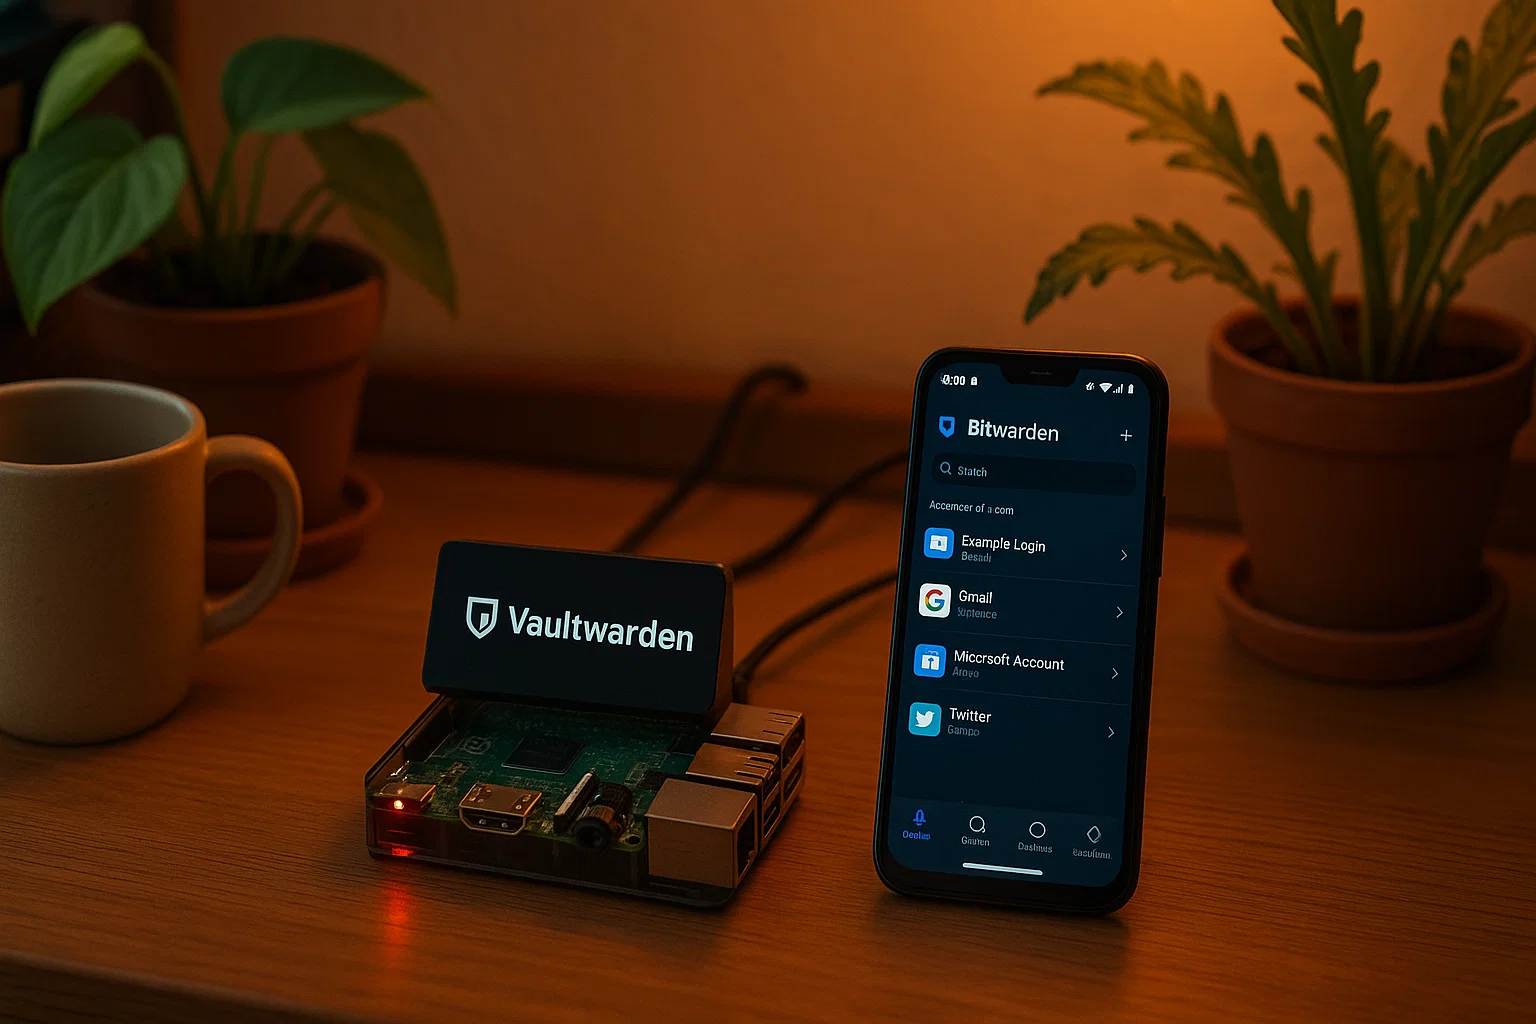
Alternative: Vaultwarden for Lightweight Deployments
For users seeking a more resource-efficient option, Vaultwarden offers a compelling alternative. Vaultwarden is an unofficial Bitwarden-compatible server written in Rust that uses fewer resources.
Vaultwarden Advantages
Minimal Resource Requirements: Vaultwarden runs smoothly on as little as 512MB RAM. This makes it suitable for low-powered devices like the Raspberry Pi.
Compatible with Bitwarden Clients: You use the same official Bitwarden apps, extensions, and mobile clients. Simply point them to your Vaultwarden server URL instead.
Premium Features Included: Vaultwarden delivers premium features like TOTP generation and file attachments without needing a paid Bitwarden license.
Faster Deployment: Installation typically completes in under 10 minutes on Linux systems without complex setup steps.
When to Choose Vaultwarden
Vaultwarden works best for:
- Personal use or small teams (under 10 users)
- Resource-constrained VPS plans with limited RAM
- Users are comfortable with community-supported software
- Environments prioritizing resource efficiency over commercial support
When to Choose Official Bitwarden
Stick with official Bitwarden for:
- Enterprise deployments needing commercial support contracts
- Organizations requiring official security audits and certifications
- Deployments exceeding 50 users with heavy concurrent usage
- Environments needing third-party integration support guarantees
Both options deliver robust password management. The choice depends on your specific resource constraints, support requirements, and scale needs.
Conclusion
Self-hosting Bitwarden delivers enterprise-grade security and data sovereignty in under an hour. With 2025 breach costs averaging $4.44 million, controlling your credentials reduces risk while retaining the convenience of a modern password manager.
To secure your instance, enable two-factor authentication immediately and configure automated off-server backups. Remember that your master password is unrecoverable by design, so store it physically offline rather than digitally.
Finally, ensure long-term resilience by subscribing to security updates and testing your backup restoration quarterly. These simple maintenance habits keep your vault accessible and protected against data loss.
FAQ
Can I self-host Bitwarden on macOS?
Is Bitwarden free?
What are the best Bitwarden alternatives?
How secure is Bitwarden?
Can I migrate from Bitwarden cloud?
How do I add users?
What happens if I forget my master password?
Should I use Docker or Kubernetes for Bitwarden?