Linux VPS servers offer better security than Windows systems through their built-in Linux Security Model. However, no system is bulletproof. Hackers actively scan millions of servers daily, searching for vulnerabilities to exploit sensitive data or use servers for large-scale attacks.
Learning how to secure a Linux server requires deliberate configuration. Fresh VPS installations come with default settings that prioritize accessibility over security. Understanding how to secure Linux server implementations protects against evolving threats while maintaining system functionality. This guide shows you 20 essential steps to secure Linux server infrastructure and transform your vulnerable system into a fortress that repels common attacks.
What is Linux VPS?
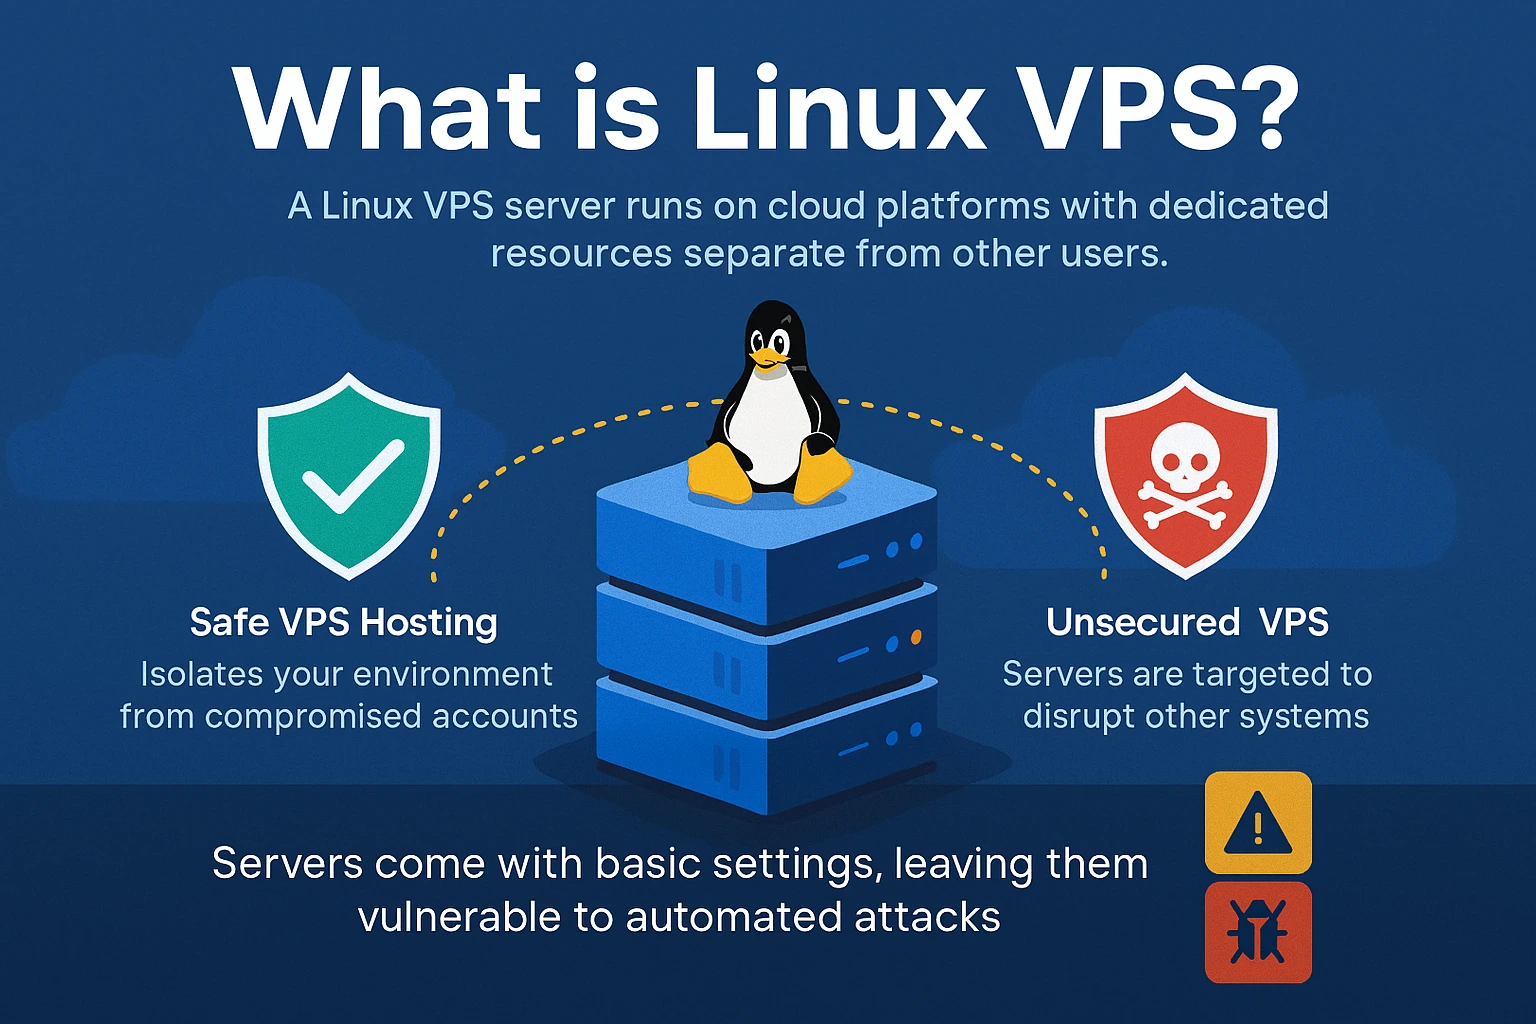
A Linux VPS (Virtual Private Server) runs on cloud platforms with dedicated resources separate from other users. Unlike shared hosting where one compromised account can affect others, secure VPS hosting isolates your environment. However, attackers still target unsecured VPS servers to steal data, install malware, or launch attacks against other systems.
When you order buy Linux VPS hosting, the operating system comes pre-installed with basic settings. These default configurations prioritize ease of use over security, leaving your server exposed to automated attacks that scan for common vulnerabilities. Implementing security cloud data with VPS servers requires proactive measures beyond basic installation.
Why You Should Secure Your Linux VPS
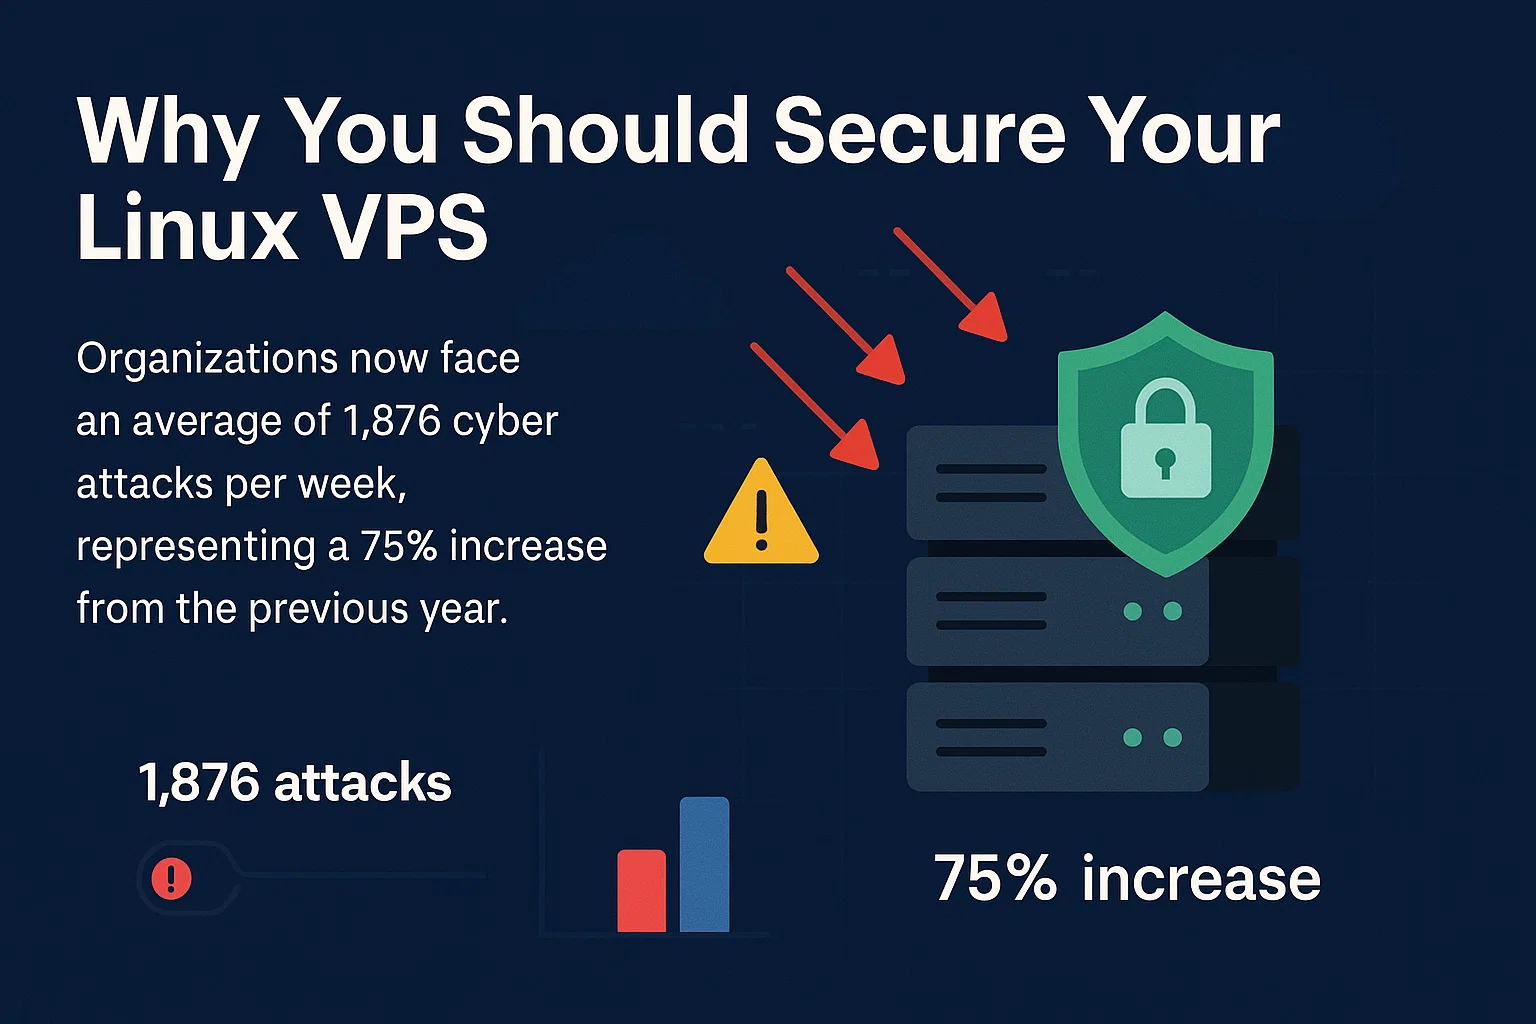
Unsecured servers become targets within hours of going online. Organizations now face an average of 1,876 cyber attacks per week, representing a 75% increase from the previous year. Understanding how to secure Linux server infrastructure protects against these constant threats that can compromise your system.
The most dangerous aspect is that sophisticated attacks often go undetected. Attackers may access your data, monitor communications, or use your server’s resources without obvious signs of intrusion. Secured VPS hosting requires proactive measures because attackers don’t announce their presence – by the time you notice unusual activity, significant damage may already be done.
Linux Security Model (LSM)
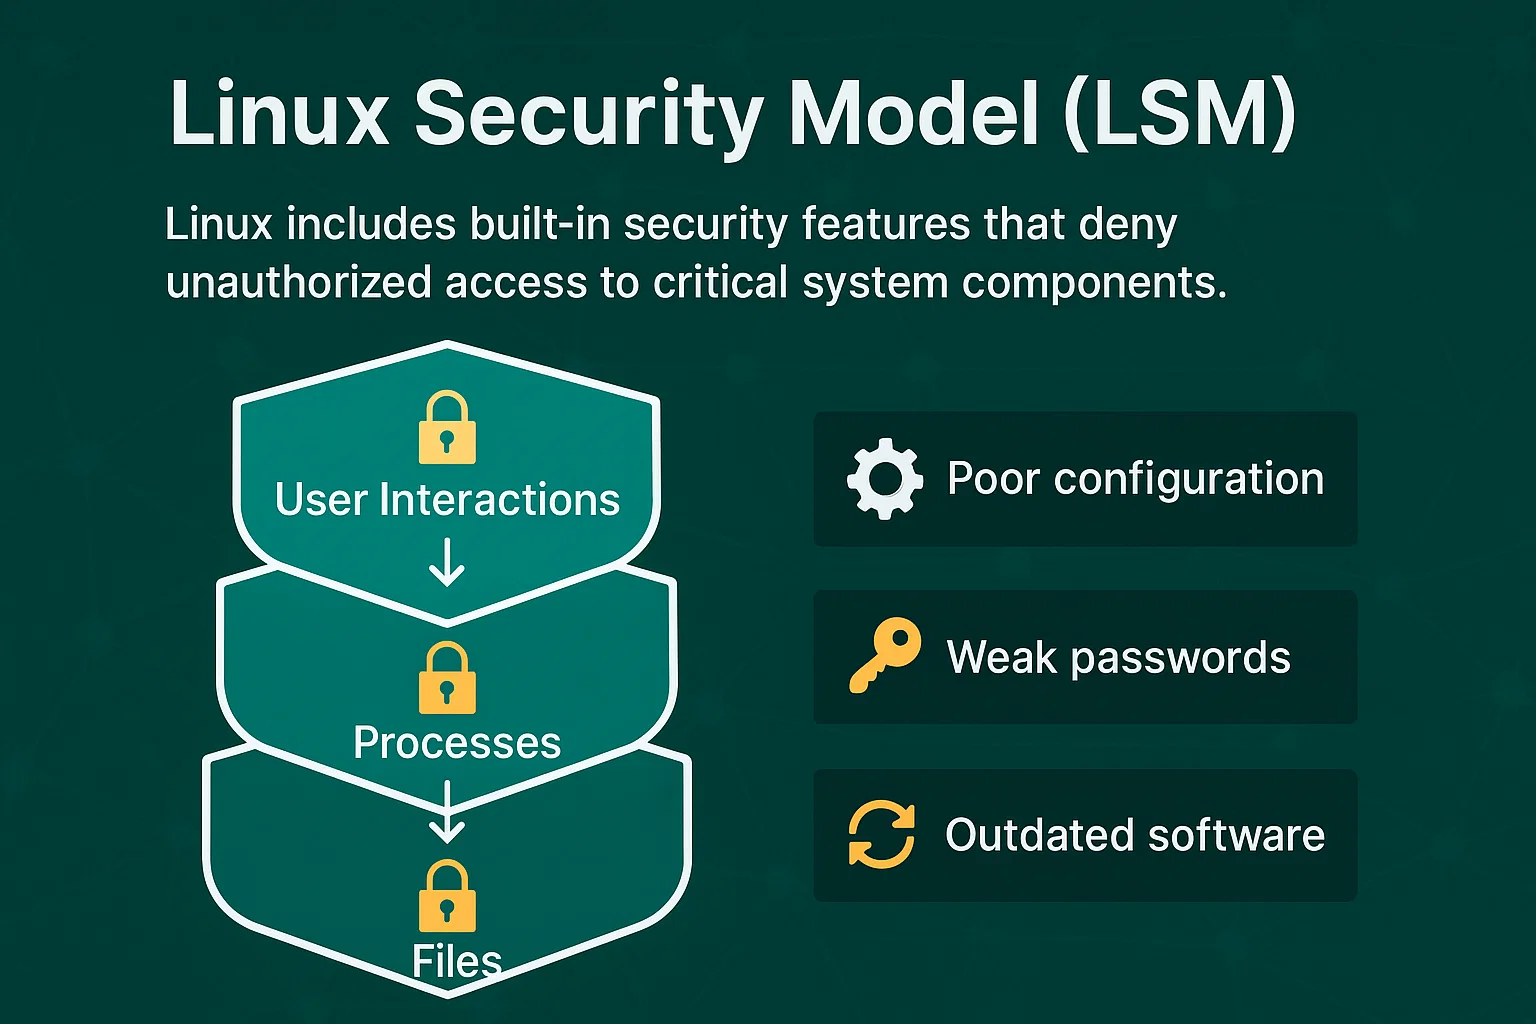
Linux includes built-in security features that deny unauthorized access to critical system components. The Linux security model with diagram shows how access controls protect files, processes, and user interactions. This creates multiple security layers that make exploitation more difficult compared to other operating systems.
However, LSMs cannot prevent attacks caused by poor configuration, weak passwords, or outdated software. They provide the foundation for how to secure a Linux server, but require proper implementation to be effective for Ubuntu VPS hosting and other Linux distributions.
20 Ways to Secure Linux VPS

These security measures progress from basic configuration changes to advanced monitoring systems. Mastering how to secure Linux server environments requires implementing these steps systematically to build a secure Linux server that resists common attack vectors.
Each technique addresses specific vulnerabilities that attackers commonly exploit. The methods range from fundamental configurations that every server needs to sophisticated monitoring systems for advanced threat detection. Some measures provide immediate protection while others create long-term security resilience. Implementation order matters – basic hardening steps should precede advanced monitoring tools. Together, these 20 strategies create overlapping security layers that significantly reduce your server’s attack surface.
1. Keep the Software Up to Date
Outdated software contains known security vulnerabilities that attackers exploit. Software developers regularly release patches that fix these vulnerabilities, making updates your first line of defense to secure Linux server systems.
Configure automatic updates for critical security patches:
# Ubuntu/Debian

sudo apt update && sudo apt upgrade -y

# CentOS/RHEL

sudo yum update -y
Set up email notifications for available updates to stay informed about security patches that require manual review.
2. Disable the Root Login
Every Linux server includes a “root” user account with unlimited system access. Since hackers know this account always exists, they target it with brute force attacks to guess passwords and gain complete server control.
Create a new administrative user before disabling root access:
# Create new user

sudo adduser adminuser

sudo usermod -aG sudo adminuser

# Disable root login in SSH configuration

sudo nano /etc/ssh/sshd_config

# Change: PermitRootLogin no

sudo systemctl restart sshd
This forces attackers to guess both username and password, significantly increasing security.
3. Generate an SSH Key Pair
Password-based logins, especially if the passwords are weak, can be a vulnerability. SSH key authentication offers a more secure alternative. By using cryptographic keys instead of passwords, you’re ensuring a more robust and hard-to-crack authentication method.
This security measure is particularly critical given that stolen credentials serve as the initial attack vector in 24% of data breaches according to security research. These attacks take longer to detect and contain than any other method, making prevention through SSH keys essential.
Generate SSH key pairs for secure authentication:
ssh-keygen -t rsa -b 4096

ssh-copy-id username@server-ip
SSH keys can be up to 4096 bits long, making them exponentially more secure than even complex passwords.
4. Enable Two-Factor Authentication
Two-factor authentication adds a second verification step beyond passwords. Even if attackers obtain your password, they cannot access your server without the second authentication factor.
Install and configure two-factor authentication:
sudo apt install libpam-google-authenticator

google-authenticator
Configure your mobile authenticator app to generate time-based codes for server access.
5. Change the SSH Port
The default SSH port (22) receives constant attack attempts from automated scanning tools. Changing to a custom port reduces exposure to these automated attacks. Given that the global average cost of a data breach reached $4.88 million in 2024, even simple security measures like port changes provide valuable protection against automated threats.
For most Linux distributions:
sudo nano /etc/ssh/sshd_config

# Find: #Port 22

# Change to: Port 2222 (choose a port between 1024-65535)

sudo systemctl restart sshd
For Ubuntu 23.04 and later versions:
sudo nano /lib/systemd/system/ssh.socket

# Update ListenStream=2222

sudo systemctl daemon-reload

sudo systemctl restart ssh.service
Important: Test the new port before closing your current session:
# Test connection in a new terminal

ssh username@server-ip -p 2222
Update your firewall rules to allow the new port:
sudo ufw allow 2222

sudo ufw delete allow 22  # Remove old rule after testing
Remember to specify the new port when connecting: ssh username@server-ip -p 2222
6. Disable Unused Network Ports and IPv6
Open network ports provide entry points for attackers. Each running service creates potential vulnerabilities, so disable unnecessary services and their associated ports.
View currently open ports:
sudo netstat -tulpn

# Alternative command

sudo ss -tulpn
Use iptables to manage firewall rules and close unnecessary ports.
Disable IPv6 if not needed:
sudo nano /etc/sysctl.conf

# Add these lines:

net.ipv6.conf.all.disable_ipv6 = 1

net.ipv6.conf.default.disable_ipv6 = 1

net.ipv6.conf.lo.disable_ipv6 = 1

# Apply changes

sudo sysctl -p

# Verify IPv6 is disabled

cat /proc/sys/net/ipv6/conf/all/disable_ipv6

# Should return 1
Update network configuration (find your actual netplan file):
# Find netplan configuration files

ls /etc/netplan/

# Edit your specific configuration file

sudo nano /etc/netplan/[your-config-file].yaml

# Comment out IPv6 configuration lines

sudo netplan apply
7. Configure a Firewall
Firewalls control which network traffic can reach your server. They block unauthorized connections while allowing legitimate traffic through specified ports.
Quick UFW Setup:
sudo ufw default deny incoming

sudo ufw default allow outgoing

sudo ufw allow ssh

sudo ufw enable
Essential firewall rules:
| Purpose | Command | Result |
| Allow HTTP | sudo ufw allow 80 | Web traffic allowed |
| Allow HTTPS | sudo ufw allow 443 | Secure web traffic |
| Allow custom SSH port | sudo ufw allow 2222 | SSH on custom port |
| Block specific IP | sudo ufw deny from 192.168.1.100 | IP completely blocked |
Check firewall status:
sudo ufw status verboseThis configuration blocks all incoming traffic except SSH connections.
8. Install Anti-Malware and Anti-Virus Applications
Linux systems can be infected with malware that steals data, mines cryptocurrency, or provides backdoor access to attackers. Anti-malware software detects and removes these threats before they compromise your system.
Install ClamAV for comprehensive virus scanning:
sudo apt install clamav clamav-daemon clamav-freshclam

sudo freshclam

sudo systemctl enable clamav-freshclam

sudo systemctl start clamav-freshclam
Run manual scans on critical directories:
sudo clamscan -r /home --infected --remove --bell

sudo clamscan -r /var/www --infected --remove
For enhanced protection, install Maldet alongside ClamAV:
# Verify URL availability before downloading

wget http://www.rfxn.com/downloads/maldetect-current.tar.gz

tar -xzf maldetect-current.tar.gz

cd maldetect-*

sudo ./install.sh

# Note: Always verify download URLs from official sources before use
Schedule daily automated scans with cron:
# Add to crontab: Daily scan at 2 AM

0 2 * * * /usr/bin/clamscan -r /home --quiet --infected --remove
9. Install a Rootkit Scanner
Rootkits are malicious programs that hide deep within the operating system, often going undetected by standard antivirus software. They can provide attackers with persistent access to your system while remaining invisible to normal detection methods.
Install and configure Chkrootkit for rootkit detection:
sudo apt install chkrootkit

sudo chkrootkit | grep INFECTED
Install RKHunter for additional rootkit protection:
sudo apt install rkhunter

sudo rkhunter --update

sudo rkhunter --propupd

sudo rkhunter --check
Create automated weekly rootkit scans:
# Add to crontab: Weekly rootkit scan every Sunday at 3 AM

0 3 * * 0 /usr/bin/rkhunter --cronjob --update --quiet

0 4 * * 0 /usr/bin/chkrootkit | grep INFECTED > /var/log/chkrootkit.log
If rootkits are detected, isolate the server immediately and consider complete OS reinstallation, as rootkits can be extremely difficult to remove completely while preserving system integrity.
10. Use Fail2Ban for Intrusion Prevention
Fail2Ban monitors login attempts and automatically blocks IP addresses that show malicious behavior, such as repeated failed login attempts.
Quick Installation:
sudo apt install fail2ban

sudo cp /etc/fail2ban/jail.conf /etc/fail2ban/jail.local

sudo nano /etc/fail2ban/jail.local
Essential SSH Protection Settings:
[sshd]

enabled = true

port = ssh

maxretry = 3

bantime = 3600

findtime = 600
Key Configuration Values:
| Setting | Value | Meaning |
| maxretry | 3 | Failed attempts before ban |
| bantime | 3600 | Ban duration (1 hour) |
| findtime | 600 | Time window (10 minutes) |
Start and Enable:
sudo systemctl start fail2ban

sudo systemctl enable fail2ban
Check Banned IPs:
sudo fail2ban-client status sshd11. Turn on SELinux
Security-Enhanced Linux (SELinux) provides mandatory access controls that restrict what programs can do, even if they’re compromised. It creates an additional security layer beyond standard Linux permissions.
Check and enable SELinux:
sestatus

sudo setenforce enforcing
SELinux policies prevent compromised applications from accessing unauthorized system resources. Follow these short instructions to get the most out of SELinux for optimal configuration.
12. Protect Files, Directories, and Emails
Encrypt sensitive files to protect them from unauthorized access, even if attackers gain system access. This is essential for secure file server Linux configurations that handle sensitive data.
Use GPG for file encryption:
gpg --cipher-algo AES256 --compress-algo 1 --s2k-mode 3 --s2k-digest-algo SHA512 --s2k-count 65536 --symmetric filenameSet proper file permissions to restrict access:
chmod 600 sensitive-file    # Owner read/write only

chmod 700 private-directory # Owner access only
13. Take Backups Regularly
Regular backups ensure you can recover from security incidents, hardware failures, or accidental data loss. Automated backups reduce the risk of human error and form a critical component of secure VPS hosting strategies.
Create automated backup scripts:
#!/bin/bash

tar -czf /backup/$(date +%Y%m%d)-system.tar.gz /home /etc /var/log
Store backups in multiple locations, including off-site storage, following the 3-2-1 backup rule.
14. Create Disk Partitioning
Disk partitioning separates system files from user data, limiting damage if one partition becomes compromised. It also prevents disk space exhaustion in one area from affecting the entire system.
Recommended partition scheme:
/boot – 500MB (boot files)
/ – 20GB (system files)
/home – 50GB (user data)
/var – 10GB (logs and databases)
/tmp – 2GB (temporary files)
swap – 2GB (virtual memory)
Mount temporary partitions with security restrictions:
# Add to /etc/fstab for permanent mounting

echo "tmpfs /tmp tmpfs defaults,noexec,nosuid,nodev,size=2G 0 0" >> /etc/fstab

echo "tmpfs /var/tmp tmpfs defaults,noexec,nosuid,nodev,size=1G 0 0" >> /etc/fstab
# Apply immediately
sudo mount -aVerify partition security:
mount | grep -E "(noexec|nosuid|nodev)"

df -h  # Check disk usage by partition
The noexec option prevents malicious executables from running, nosuid disables set-user-ID bits, and nodev prevents device file creation in temporary directories.
15. Monitor Server Logs
Server logs record all system activities, providing early warning signs of security incidents. Regular log monitoring helps identify unusual patterns before they become serious threats.
Key Logs to Monitor:
| Log File | Purpose | Command |
| /var/log/auth.log (Debian/Ubuntu)<br>/var/log/secure (CentOS/RHEL) | Login attempts | sudo tail -f /var/log/auth.log<br>sudo tail -f /var/log/secure |
| /var/log/syslog (Debian/Ubuntu)<br>/var/log/messages (CentOS/RHEL) | System messages | sudo tail -f /var/log/syslog<br>sudo tail -f /var/log/messages |
| /var/log/apache2/access.log (Debian/Ubuntu)<br>/var/log/httpd/access_log (CentOS/RHEL) | Web traffic | sudo tail -f /var/log/apache2/access.log<br>sudo tail -f /var/log/httpd/access_log |
| /var/log/fail2ban.log | Blocked IPs | sudo tail -f /var/log/fail2ban.log |
Quick Log Analysis Commands:
# Failed login attempts (adjust path for your distribution)

sudo grep "Failed password" /var/log/auth.log | tail -10

# Successful logins

sudo grep "Accepted" /var/log/auth.log | tail -10

# Large file transfers (adjust path for your web server)

sudo awk '{print $10}' /var/log/apache2/access.log | sort -n | tail -10
Automated Log Monitoring:
# Install logwatch for daily summaries

sudo apt install logwatch

sudo logwatch --detail Med --mailto [email protected] --service All
Set up log rotation to prevent log files from consuming too much disk space.
16. Use Strong Passwords
Strong passwords resist brute force attacks and dictionary attacks. Weak passwords can be cracked in minutes using modern computing power.
Password requirements:
- Minimum 12 characters
- Mix of uppercase, lowercase, numbers, and symbols
- No dictionary words or personal information
- Unique for each account
Use password managers to generate and store complex passwords securely. Combined with other Linux security model with diagram principles, strong passwords form multiple defensive layers that protect against unauthorized access.
17. Prefer SFTP over FTP
Standard FTP transmits data and credentials in plain text, making them visible to network eavesdroppers. SFTP encrypts all data transmission, protecting sensitive information and supporting secure file server Linux architectures.
Configure SFTP-only access:
sudo nano /etc/ssh/sshd_config

# Add: Subsystem sftp internal-sftp
Disable standard FTP services to eliminate the security risk:
sudo systemctl disable vsftpd

sudo systemctl stop vsftpd
18. Enable CMS Auto-Updates
Content Management Systems (WordPress, Drupal, Joomla) frequently release security patches. Enabling automatic updates ensures critical vulnerabilities are patched promptly.
For WordPress, add to wp-config.php:
define('WP_AUTO_UPDATE_CORE', true);

add_filter('auto_update_plugin', '__return_true');

add_filter('auto_update_theme', '__return_true');
Monitor update logs to ensure compatibility and functionality.
19. Disable Anonymous FTP Uploads
Anonymous FTP allows anyone to upload files to your server without authentication. This can lead to your server hosting illegal content, malware, or becoming a distribution point for attacks.
Configure vsftpd to require authentication:
sudo nano /etc/vsftpd.conf# Disable anonymous access
anonymous_enable=NO# Enable local user authentication
local_enable=YES

write_enable=YES

local_umask=022
# Restrict users to their home directories
chroot_local_user=YES

allow_writeable_chroot=YES
# Security settings
ssl_enable=YES

ssl_tlsv1=YES

ssl_sslv2=NO

ssl_sslv3=NO
Restart the FTP service:
sudo systemctl restart vsftpd

sudo systemctl enable vsftpd
Create FTP user accounts with restricted permissions:
sudo adduser ftpuser

sudo usermod -d /var/ftp/uploads ftpuser

sudo chown ftpuser:ftpuser /var/ftp/uploads

sudo chmod 755 /var/ftp/uploads
Monitor FTP access logs for suspicious activity:
sudo tail -f /var/log/vsftpd.log20. Configure Brute Force Protection
Implement multiple layers of brute force protection beyond Fail2Ban to defend against sophisticated automated attacks.
Configure additional protections:
# Limit SSH connection attempts

sudo nano /etc/ssh/sshd_config

# Add: MaxAuthTries 3

# Add: ClientAliveInterval 300

# Add: ClientAliveCountMax 2
Use tools like DenyHosts alongside Fail2Ban for comprehensive protection.
Conclusion
Securing a Linux VPS requires implementing multiple defense layers, from basic configuration changes to advanced monitoring systems. Start with fundamental security measures (software updates, firewall configuration, SSH hardening) before adding sophisticated tools like intrusion detection and automated monitoring.
A secure Linux server demands ongoing maintenance, not one-time configuration. Regularly review logs, update software, and adjust security measures as threats evolve. The investment in proper security configuration prevents costly data breaches and maintains system reliability.
Remember that these security measures work together – no single technique provides complete protection. Implementing all 20 strategies creates overlapping security layers that significantly reduce your server’s vulnerability to common attacks. Whether you need secure file server Linux configurations or general secured VPS hosting protection, these foundational steps provide essential security.
FAQ
How often should I update my Linux VPS?
Is changing the SSH port really necessary?
Can I implement all 20 security measures at once?
How do I know if my server has been compromised?
What should I do if I get locked out after implementing these security measures?
Are these security measures enough for production servers?