Disruptive reboots, unwanted driver changes, and bandwidth drain keep pushing users to disable Windows 10 update. Many only need a pause to finish a deadline, while others need longer control for audio workstations or field devices. You can disable Windows updates temporarily or tighten control with policy and registry changes, then review the risks before you commit. This guide walks through safe, reversible paths that fit Home and Pro editions without resorting to risky third-party tools.
- Why People Try to Disable Windows 10 Update in 2025
- Method 1: Pause Updates in Settings (Up to ~35 Days)
- Method 2: Group Policy (Pro, Enterprise, Education)
- Method 3: Registry Editor (Home-Friendly)
- Method 4: Disable Windows Update Service (Advanced)
- Method 5: Set a Metered Connection (Limits Automatic Downloads)
- Which Method Fits Your Case?
- Important 2025 Notes: End of Support, ESU, and Browser Updates
- Alternative: Test Changes on a Remote Windows 10 Instance
- Which Method Should You Choose? (Quick Matrix)
- Final Thoughts
- FAQ
Why People Try to Disable Windows 10 Update in 2025
Windows 10 still powers millions of PCs even as the platform nears end of support. That mix of stability and aging components means updates can occasionally collide with daily work. People search for Windows 10 disable automatic updates because they want calm, predictable sessions rather than surprise restarts. Others need to stage updates for lab tests, remote classrooms, or thin bandwidth links.
- Avoid mid-render or mid-recording restarts that waste hours of work.
- Keep a stable driver stack for audio interfaces, GPUs, and network adapters.
- Reduce background downloads on capped data plans or slow rural links.
- Stage and test OS patches before rollout in small offices or homelabs.
- Keep old peripherals working long enough to migrate to new hardware.
If performance is already shaky, fixing bottlenecks beats trying to disable Windows 10 update forever. Which is why a quick pass through our tips in speed up Windows 10 often removes the trigger for urgent pauses, and it keeps the system tidy for the next patch window.
Method 1: Pause Updates in Settings (Up to ~35 Days)

The built-in pause is the least risky path to disable Windows 10 update for a short window. It is ideal for events, travel, live shows, or exams, and you can turn it off at any time. If you need to close update Windows 10 for a single month, this is the fastest option, and it does not touch services or registry keys.
- Open Settings → Update & Security → Windows Update.
![image6 2 [Screenshot of Windows Update Settings]](https://cloudzy.com/wp-content/uploads/image6-2.png)
- Click Pause updates for 7 days; repeat to stack pauses up to roughly 35 days.
- Optionally set Active hours so restarts wait for off-time.
- Use Change active hours or Restart options if a specific slot is safer.
- When done, press Resume updates to return to normal cadence.
This method is temporary, which protects security posture and avoids brittle tweaks. If you need longer-term control, move to Group Policy for Pro editions or use Registry on Home, rather than trying to close update Windows 10 through service stops alone.
Reliable, high-performance RDP servers with 99.95 uptime. Take your desktop on the go to all the major cities in the US, Europe, and Asia. Need a Remote Desktop?
Method 2: Group Policy (Pro, Enterprise, Education)
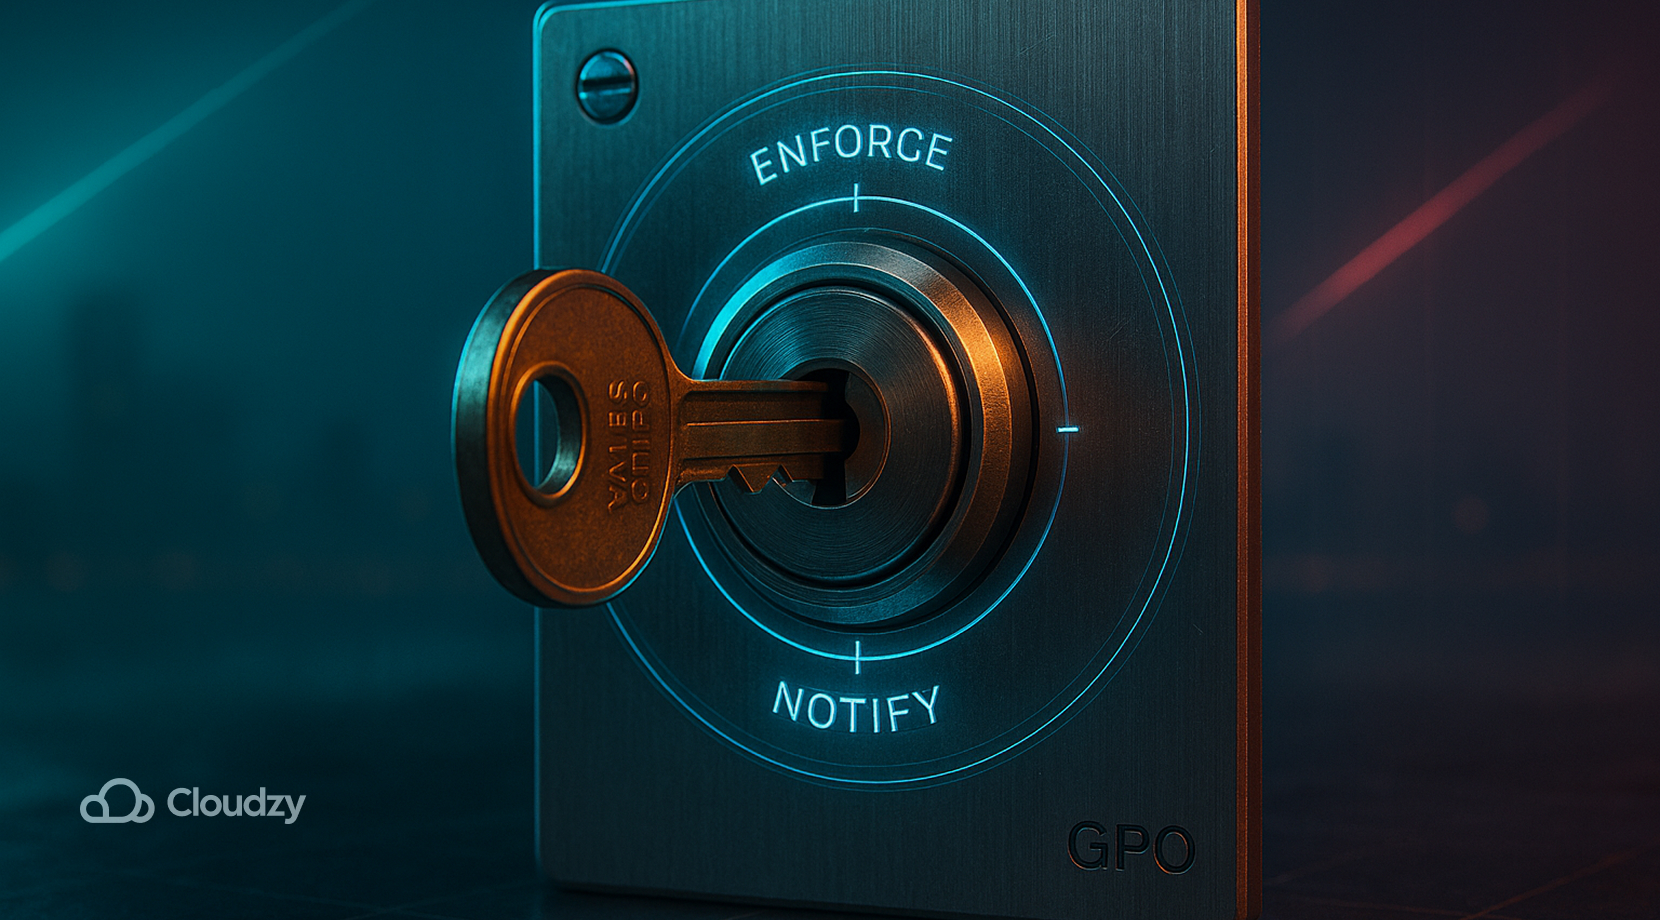
On supported editions, Group Policy gives predictable control over downloads and restarts. It is often the cleanest way to disable Windows 10 update without breaking system components. It also plays well with other policy work such as firewall rules, so it is logical to review disable firewall using group policy while you are here.
- Press Win+R, type gpedit.msc, and press Enter.
- Navigate to Computer Configuration → Administrative Templates → Windows Components → Windows Update → Manage end user experience.
- Open Configure Automatic Updates.
- Choose Disabled for a hard stop, or pick Notify for download and auto install to approve updates manually.
- Click Apply → OK.
- Run cmd as admin and enter gpupdate /force, then reboot.
Group Policy is not present on Windows 10 Home by default. If you are on Home, use Registry settings instead of third-party hacks. That is why the next section focuses on regedit Windows update entries designed for Home and Pro alike.
Method 3: Registry Editor (Home-Friendly)
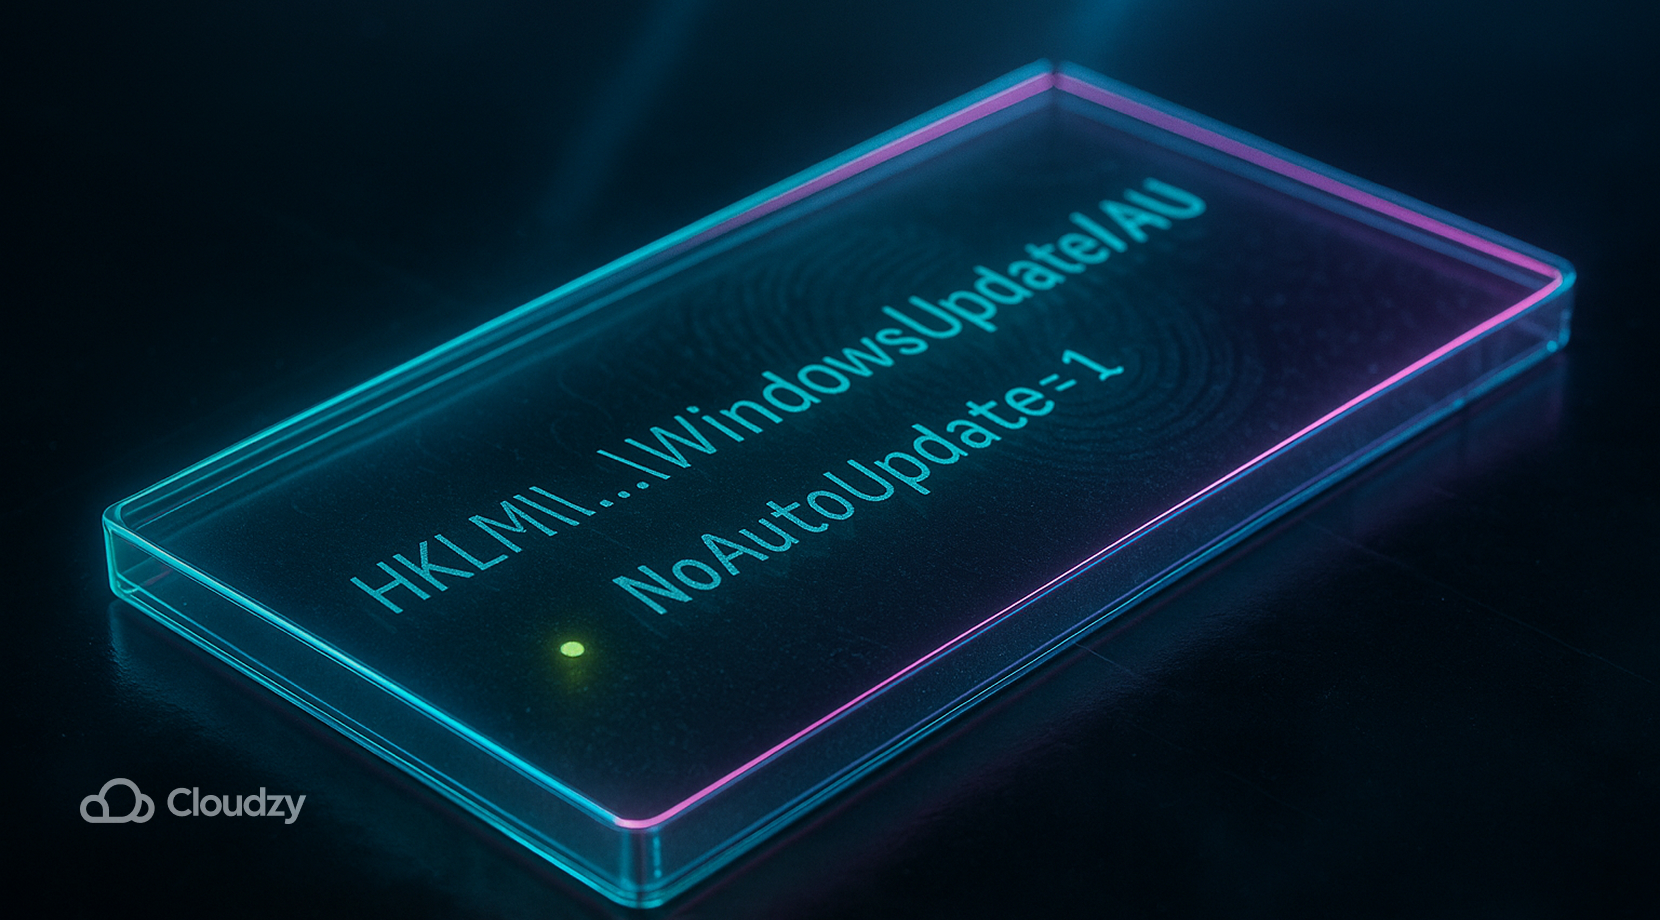
Registry keys provide fine control and work on Home, Pro, and beyond. With light changes, you can disable Windows 10 update or switch to a notify-only flow. Always back up the registry first and keep a restore point ready. The regedit Windows update path is simple if you follow the exact names and values.
- Press Win+R, type regedit, and press Enter.
- Go to HKEY_LOCAL_MACHINE\SOFTWARE\Policies\Microsoft\Windows\WindowsUpdate\AU. Create missing keys.
- Create a DWORD (32-bit) named NoAutoUpdate and set its value to 1 to stop automatic updates.
- Optional: create AUOptions as 2 to get Notify for download.
- Close the editor, then restart the PC.
- If Windows Update throws errors after changes, repair component store health with the steps in dism /restorehealth.
Registry control is durable and easy to roll back by setting values to 0 or removing them entirely. If Windows still restarts services or schedules downloads, you can combine this approach with Group Policy on Pro or with a metered connection for bandwidth relief.
Method 4: Disable Windows Update Service (Advanced)
Some try to disable Windows 10 update by turning off the service. It looks decisive, yet other components may restart it, and scheduled tasks can revert the change. Treat this as a last resort, or use it temporarily while you test drivers.
- Press Win+R, type services.msc, press Enter.
- Find Windows Update or wuauserv.
- Double-click it, set Startup type to Disabled, and press Stop.
- Apply the change, then OK.
- Reboot and recheck the status after a day of use.
Because the Update Orchestrator and recovery services may revive wuauserv, this stop is rarely permanent. If repeating failures are tied to old NIC, GPU, or SATA drivers, first stabilize the platform, then revisit update settings. Blue screens during updates often map to drivers such as in irql not less or equal.
Method 5: Set a Metered Connection (Limits Automatic Downloads)

A metered connection tells Windows to treat data as limited. It will reduce background downloads and is useful when you cannot pause or set policy, yet you still want to disable Windows updates from flooding the link. This is a throttle, not a full block, though it dovetails nicely with Registry or Policy.
Wi-Fi: Settings → Network & Internet → Wi-Fi → your network → Set as metered connection → On.
Ethernet: Settings → Network & Internet → Ethernet → your network → Set as metered connection → On.
You can keep metered mode in place for months, which helps remote or rural setups. It also buys time to patch storage shortages with increase disk space in Windows before the next feature or cumulative update lands.
Which Method Fits Your Case?
Choosing a path depends on your edition, your tolerance for manual steps, and the need for reversibility. The table maps common scenarios to a suitable approach so you can disable Windows 10 update with minimal risk.
| Method | Edition | Persistence | Risk | Best For |
| Pause in Settings | Home, Pro | Weeks | Low | Quick, safe freeze for events |
| Group Policy | Pro+ | Long | Low-Medium | Stable control with approvals |
| Registry | Home, Pro | Long | Medium | Home users and power users |
| Stop Service | All | Varies | Medium-High | Short tests, not long-term |
| Metered Connection | All | Long | Low | Bandwidth-capped links |
For most users on Pro, Group Policy plus notify-only offers the best balance. Home users usually get the cleanest result from the Registry path, then layer metered mode for bandwidth relief.
Reliable, high-performance RDP servers with 99.95 uptime. Take your desktop on the go to all the major cities in the US, Europe, and Asia. Need a Remote Desktop?
Important 2025 Notes: End of Support, ESU, and Browser Updates

Windows 10 reaches end of support on October 14, 2025. After that, general security updates stop for consumers, and extended security updates may be available by program. If you disable Windows 10 update entirely, you will miss fixes that still ship prior to that date. Plan migrations and keep backups current while you transition.
Some components continue to move even after OS support winds down. Microsoft Edge and WebView2 receive updates beyond 2025, which means web apps keep improving on Windows 10 while the base OS stays static. That split matters for security planning and for compatibility testing in small offices.
If you control updates today to stabilize work, revisit the decision as the end-of-support line approaches. A structured update window paired with tested drivers usually beats a permanent block, even for users chasing Windows 10 disable automatic updates for peace of mind.
Alternative: Test Changes on a Remote Windows 10 Instance

You can trial policies and registry values on a remote instance before touching your daily driver. A clean virtual machine lets you snapshot, roll back, and compare behavior across months of patches. Spin up a Windows VPS with full admin access and instant setup, backed by NVMe SSD storage, DDR5 RAM, high-end 4.2+ GHz vCPUs, free IPv6, DDoS protection, and a 99.95% uptime commitment. Choose a location close to your workflow across North America, Europe, and Asia; connections scale up to 10 Gbps on supported plans. Pay with Mastercard, Visa, Discover, PayPal, Alipay, or crypto, such as Bitcoin, Ethereum, Litecoin, and Tether. Best of all, If our Windows VPS isn’t a fit for you, there is a 7-day money-back guarantee with partial credit through day 14.
Lastly, when you buy a Windows VPS, you also buy an RDP connection available in the same global locations, so your tests stay smooth and isolated.
Which Method Should You Choose? (Quick Matrix)

Picking a path is mostly about risk appetite and edition. Keep control simple, repeatable, and easy to undo so you can disable Windows 10 update now and still patch on your schedule later.
- Home casual user: Registry notify-only, plus metered for bandwidth.
- Home power user: Registry hard stop during critical projects; switch to notify after.
- Pro creative: Group Policy set to notify; pause briefly during live work.
- SMB admin: Group Policy with approvals; staged rings; scheduled maintenance.
- Bandwidth-capped: Metered connection long-term, then short pauses during off-hours.
These patterns keep updates predictable while leaving room to recover from mistakes. Store a restore point, document your choices, and keep driver installers handy alongside your rollback notes.
Final Thoughts
You can disable Windows 10 update safely with pause, policy, or registry control, and still patch on your schedule. Use notify-only if possible, keep backups, and avoid messy third-party tools. If disable Windows updates is only a reaction to slowdowns or storage limits, fix those first with the guides linked above, then pick the lightest control that keeps your work smooth.
