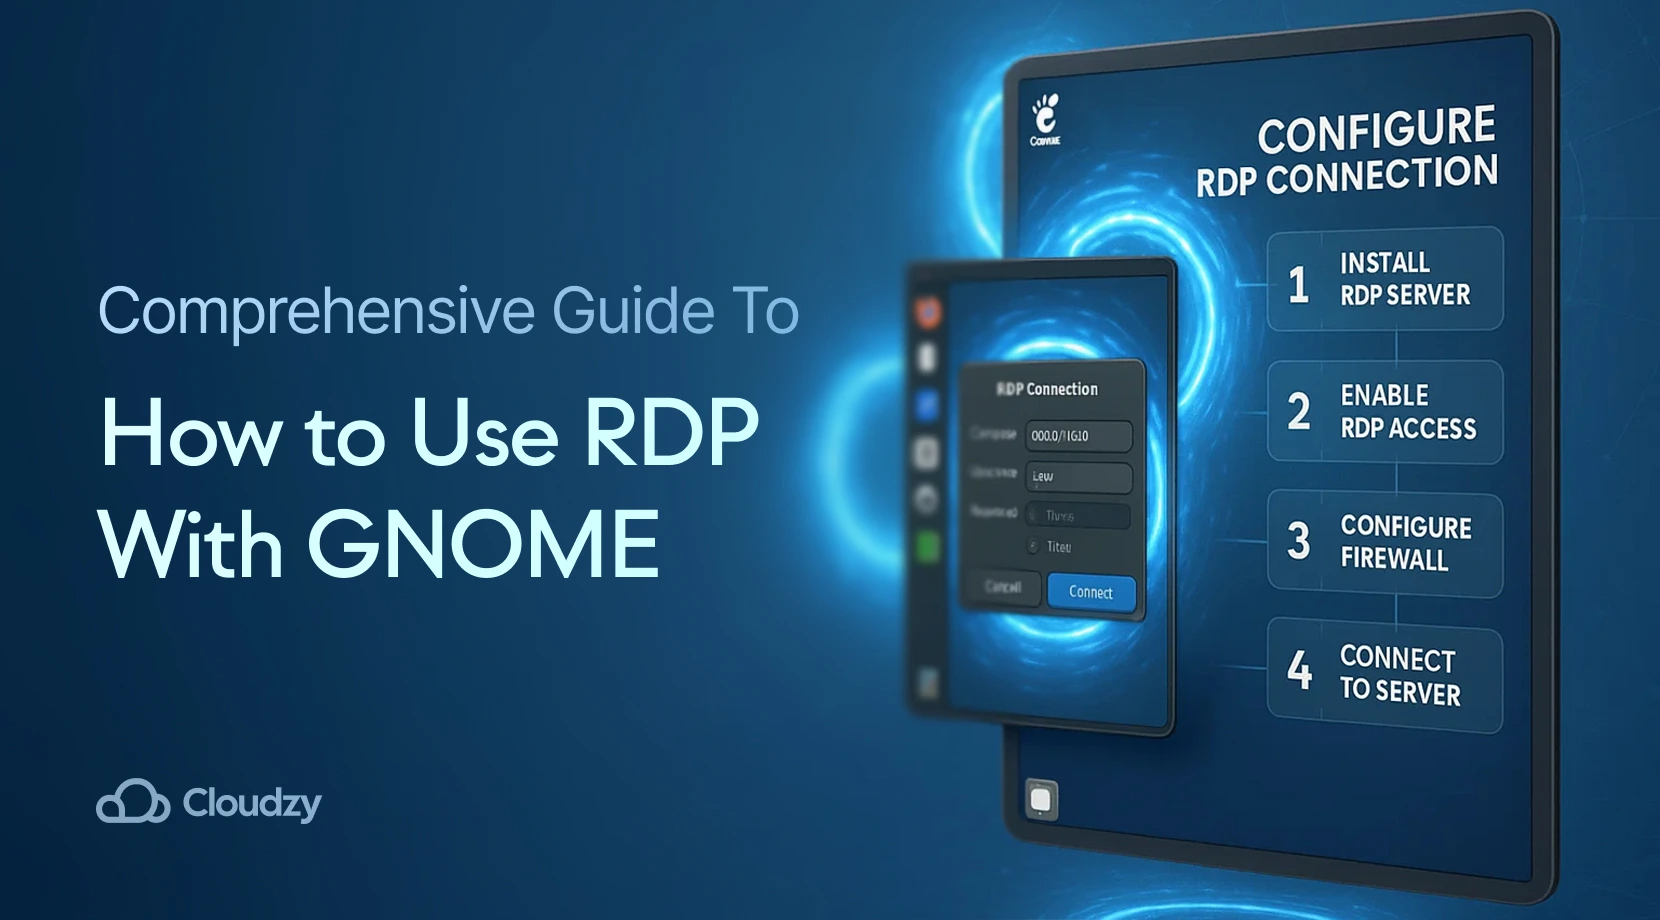
Remote work has transformed how we access our computers and files. Whether you’re traveling, working from home, or need to help someone troubleshoot their system, remote desktop solutions bridge the physical gap between you and your computer. This guide shows you how to set up GNOME remote desktop using Remote Desktop Protocol (RDP), turning any GNOME system into a remotely accessible workstation through GNOME remote desktop functionality.
What Is GNOME?
 GNU Network Object Model Environment, or GNOME for short, is a desktop environment for Linux-based operating systems. Made by the GTK toolkit. Just like many other Linux tools, GNOME is free and open-source. GNOME’s main purpose is to provide a graphical user interface (GUI) for Linux users, and it does a great job fulfilling that purpose because its minimal interface is easy to use and beginner-friendly.
Here’s a list of all the advantages provided by GNOME:
- Highly customizable with a wide range of themes and extensions that allow you to personalize your Linux experience
- Clean workspace management using Mutter software as a window manager to keep your working environment organized
- Integrated application suite including web browser, email client, text editor, and file manager designed specifically for GNOME
- Continuous development with regular releases featuring enhanced security, faster app performance, smoother graphics, and new capabilities
With all the mentioned features, GNOME is a powerful Linux environment both for newcomers and professionals who have extensive experience with Linux systems.
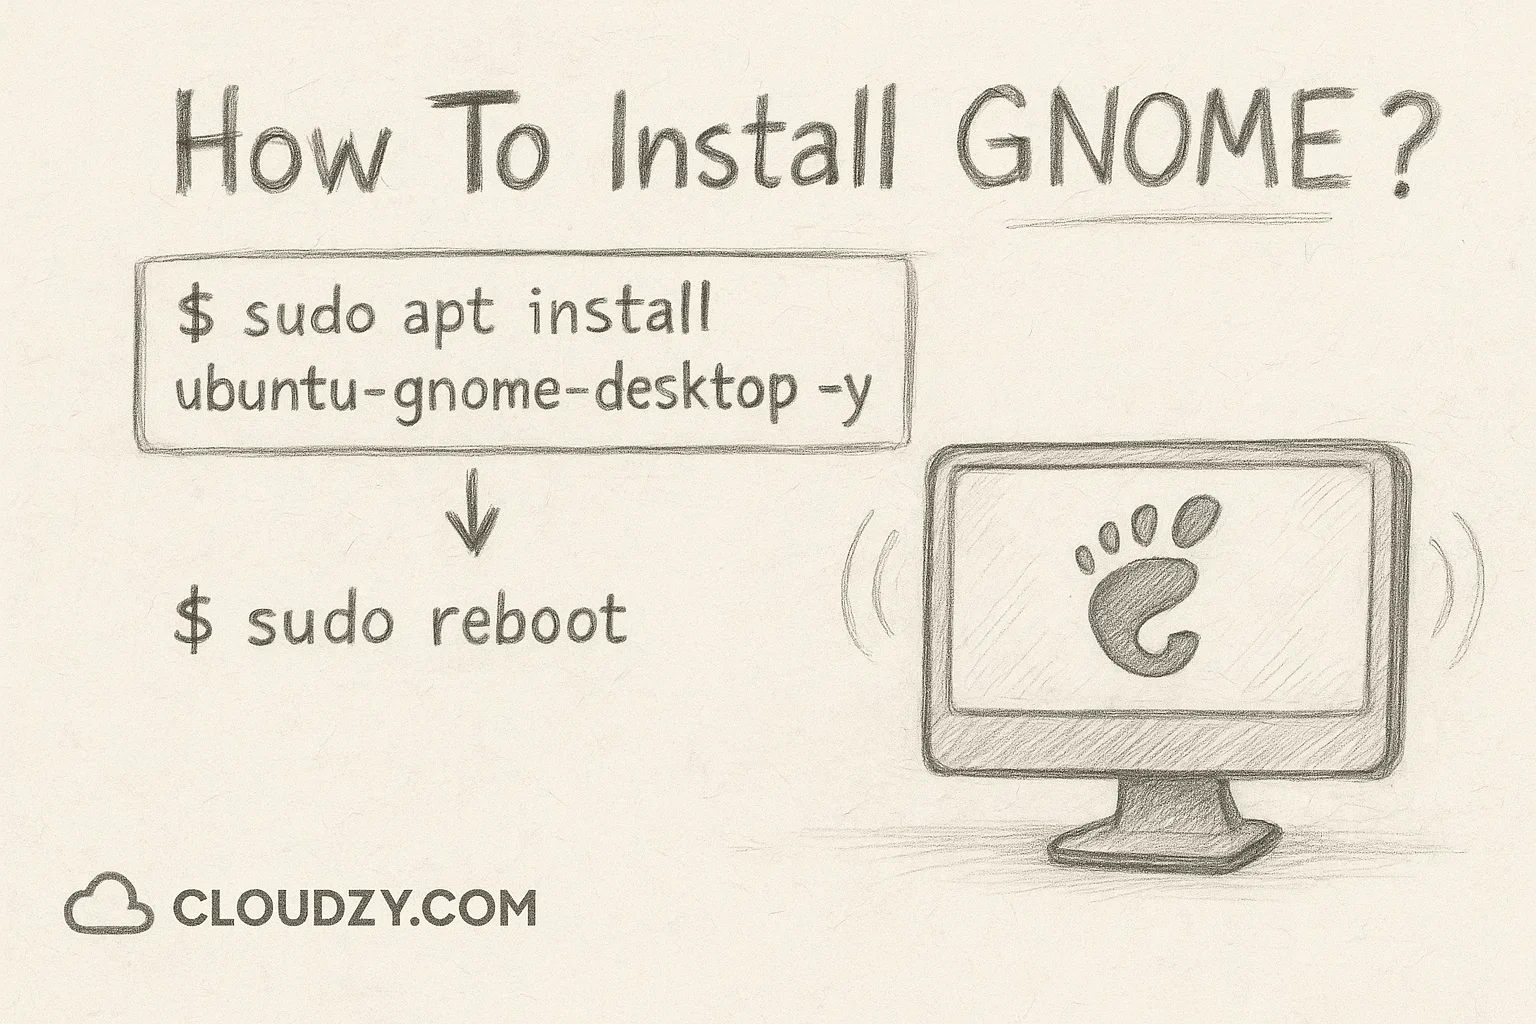
How To Install GNOME?
 Installing GNOME as your Linux desktop environment is straightforward and opens the door to modern remote desktop capabilities. For those wondering how to install GNOME remote desktop functionality, you’ll want GNOME version 42 or later, which includes built-in RDP support. This is especially important for Ubuntu GNOME remote desktop setups.
Step 1:
Install GNOME using this command in your terminal.
$sudo apt install ubuntu-gnome-desktop -yStep 2:
Restart your system to activate the new desktop environment and install GNOME remote desktop components.
$sudo rebootAfter rebooting, you’ll have the GNOME desktop environment ready to use, complete with the tools needed for Ubuntu GNOME remote desktop configuration.
What Is RDP?
Remote Desktop Protocol (RDP) is a network communication protocol that lets you connect to and control another computer remotely. Originally developed by Microsoft for Windows systems, RDP now works across different operating systems, including Linux with GNOME. Think of it as a digital window into another computer – you see the desktop, can move the mouse, type on the keyboard, and run programs as if you were sitting right in front of that machine.
For users seeking a comprehensive understanding of “what is RDP” and its technical specifications, the protocol operates by transmitting encrypted data packets between client and server systems.
Here are the main reasons people use RDP:
1. Working Remotely
RDP allows you to access your office computer’s files, applications, and resources from anywhere with an internet connection. This makes remote work seamless and productive.
2. Accessing Better Gaming Hardware
Gamers often use RDP to connect to more powerful computers for enhanced gaming experiences. This also applies to resource-intensive tasks like:
- Video editing
- 3D rendering
- Scientific computing
3. Providing Technical Support
IT support teams use RDP to troubleshoot problems on remote computers without traveling to the user’s location. This saves time and allows for immediate assistance.
RDP works by using standard Internet protocols (TCP/IP) to send data between computers over a dedicated network channel. This data includes everything happening on the remote computer – mouse movements, keyboard input, screen display, and audio. The result is a real-time view and control of the remote desktop on your local screen.
Are you in need of a remote server or remote desktop? We’ve compiled a comprehensive list of the best RDP providers in the industry. Discover the top performers, compare features, and find the perfect fit for your needs.
Using RDP With GNOME: Why and How?
 There are many scenarios where you might need to access a Linux GNOME system remotely. Perhaps you have a powerful Linux workstation at the office but need to connect to a GNOME remote desktop from Windows at home. Or maybe you’re managing multiple Linux servers and need a graphical interface for administrative tasks.
Modern GNOME systems (version 42 and later) come with built-in RDP support through the gnome-remote-desktop service. This means you don’t always need to install additional software when learning how to connect to GNOME remote desktop – the capability is already there, waiting to be activated.
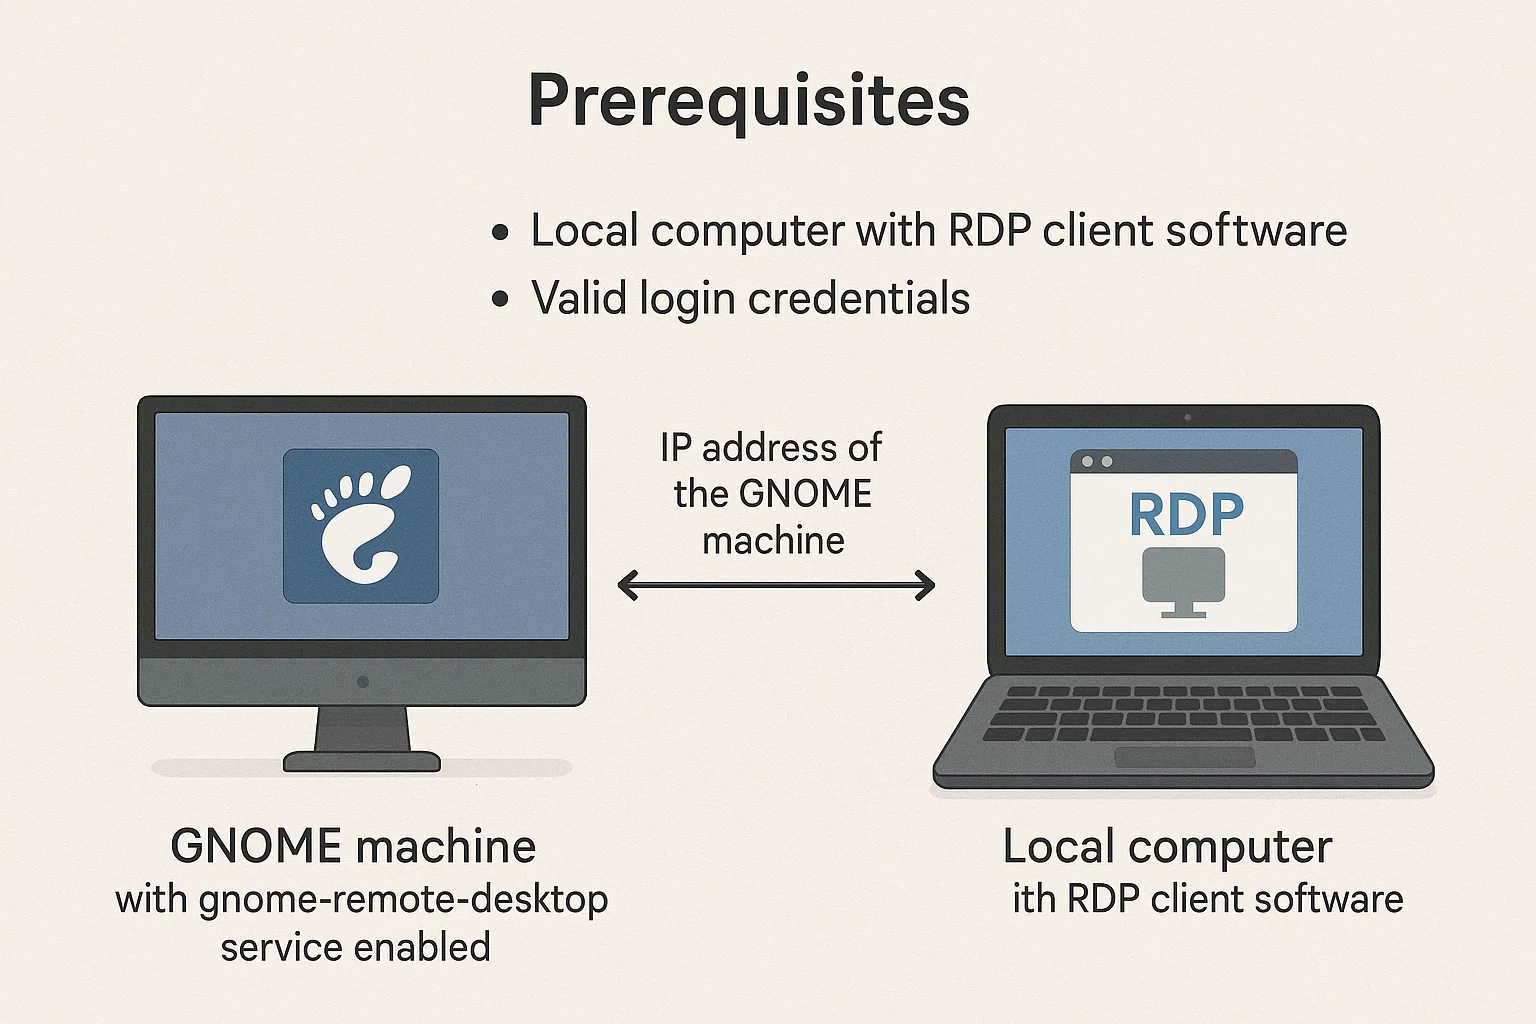
Prerequisites:
- GNOME machine with gnome-remote-desktop service enabled
- Local computer with RDP client software
- IP address of the GNOME machine
- Valid login credentials
How to Set Up GNOME Remote Desktop?
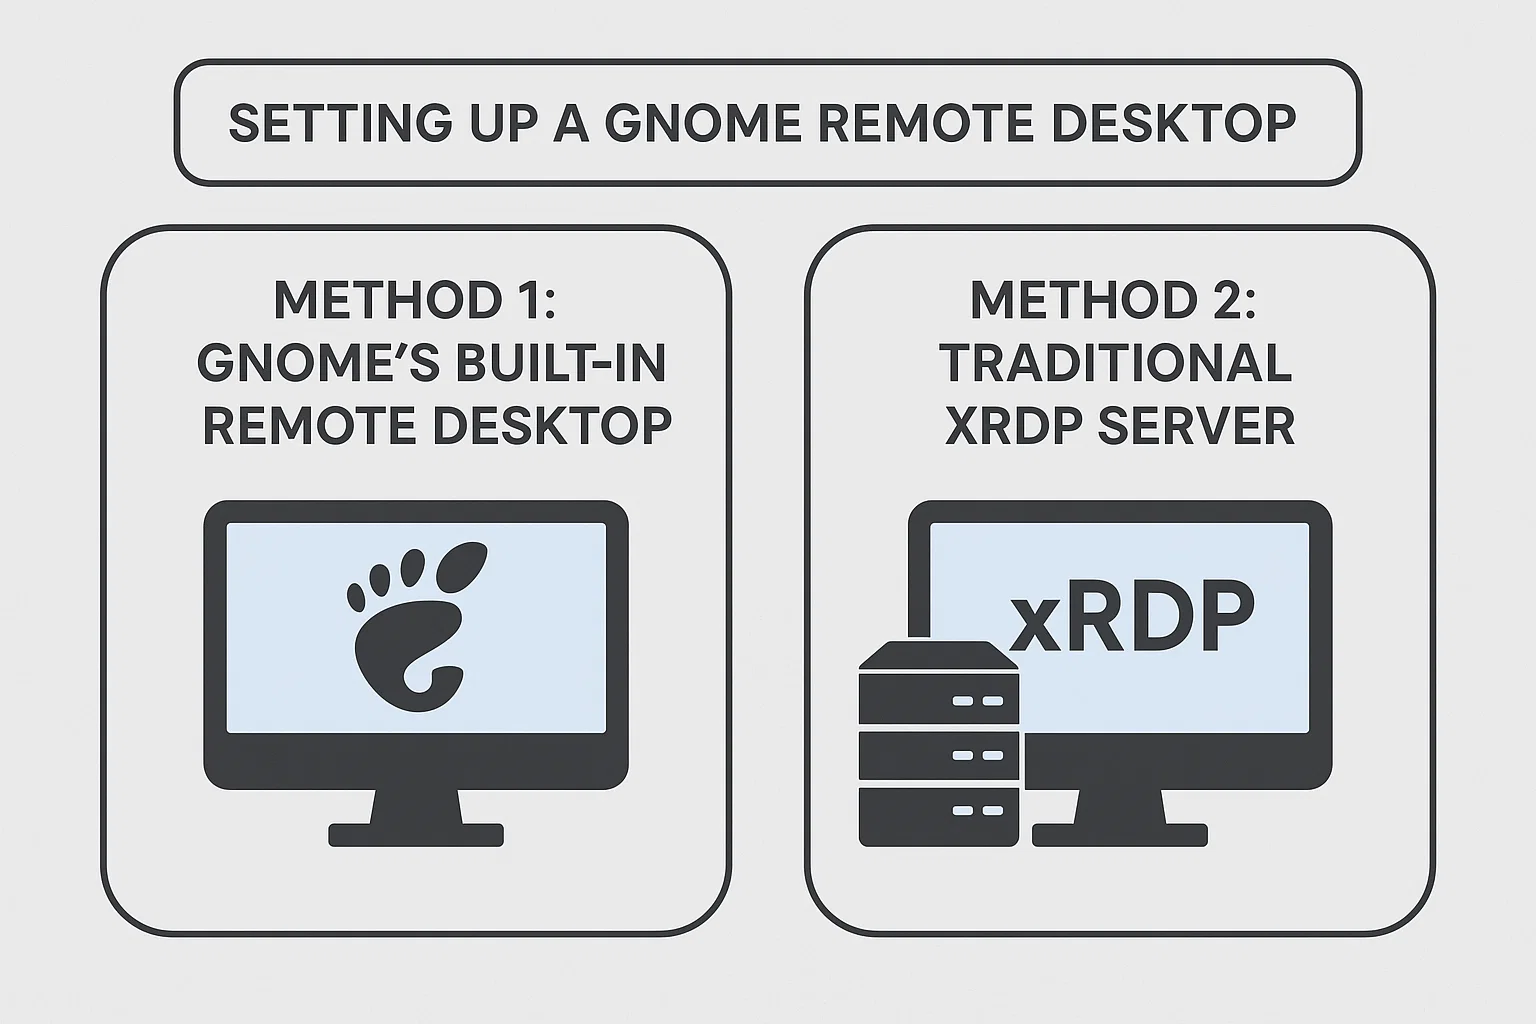
Setting up a GNOME remote desktop involves two main approaches, each with distinct advantages and use cases:
Method 1: GNOME’s Built-in Remote Desktop (GNOME 42+)
- Performance: Native integration provides smoother graphics and better resource efficiency
- Security: Uses modern TLS encryption and certificate-based authentication
- Compatibility: Works seamlessly with Wayland display server
- Setup complexity: Minimal configuration required through Settings GUI
- Best for: Modern systems, security-conscious environments, Wayland users
Method 2: Traditional xRDP Server
- Performance: Good compatibility, but may have slight latency with complex graphics
- Security: Standard RDP encryption, widely tested and stable
- Compatibility: Requires an X11 display server, works with older GNOME versions
- Setup complexity: Manual installation and configuration needed
- Best for: Legacy systems, mixed Windows/Linux environments, X11 setups
Critical Prerequisites for Both Methods:
- You must be logged out of the GNOME desktop locally before a remote connection
- Firewall must allow RDP traffic on port 3389
- The remote machine needs a static IP or dynamic DNS for consistent access
- Local and remote systems require compatible RDP client/server versions
Method 1: Using GNOME’s Built-in Remote Desktop (GNOME 42+)
This is the easiest method if you have GNOME 42 or later. The remote desktop functionality is already built into the system.
GUI Setup:
- Open Settings from your applications menu
- Navigate to Sharing in the left sidebar
- Toggle the main Sharing switch to “On”
- Click on Remote Desktop
- Enable Remote Desktop and Remote Control
- Set a strong password for remote connections
- Note the connection details shown in the “How to Connect” section
Command Line Setup (Advanced):
For headless systems or advanced users, you can configure GNOME remote desktop using the grdctl command:
1. Install required packages:
sudo apt install winpr-utils2. Generate TLS certificates for secure connections:
winpr-makecert -silent -rdp -path ~/.local/share/gnome-remote-desktop/ rdp-tls3. Configure the certificates:
grdctl rdp set-tls-cert ~/.local/share/gnome-remote-desktop/rdp-tls.crt

grdctl rdp set-tls-key ~/.local/share/gnome-remote-desktop/rdp-tls.key
4. Set your RDP credentials:
RDP_USER="${USER}"

RDP_PASS="your_secure_password"

grdctl rdp set-credentials "${RDP_USER}" "${RDP_PASS}"
5. Enable RDP and allow remote control:
grdctl rdp enable

grdctl rdp disable-view-only
6. Ensure the service is running:
sudo systemctl --now enable gnome-remote-desktop.serviceIf you’re using an older GNOME version or need compatibility with legacy systems, xRDP provides a reliable alternative.
1. Install xRDP:
sudo apt install xrdp2. Enable and start the service:
sudo systemctl enable xrdp

sudo systemctl start xrdp
3. Configure firewall access:
sudo ufw allow from any to any port 3389 proto tcpConnecting to Your GNOME Remote Desktop
Once your GNOME system is configured for RDP, understanding how to connect to the GNOME remote desktop becomes straightforward from various devices:
From Windows: Use the built-in “Remote Desktop Connection” application to connect to the GNOME remote desktop from Windows systems
From Linux: Install an RDP client like Remmina or use GNOME Connections
From macOS: Download Microsoft Remote Desktop from the App Store
Enter your GNOME system’s IP address, username, and the password you configured during setup.
One crucial factor for a smooth GNOME remote desktop experience is network quality. A reliable internet connection with sufficient bandwidth ensures responsive control and clear visual quality. Data delays and poor connections can make remote desktop sessions frustrating and inefficient.
For professional remote desktop solutions, consider Cloudzy’s RDP VPS servers that provide adequate bandwidth, excellent connectivity, and robust technical resources. Their USA RDP infrastructure offers 24/7 support with guaranteed low-latency connectivity, eliminating common remote desktop performance issues across major cities in the US, Europe, and Asia.
Best RDP Clients for GNOME
An RDP client is an app that gathers input information and sends them to the remote desktop. It also receives data from the remote desktop in visual form to display on your local desktop.
If you want a reliable connection, eliminate security worries, and have an efficient remote desktop experience, you should choose a good GNOME RDP client. Here we’ve introduced five of the best RDP clients to enhance your experience with the GNOME remote desktop.
1. Tiger VNC
TigerVNC is both server and client software for remote connection. As the name suggests, it’s made for the VNC protocol, another remote connection protocol. But TigerVNC also supports the RDP protocol. With TLS encryption and advanced authentication methods, it’s among the most secure servers out there.
2. NoMachine
NoMachine is an RDP software with a feature-packed environment for remote desktop connection. It has a free version, but you need to buy a license for advanced features like session recording, file transfer, and printing from a remote desktop. Besides Linux distros, it’s also available for Windows and macOS.
3. FreeRDP
FreeRDP is an RDP client that’s free and open-source. This software offers a range of advanced features like file transfer, clipboard sharing, and video redirection.
4. GNOME Boxes
GNOME Boxes is a built-in tool in the GNOME environment. This virtualization tool covers a wide range of remote connection protocols, including RDP, and gives users the ability to make and manage virtual machines on their personal computers.
5. Windows RDP
Windows Remote Desktop Connection, also known as RDC or Windows RDP, is an RDP client developed by Microsoft and is built in Windows systems. Some of its important features are file transfer in Windows to Windows connections, voice and video integration, and the ability to save connection configurations.
6. Remmina
The last RDP client that we’ll talk about is Remmina. Remmina is probably the most commonly used RDP client since it’s free, open-source, and made by pro-copyleft developers. It has a long list of useful features and options, such as remembering the last view mode of each connection or a screenshots folder. It also supports a variety of protocols, including RDP, VNC, SSH, and SPICE.
Alternatives to RDP for Remote Accessing a GNOME Desktop
There are several alternative solutions to connect to a remote machine via your local computer. And there are also several reasons why one might not be willing to use RDP. RDP is a proprietary tool that Microsoft has developed for Windows users. In order to use it on Linux machines, users have to use open-source implementations like FreeRDP. That’s why some Linux users prefer to use other remote connection protocols such as VNC or SSH. Let’s review these alternative methods and see how suitable they are for setting up a GNOME remote desktop.
Virtual Network Computing (VNC):
Similar to RDP, VNC is a screen-sharing solution that connects two computers. There are lots of similarities and differences between RDP and VNC. The most important of which is that, unlike RDP, VNC works cross-platform and doesn’t have the operating system limitations of RDP. This feature makes it a better solution for setting up a remote desktop connection across various devices, especially Linux machines. You can use the VNC protocol via several client tools such as TigerVNC, RealVNC, and TightVNC.
X11 forwarding:
X11 is a network protocol that allows users to display graphics on a remote desktop. It’s mainly designed to display GUIs on another computer instead of the whole desktop. That’s why this protocol can be an ideal choice for people with security concerns. For example, you want to allow someone to test a software application on your system, but at the same time, you want to prevent them from accessing your confidential information.
Conclusion
 Setting up a GNOME remote desktop provides powerful remote access capabilities for any Linux system. With modern GNOME versions offering built-in RDP support and older systems accommodating traditional xRDP installation, you have flexible options to match your specific setup requirements. Whether you choose the streamlined built-in approach or the compatibility-focused xRDP method, following the proper configuration steps ensures secure and reliable remote access.
The combination of GNOME’s user-friendly interface and RDP’s robust protocol creates an effective solution for remote work, system administration, and technical support scenarios. With the right network infrastructure and proper client software, accessing your GNOME remote desktop becomes as seamless as working locally.
FAQ
What is RDP, and how to use it with GNOME?
Are there any requirements for using RDP with GNOME?
Is it possible to connect to multiple GNOME desktops using RDP?
What is the best RDP client to connect to a GNOME desktop?
Can I use GNOME remote desktop over the internet?
Does GNOME remote desktop work with Wayland?