Many users can benefit from the ability to run both Windows and Linux
simultaneously on a Windows machine. The Windows Subsystem for Linux
(WSL) allows you to install a Linux distribution (such as Ubuntu,
OpenSUSE, Kali, Debian, Arch Linux, etc) and use Linux applications,
utilities, and Bash command-line tools directly on Windows, unmodified,
without the overhead of a traditional virtual machine or dual-boot
setup.
Prerequisites:
Before you begin, it’s essential to ensure you’re running the right
version of Windows:
Check Windows Version:
To determine your Windows version, follow these steps:
-
Press Windows + R to open the Run dialog.
-
Type winver and press Enter.
-
A window will pop up displaying your Windows version and build
number. Make sure you are running Windows 10 version 2004 and higher
(Build 19041 and higher) or Windows 11 to use the commands
below.

Install WSL
You can now install everything you need to run WSL with a single
command. Here’s how to do it:
Step
1: Open a Command Prompt in Administrator Mode
-
Right-click on the Windows Start button.
-
Select Windows Terminal (Admin) or
Command Prompt (Admin). This is essential as
administrative privileges are required for installation.
Step 2: Enter the
Installation Command
In the Command Prompt or Windows Terminal with admin privileges,
enter the following command:
wsl --install --web-download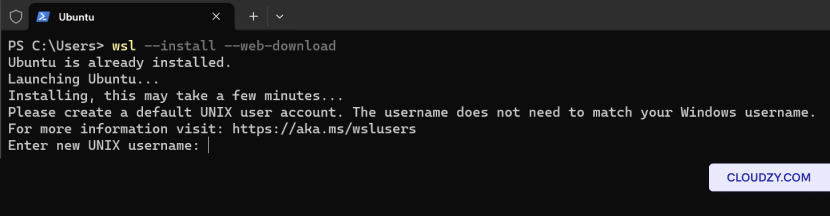
Change the
Default Linux Distribution
By default, the installed Linux distribution will be Ubuntu. However,
you can change this default distribution using the -d
flag.
To change the distribution installed, follow these steps:
-
Open a Command Prompt or Windows Terminal.
-
Enter wsl –list –online to see a list of
available Linux distributions for download through the online
store.
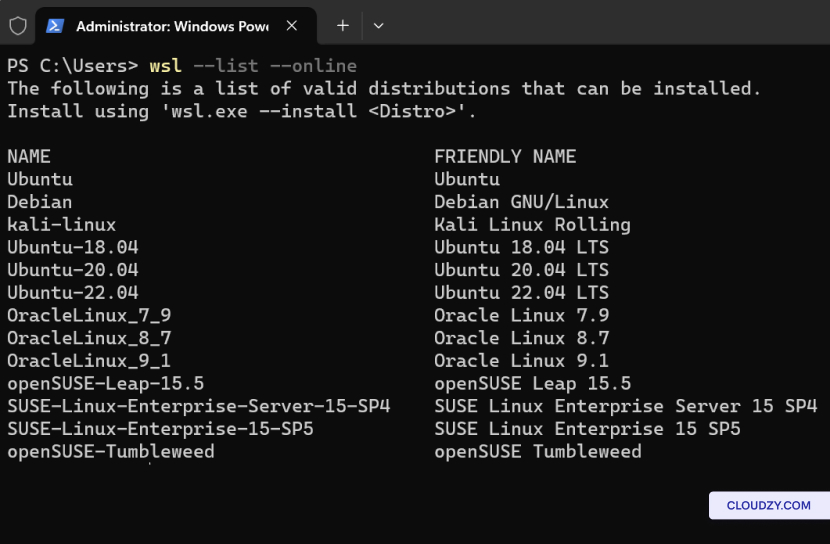
- Replace Distribution Name with the name of the
distribution you would like and run:
wsl --install -d <Distribution Name>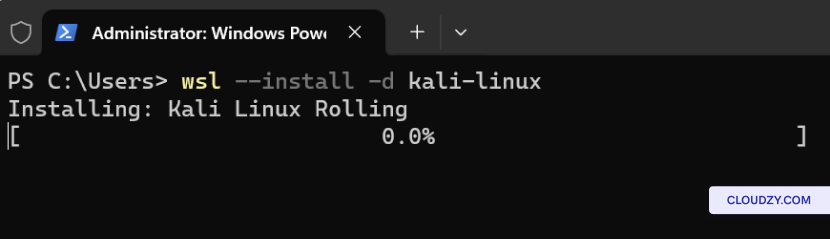
How to Run a
Linux Distribution with WSL
Once you’ve installed a Linux distribution using Windows Subsystem
for Linux (WSL), you can easily launch it and start working. Here’s how
to run your Linux distribution:
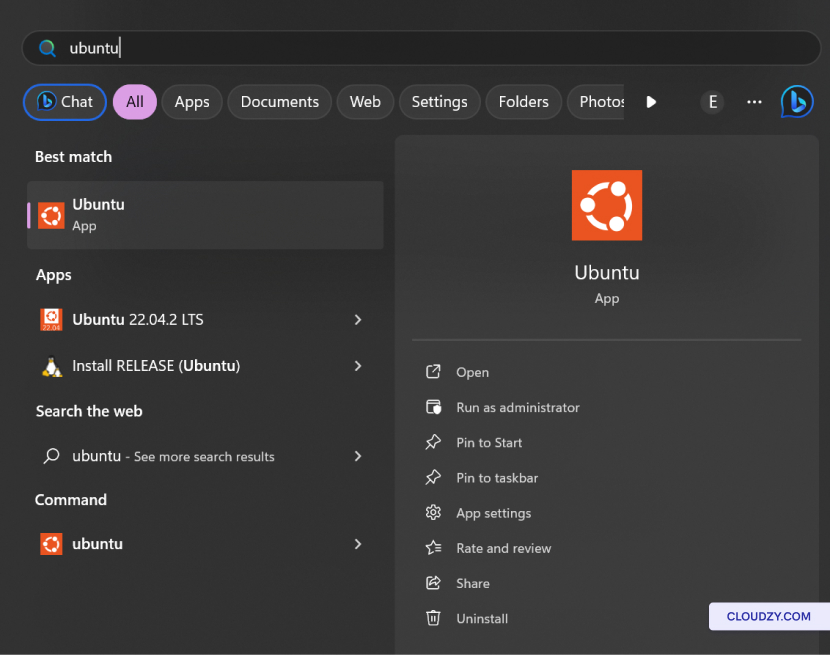
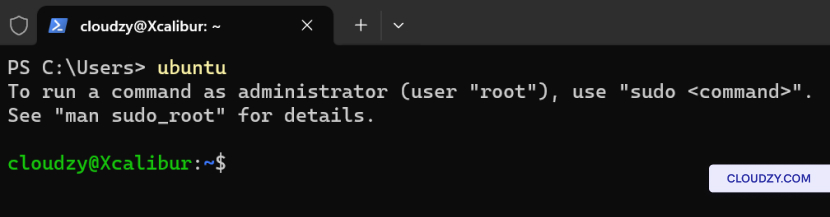
Option 1: Start Menu
Search
-
In the Windows Start search bar, type the name of your installed
Linux distribution. For example, if you have Ubuntu installed, simply
type Ubuntu. -
Windows will display your Linux distribution in the search
results. Click on it to launch your distribution.
Option 2: Command
Line
You can also run your Linux distribution from the command line in
Windows. Here’s how:
-
Open a Command Prompt or Windows Terminal.
-
Type the name of your installed distribution. For example, if you
have Ubuntu, type ubuntu and press Enter.
Basic Commands for
WSL
Now that you have WSL installed and have set up your Linux
distributions, it’s important to familiarize yourself with some basic
commands to work effectively within the Linux environment. Below are
some key commands you can use within WSL.
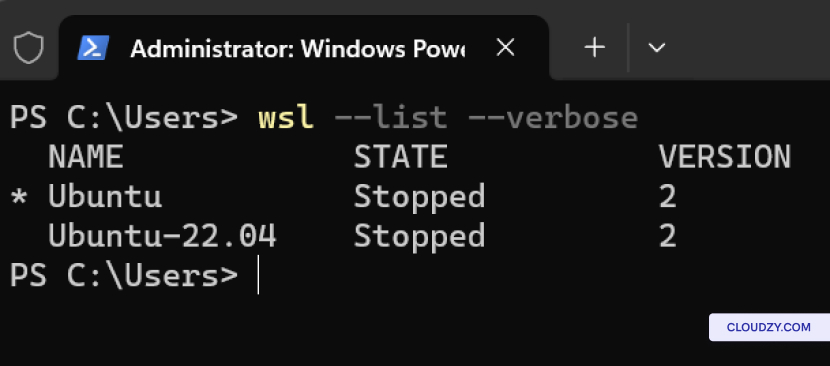
List Installed Linux
Distributions:
To view a list of the Linux distributions installed on your Windows
machine, including their state and WSL version, use:
Set WSL Version:
To set the version of WSL (1 or 2) for a specific Linux distribution,
use:
wsl --set-version <distribution name> <versionNumber>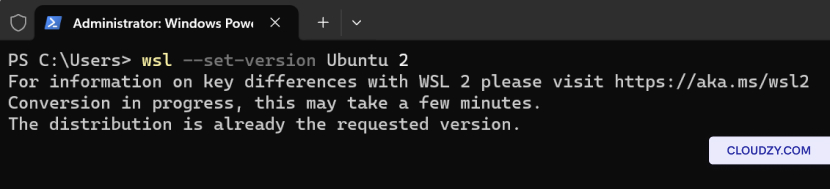
Set Default WSL
Version:
To set a default version of WSL (1 or 2) for new Linux distribution
installations, use:
wsl --set-default-version <Version>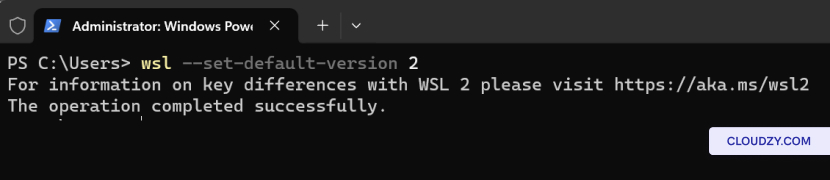
Set Default Linux
Distribution:
To set the default Linux distribution used with the wsl command,
use:
wsl --set-default <Distribution Name>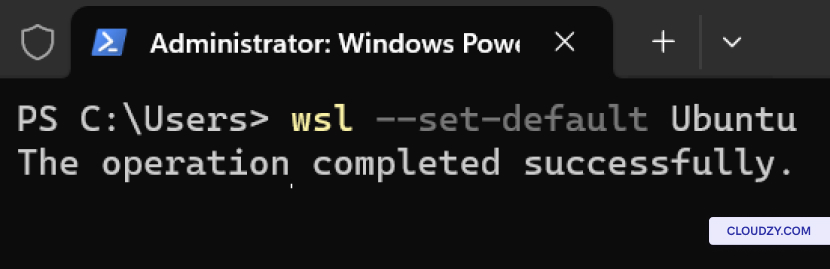
Run a Specific Linux
Distribution:
To run a specific Linux distribution with a specific user, use:
wsl --distribution <Distribution Name> --user <User Name>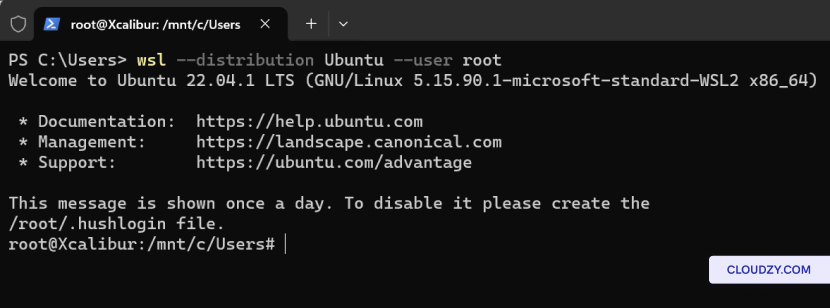
Removing a
Specific Linux Distribution
If you want to remove a specific Linux distribution from your WSL
setup, follow these steps:
-
Open a Command Prompt or Windows Terminal.
-
Run the following command and replace distro
name with the name of the distribution you want to
remove:
wsl --unregister <distro name>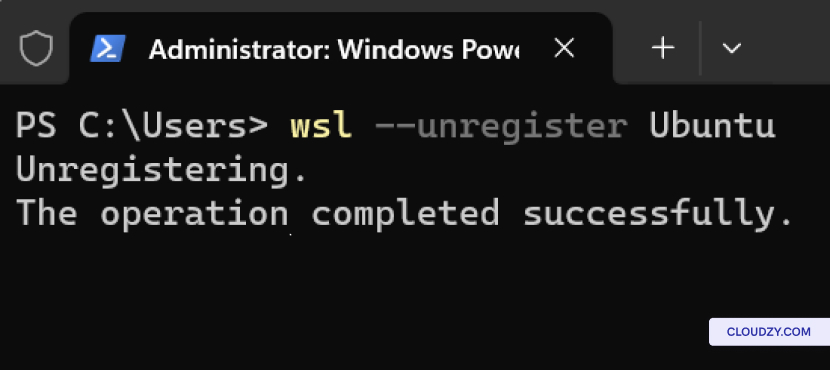
This command will unregister the specified distribution from WSL,
removing it from your system. Please note that all data, settings, and
software associated with that distribution will be permanently lost.
Uninstall WSL from
Your Computer
If you want to completely uninstall WSL from your computer, follow
these steps:
-
Open a Command Prompt or Windows Terminal.
-
Below command will disable the Windows Subsystem for Linux
feature on your system. Once disabled, WSL will be removed from your
computer.
Disable-WindowsOptionalFeature -Online -FeatureName Microsoft-Windows-Subsystem-Linux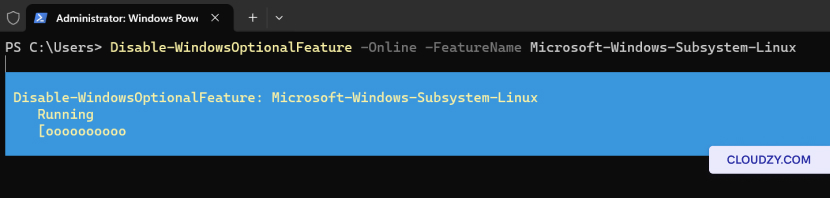
With WSL, the integration of Windows and Linux becomes seamless. From
ensuring you have the right Windows version to executing commands for
installation and running Linux distributions, the process is
straightforward. Additionally, you can manage your Linux distributions
efficiently with basic WSL commands. If you need any more information or
further assistance, feel free to contact our support team by submitting a
ticket.
Also in Manual Installs
Related guides.
Need help with something else?
Median response time under 1 hour. Real humans, not bots.