Understanding and setting the instance name or hostname for your
Virtual Private Server (VPS) is important for server management and
network identification. The hostname provides a human-readable reference
to the server and plays a significant role in networking and security.
This guide will explain what an instance name is and provides a simple
walkthrough on setting or changing your VPS’s hostname in the Cloudzy
Panel.
Prerequisites
Before starting to set or change your Cloud VPS hostname, make sure
you are prepared with:
-
Cloudzy Panel Access: Log into your Cloudzy
Panel where your VPS is hosted. -
Active VPS: Make sure your VPS is active. You
can change the hostname while the VPS is running or if it’s turned
off. -
Valid Hostname: Choose an appropriate hostname.
It should be DNS-compliant, not contain special characters, start with a
letter, and be less than 63 characters long. Examples include
node01.example.com or
database-london.example.net.
Step
1: Accessing the Cloudzy Panel for Hostname Configuration
- Log In:
Navigate to the Cloudzy Panel website and enter your credentials to
log in. The dashboard will display an overview of your VPS
instances.
- Select Your VPS:
From the list of available VPS instances, select the one for which
you want to change the hostname. You can easily identify it by its
current name or IP address.
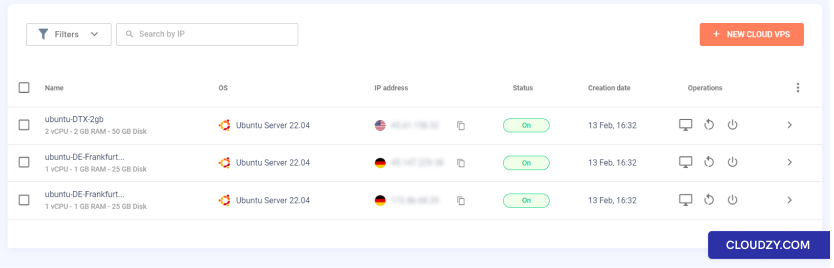
- Locate the Access Section:
On the VPS management page, locate the Access tab.
This is where you will find the options for modifying your VPS settings,
including the hostname.

Step
2: Changing the VPS Hostname via Cloudzy Panel
- Navigate to Hostname Settings:
In the Access section of your VPS management page on
the Cloudzy Panel, locate the hostname field.
- Input New Hostname:
Enter your new hostname into the field, for example,
server01.yourdomain.com or
server01.
- Save and Confirm Changes:
Click the Save Changes button to submit your new hostname. A
confirmation dialog will appear, informing you that the VPS will restart
as part of the hostname change process.
- Restart to Apply New Hostname:
Confirm the action to initiate the restart. The VPS will undergo a
reboot to update its system and network configurations with the new
hostname.

By following these steps, you can successfully update your VPS’s
hostname, which will be reflected once the VPS restarts and comes back
online. If you need any more information or further assistance, feel
free to contact our support team by submitting a
ticket.
Also in Deploy & Setup
Related guides.
Need help with something else?
Median response time under 1 hour. Real humans, not bots.