Resizing is available exclusively for hourly (PAYG) plans. If you’re on a monthly or yearly fixed-term plan, resizing is not supported.
For hourly plans, you can upgrade or downgrade your Cloud VPS at any time directly from the panel, no support ticket required. Here’s how:
- Log in to your account in the Cloudzy panel.
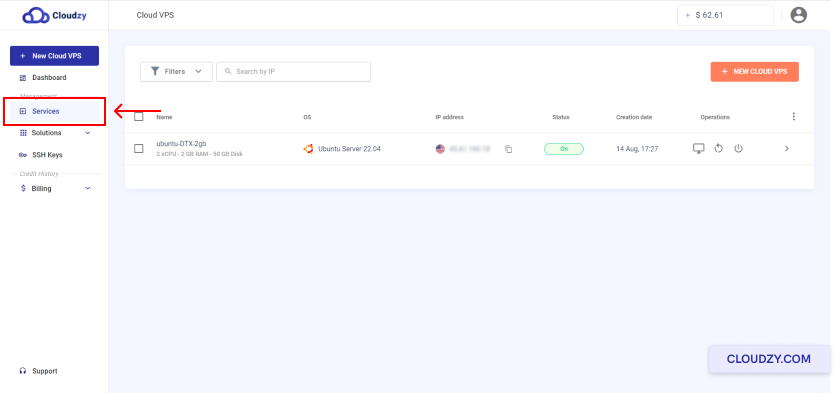
- From the left sidebar, click on Services.
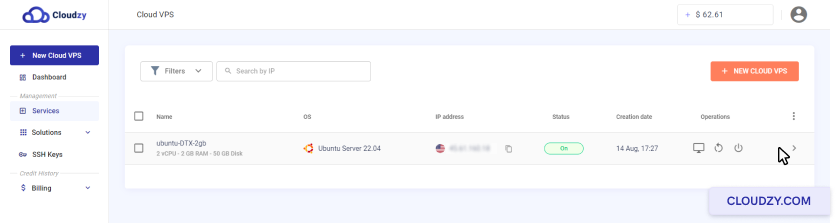
- Click on the row of the Cloud VPS you want to resize.
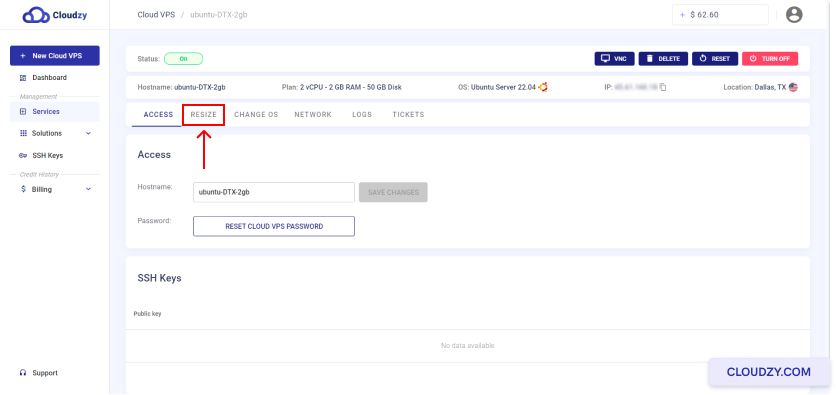
- At the top of the page, click the Resize button.
- Select the plan you want to move to, then confirm by clicking Resize.
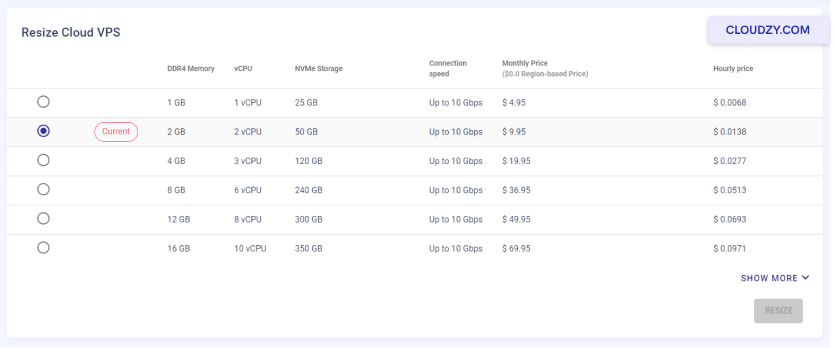
That’s it, your Cloud VPS will be upgraded or downgraded to the selected plan.
A Few Things to Know
There are no limits on how many times you can resize. You can upgrade or downgrade as many times as needed.
Your IP address won’t change. Each Cloud VPS has a dedicated IP address that remains the same regardless of plan changes.
Billing adjusts immediately. After resizing, your hourly charge will be based on the new plan. The previous plan’s rate applies up until the moment the resize is completed.
If you have any questions, reach out through the Cloudzy support portal.
Also in OS & VPS
Related guides.
Need help with something else?
Median response time under 1 hour. Real humans, not bots.