You asked how to secure Windows VPS without turning it into a science project, so here is a clean checklist that fits real-world use. If you are securing a VPS for remote work, websites, or apps, the goal is simple: cut attack surface, add strong identity, and watch your logs. Use this guide as a quick system hardening runbook and a refresher on how to secure Windows VPS the right way in 2025. Use this guide as a quick system hardening runbook and a refresher on how to secure Windows VPS the right way in 2025.
Patch First: Updates, Drivers, and Roles

Before anything else, patch. Unpatched servers with public exposure are low-hanging fruit, and most break-ins start there. Keep security updates rolling, remove unused Windows roles, and plan reboots on a schedule that your team can live with. That is the boring work that stops the noisy stuff.
- Set Windows Update to install security updates on a regular cadence; align maintenance windows with business hours that work for you.
- Remove roles and features you do not need, like legacy IIS modules or SMB 1.0 components.
- Apply driver, firmware, and app updates on a rhythm, then reboot on schedule, not two months later.
- If the VPS is on public IP, review exposure in your cloud portal and close what is not needed.
If you are asking how to secure your windows fast, start right here and keep a simple changelog per month. This sets the stage for identity work next, which is where most gains happen.
Identity Basics: Strong Passwords, MFA Paths

Identity is your front door. Long passphrases and a second factor stop most commodity attacks, and they are simple to roll out even on a small Windows Server.
- Use 14–20 character passphrases and block common and leaked passwords.
- Add MFA to Remote Desktop via an RDP Gateway, a VPN, or a third-party credential provider.
- Use separate named admin accounts, and keep daily work under a standard user.
- Audit who can log in via RDP, trim that list, and stick to least privilege.
These basics make how to secure Windows VPS less about tricks and more about consistency, which leads straight into accounts. If you are hardening a VPS for a client, bake these checks into handover notes so the next admin sticks with the plan.
Kill the Default ‘Administrator’ and Apply Account Lockout
Attackers hammer the built-in Administrator name. Disable it, create a named admin, and add account lockout so brute force attempts slow to a crawl.
- Disable or rename the built-in Administrator and keep a separate named admin for emergency use.
- Set Account Lockout to 10 attempts, 15-minute lockout, and 15-minute reset for a practical balance.
- Document a quick unlock path so support is not blocked when someone fat-fingers a password.
For baseline settings and trade-offs, see Microsoft’s Account lockout threshold reference.
Small changes like these do a lot for secure server hosting, and they pay off fast on a public VM. With the default door closed and lockouts in place, the next layer is the RDP surface.
 Windows 10 VPS Hosting
Get yourself an efficient Windows 10 VPS for remote desktop, at the cheapest price out there. FREE Windows 10 running on NVMe SSD storage and high-speed internet.
Check Out Windows 10 VPS PlansRDP Hardening: NLA, Port Noise, and IP Allowlists

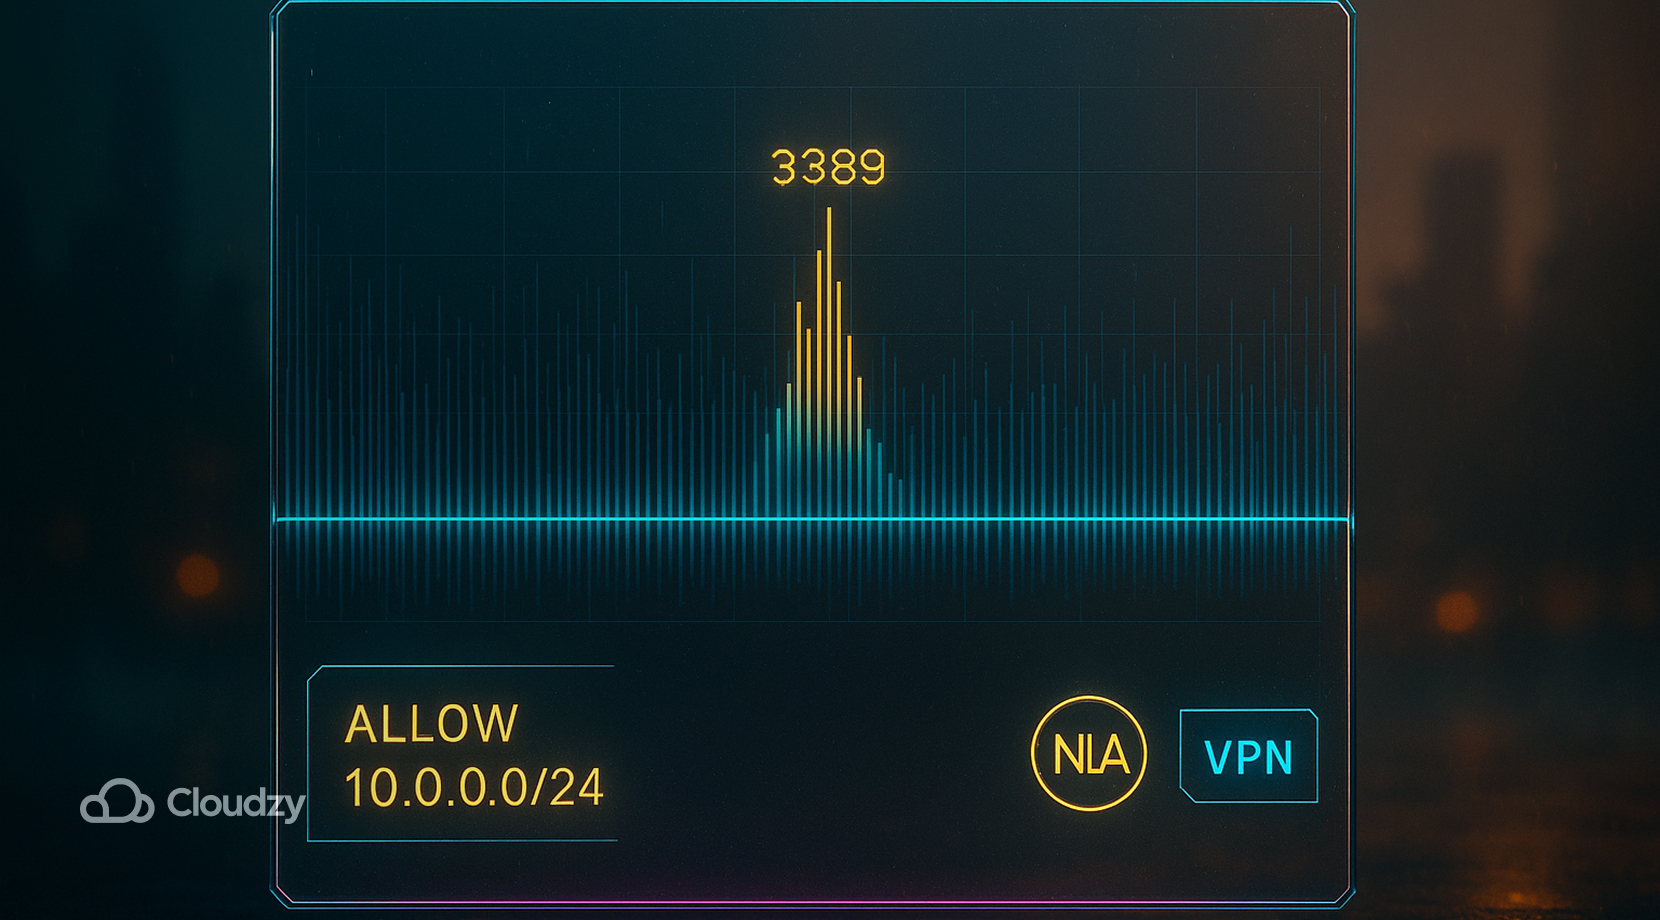
Remote Desktop is a favorite target, so tighten it. Turn on Network Level Authentication, cut exposure with allowlists, and reduce bot noise on 3389. Changing the port is not a control by itself; it just keeps scanners quieter.
- Require NLA on the server; older clients that do not support it should not connect.
- Allowlist source IPs for TCP 3389 or the new port; better yet, place RDP behind a VPN or an RDP Gateway.
- Change the default RDP port to reduce scanner noise, but do not treat this as security by itself.
- Disable drive and clipboard redirection if you do not need them; set idle timeouts and force re-authentication.
Locking down RDP cuts most automated attacks, and it pairs nicely with sane firewall rules. Speaking of firewalls, that’s what we’re talking about in the next section.
Firewall Rules That Actually Help

Host firewall rules should be simple, deny by default, then open only what you use. Tie RDP rules to known source IPs, log drops, and keep legacy protocols out. If your stack needs more depth, pick one of the options from our Best Firewalls for Windows 10 piece and build from there.
- Start with default-deny inbound, then allow only needed ports and protocols.
- Scope RDP rules to known IPs, not 0.0.0.0/0, and log blocked traffic for review.
- Stick with TLS 1.2 or newer; disable SMBv1 across the board.
- Add egress rules for high-risk destinations to limit malware callbacks.
This is also a good place to decide if your use case needs a vendor firewall from the Best Firewalls for Windows 10. Next up, service hygiene.
 Windows VPS Hosting
Check out our affordable Windows VPS plans, featuring powerful hardware, minimal latency, and a free Windows of your choice!
Claim your Free WindowsServices Hygiene: Remove What You Do Not Use

Extra services add attack paths. Turn off what you do not need, then check again in a month to see what crept back in.
- Stop and disable the Print Spooler if the server is not a print host.
- Disable Remote Registry and legacy protocols you do not use.
- Uninstall web, file, or FTP roles that are not part of your workload.
- Review startup items and scheduled tasks, then cut the ones you do not recognize.
With the house cleaned, add baseline protection with Defender and light EDR settings. It is a small lift that moves how to secure Windows VPS from theory into daily practice.
Defender, EDR, and Scheduled Scans

Microsoft Defender is solid out of the box on current Windows Server builds; turn on tamper protection, keep cloud-delivered protection active, and schedule quick scans. Only run a full scan after onboarding or during an incident.
- Turn on Tamper Protection so malware cannot toggle off protections.
- Keep real-time and cloud-delivered protection on; schedule a weekly quick scan during a quiet period.
- Save full scans for first-time onboarding or threat hunting cases.
These settings give you day-to-day coverage, and they work best alongside backups you can actually restore. If clients ask how to secure your windows without third-party tools, this section is the shortest answer.
Backups, Snapshots, and Recovery Tests

A Windows VPS that cannot be restored is a single point of failure. Take daily snapshots, keep off-box backups, and test restores so you know the plan works.
- Daily automated snapshots with a seven to 14-day retention, longer for compliance work.
- Off-box backups to a provider, region, or bucket that uses different credentials.
- Monthly test restores, documented steps, and a contact list for time-to-recover.
This section ties into platform choice; if you want predictable storage and snapshot behavior, compare providers and plans for Windows 10 VPS hosting that fit.
If you don’t want to go through the headache of searching and finding a good Windows 10 VPS host, then look no further:
Why Cloudzy for Windows VPS

If you prefer to apply this checklist on a stable Windows VPS, Cloudzy gives you a clean foundation that fits tight security baselines and everyday admin work, without overcomplicating setup.
- Performance that holds up, high-end 4.2+ GHz vCPUs, DDR5 memory options, and NVMe SSD storage up to large footprints; quick I/O helps with updates, backups, and AV scans.
- Fast, low-latency network, up to 40 Gbps connections on select plans; solid throughput for RDP, file sync, and patch pulls.
- Global reach, data centers across North America, Europe, and Asia; pick regions close to your team or users to cut lag.
- OS flexibility, pre-installed Windows Server 2012 R2, 2016, 2019, or 2022; full admin access from day one.
- Reliability, 99.95% uptime backed by around-the-clock support; keep maintenance windows predictable.
- Safety nets, DDoS protection, snapshots, and backup-friendly storage so recovery drills stay straightforward.
- Risk-free start, 7-day money-back guarantee, and affordable plans; pay with cards, PayPal, Alipay, or crypto.
Use our Windows 10 VPS Hosting with the hardening steps in this guide, patch on a set schedule, keep NLA on, allowlist RDP, keep a tight host firewall, leave Defender with tamper protection on, and take regular snapshots with test restores. Spin up the VM, deploy your workloads, and stick to the checklist each month to keep risk low. With that covered, next comes everyday visibility.
Monitor and Log: RDP, Security, PowerShell

You do not need a SIEM to get value from Windows logs. Start with failed logons, successful RDP sessions, and PowerShell transcription. Alerts on these three alone will catch most noisy activity on a small server.
- Turn on auditing for failed logons and watch Event ID 4625 spikes.
- Track successful logons for RDP sessions via Event ID 4624, and log-offs via 4634.
- Enable PowerShell transcription by policy so admin actions have a trail.
With visibility in place, print the one-page hardening snapshot and keep it handy. This is also where hardening a VPS meets day-two operations, since alerts drive patching and cleanup.
Windows VPS Hardening Table
A quick summary you can scan before maintenance windows or after a rebuild.
| Control | Setting | Why it matters |
| Windows Update | Auto install security updates | Closes public exploits quickly |
| Admin account | Disable built-in, use named admin | Removes a known target |
| Account Lockout | 10 attempts, 15-min lock | Slows brute force |
| NLA | Enabled | Stops unauthenticated RDP |
| RDP Port | Non-default | Reduces scanner noise |
| IP Allowlist | Restrict RDP scope | Cuts exposure |
| Firewall | Default-deny inbound | Only the needed ports |
| SMBv1 | Disabled | Removes legacy risk |
| Defender | Real-time + tamper protection | Baseline malware defense |
| Backups | Daily + test restores | Recovery safety net |
That snapshot is your at-a-glance view; the next piece compares the same ideas on Linux, which helps cross-train teams.
Bonus: Compare With Linux Hardening

Some teams mix platforms. The same big wins show up on both sides: patches on a schedule, named admin accounts, strong SSH or RDP, and deny-by-default firewalls. If your stack includes Linux boxes, this Windows plan aligns well with a secure Linux VPS baseline, so your playbooks look familiar across the board.
That cross-platform view sets you up for practical choices by use case. It also helps explain how to secure Windows VPS to non-Windows colleagues who manage SSH keys and iptables every day.
Quick Picks by Use Case

Your list should match your workload. Here is a short matrix to map controls to common setups.
- Solo dev box, change the RDP port to cut noise, require NLA, allowlist your current IP range, and run weekly quick scans. Keep daily snapshots and test once a month.
- SMB app server for ERP or accounting, place RDP behind a VPN or an RDP Gateway, restrict admin rights, disable legacy protocols, and add alerting on 4625 spikes.
- Remote desktop farm for a small team, centralize access through a gateway, add MFA, rotate passwords for RDP users, and keep firewall rules tight on inbound and outbound.
Those picks wrap up the how to secure Windows VPS checklist, and the final section answers the most common questions from search results.
Final Thoughts
Now you have a practical plan for how to secure Windows VPS that scales from a single box to a small fleet. Keep patching on a steady rhythm, harden RDP with NLA and allowlists, and back it up with logging and recoverable backups. If you need a stable starting point, pick a Windows VPS plan that fits your budget and region, then apply this checklist from day one.


