If you think managing disk partitions means shutting down your system and hoping everything works when you reboot, then I respectfully feel sorry for you. Sorry that you’re missing out on Linux LVM mount capabilities and realize that storage management doesn’t have to be that painful.
This guide shows you how to create LVM in Linux, mount LVM partitions, and manage logical volumes without downtime. You’ll learn the essential Linux LVM commands that work on Ubuntu LVM and CentOS systems (or rather, their modern replacements).
TL;DR
- LVM creates a flexible storage layer between your physical disks and file systems, letting you resize partitions while the system runs
- Install with apt install lvm2 on Ubuntu or dnf install lvm2 on Rocky Linux/AlmaLinux (CentOS is dead, use these instead)
- Create LVM by initializing drives with pvcreate, grouping them with vgcreate, and carving logical volumes with lvcreate
- Mount LVM partitions like any other partition after formatting with mkfs.ext4 and adding entries to /etc/fstab
- Key commands: pvs, vgs, lvs show your setup; lvresize changes sizes on the fly; lvcreate -s creates snapshots
What Is LVM in Linux?
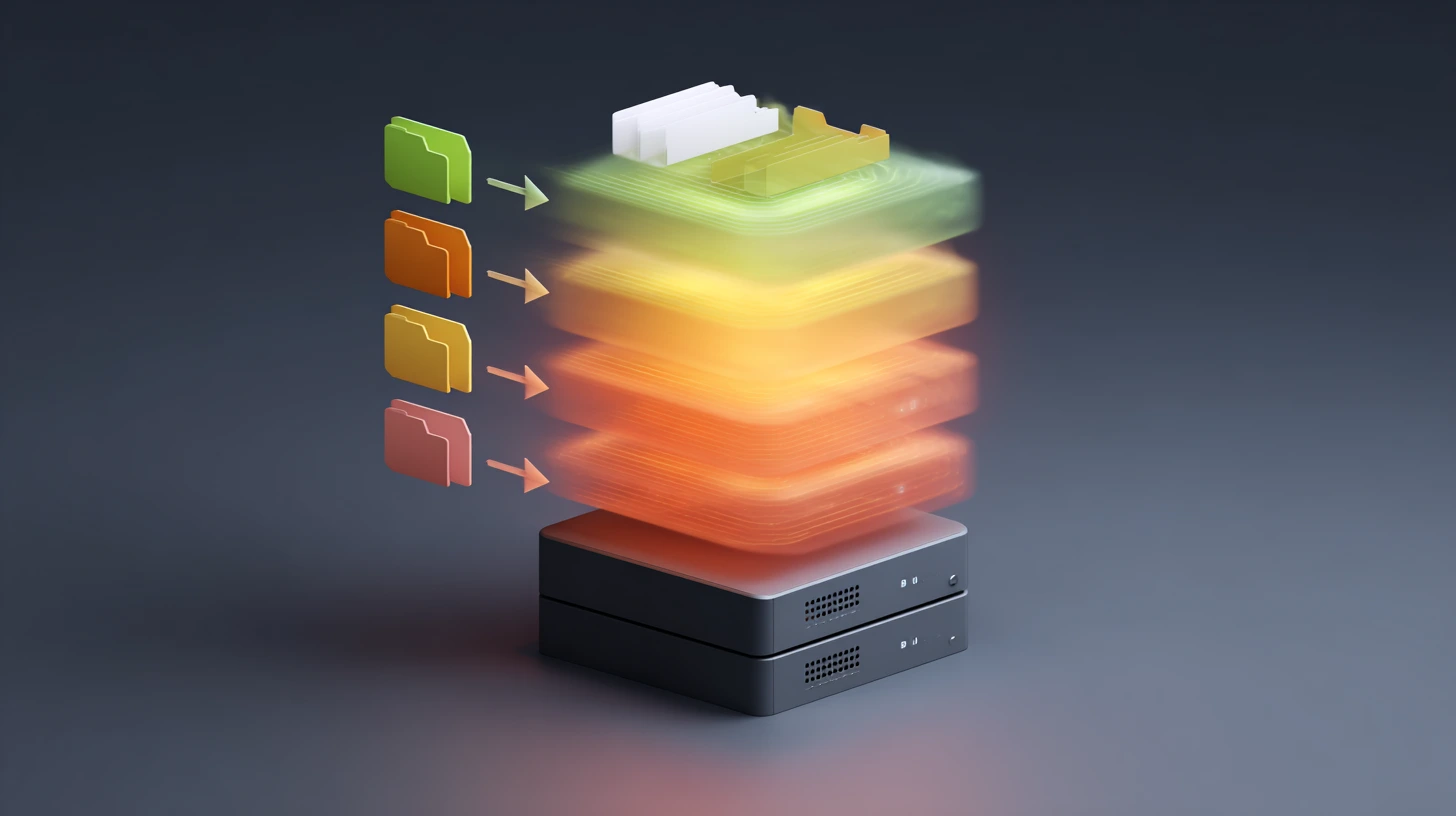
LVM (Logical Volume Manager) sits between your physical disks and your file systems. Instead of carving fixed partitions directly on drives, LVM creates a flexible layer where you can resize, move, and snapshot storage while everything stays online.
Here’s what happens under the hood. Your physical drives become “physical volumes.” Those pool together into “volume groups.” From those groups, you create “logical volumes” that act like regular partitions but with actual flexibility.
The practical difference shows up when you need more space. Traditional partitions force you to shut down, boot from USB, and pray you don’t lose data. With LVM, you run a single command while your system keeps working. I learned this during a server migration when expanding /home by 200GB took about 30 seconds instead of an entire weekend.
How Physical Volumes Work
A physical volume is any storage device LVM can use. Hard drives, SSDs, RAID arrays, even loop devices count. You initialize them with pvcreate, which writes LVM metadata and marks the device as available for volume groups.
The physical volume doesn’t care what hardware sits underneath. That 500GB spinning disk and your new 2TB NVMe drive look the same to LVM. This matters when you’re mixing and matching storage.
Understanding Volume Groups
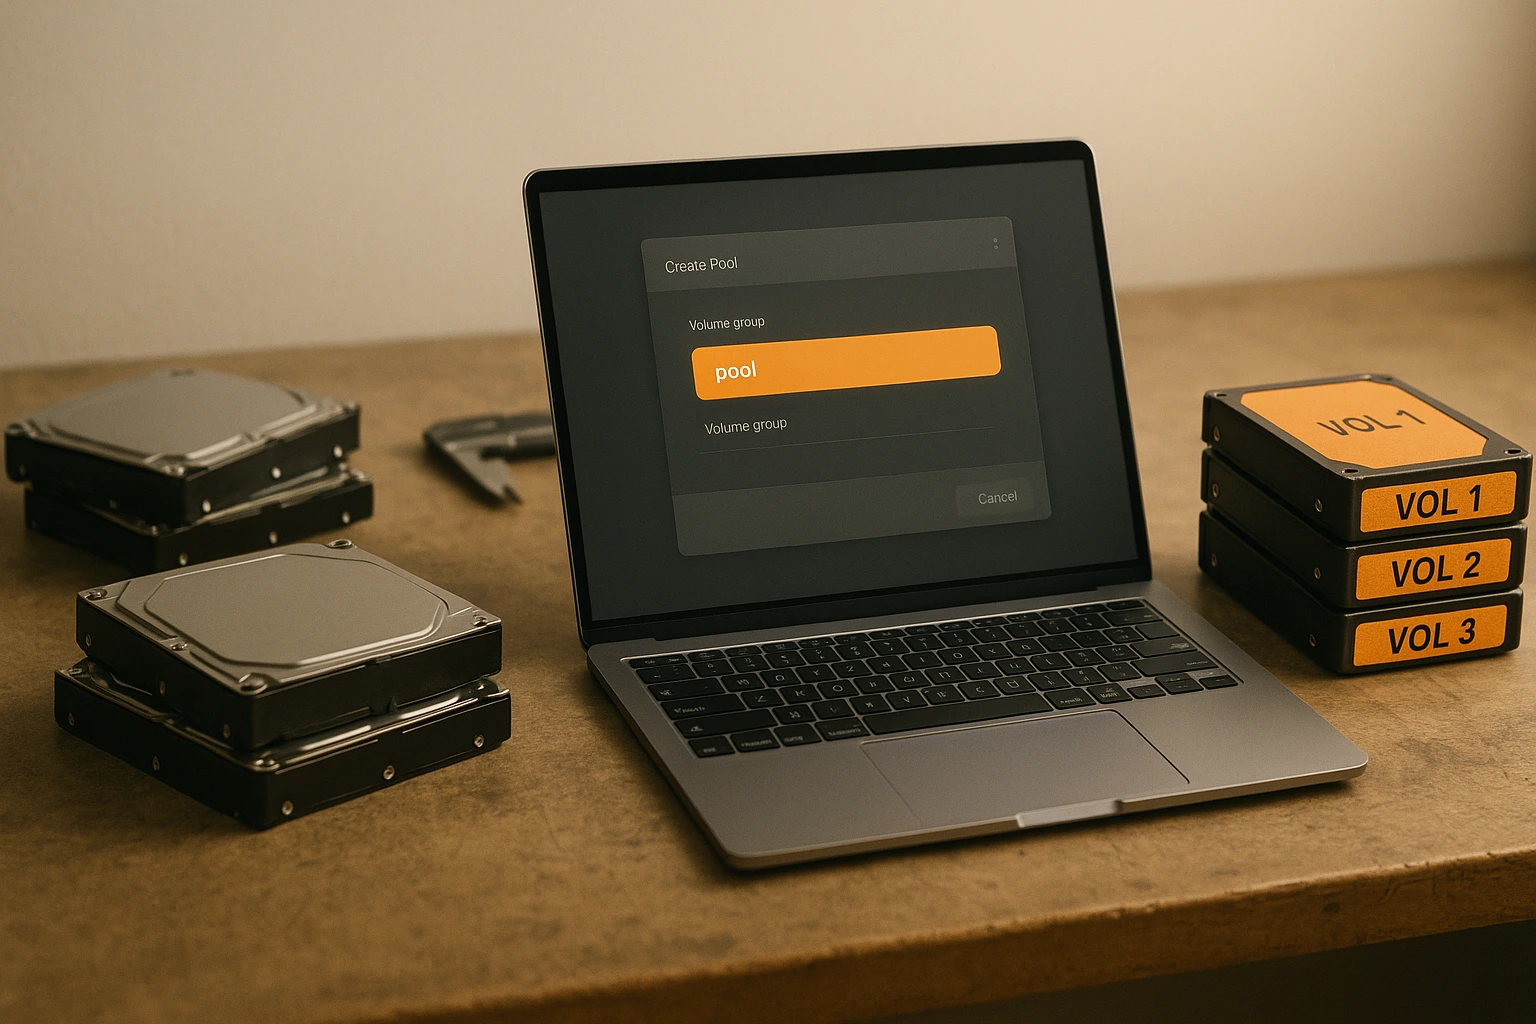
Volume groups pool multiple physical volumes into one storage unit. Think of combining three 1TB drives into a single 3TB pool. You create volume groups with vgcreate and can add or remove physical volumes whenever capacity changes.
This pooling approach means you’re not locked into per-disk planning. Need more space? Add another drive to the volume group. Replacing an old drive? Move data off it with pvmove while the system runs, then swap the hardware.
What Logical Volumes Do

Logical volumes are what you actually use. They’re carved from volume groups and behave like regular partitions. Format them with ext4 or xfs, mount them anywhere, and resize them whenever. The difference is they’re not tied to physical disk boundaries.
When you run lvcreate -L 50G -n data datavg, you’re allocating 50GB from the volume group’s pool. That space might come from one drive or be spread across multiple drives. You don’t care because LVM handles the distribution.
Physical Extents Explained
Physical extents are the smallest allocation unit in LVM, typically 4MB blocks. When you create a logical volume, LVM allocates physical extents from the volume group. This granular approach lets you resize volumes precisely.
The extent size matters for large volumes. Bigger extents mean less metadata overhead but coarser allocation. The 4MB default works for most situations. I’ve never changed it outside of massive storage arrays where the math favored larger extents.
Snapshots for Point-in-Time Backups
Snapshots capture a logical volume’s state at a specific moment. LVM uses copy-on-write technology. Original data stays in place. When something changes, LVM keeps the old blocks in the snapshot while writing new data to the main volume.
Want to test system updates? Take a snapshot first. Something breaks? Restore from the snapshot. The entire operation takes seconds because LVM only tracks changed blocks, not copying everything.
I snapshot production databases before major schema changes. The peace of mind costs almost nothing in overhead, and I’ve avoided complete rebuilds three times by rolling back failed migrations.
When to Use LVM Striping
Striping splits data across multiple physical volumes, similar to RAID 0. When you write a file, LVM distributes chunks to different drives simultaneously. This parallelization speeds up both reads and writes, especially for large files or databases.
The performance gain depends on your workload. Sequential reads on large files benefit most. Random access patterns see less improvement. Database servers and video editing workstations notice real differences.
LVM Mirroring for Redundancy
Mirroring duplicates data across physical volumes. If one drive fails, your data survives on the mirror. LVM handles synchronization automatically. The performance hit is worth it when downtime costs more than extra storage.
Modern setups often use RAID for redundancy and LVM on top for flexibility. You get hardware-level protection plus software-level management. The combination works better than relying on either alone.
If you’re comparing storage management approaches, check out LVM vs. ZFS to understand when each makes sense for your workload.
How Do You Install LVM on Ubuntu and CentOS?

Installing LVM takes about 60 seconds if you know the right commands. Modern Linux distributions handle the dependencies automatically. You install the package, verify it works, and you’re ready to configure storage.
One important note before we start: CentOS reached end-of-life in 2020. If you’re still running CentOS, switch to Rocky Linux or AlmaLinux. They’re drop-in replacements that actually get security updates. The commands here work identically on Rocky Linux 9, AlmaLinux 9, Ubuntu 24.04, and current Debian releases.
Update Your System First
Start by updating your system’s package list. This ensures you get the latest LVM2 version with all security patches and bug fixes.
For Ubuntu systems:
sudo apt update
For CentOS-based systems (Rocky Linux/AlmaLinux):
sudo dnf update
Modern RHEL-based systems use dnf as the package manager. If you see old tutorials mentioning yum, ignore them. DNF replaced yum in 2015 with better dependency resolution and performance.
Install the LVM2 Package
The package name is lvm2 across all distributions. Installation pulls in dependencies automatically, including device-mapper tools and related libraries.
Ubuntu Logical Volume Manager installation:
sudo apt install lvm2
CentOS Logical Volume Manager installation (Rocky/AlmaLinux):
sudo dnf install lvm2
Wait for the installation to complete. Takes 10-15 seconds on modern hardware with decent internet. The package size is small, around 2-3MB plus dependencies.
Verify Installation Success
Check that LVM2 installed correctly and see which version you’re running:
sudo lvm version
You’ll see version information and build details. Current versions run 2.03.x or higher. If the command fails or returns “command not found,” something went wrong with the installation.
Modern systemd-based distributions activate LVM automatically during boot. You don’t need to enable services manually like you did with older init systems. The lvm2-activation-generator handles everything. This is one less thing to configure.
Want to test LVM on a system that doesn’t store your critical data? Consider spinning up a best Linux VPS where you can experiment without risking production files.
How Do You Create LVM in Linux?
Creating LVM involves three steps: initialize physical volumes, group them into a volume group, and carve out logical volumes. The process sounds more complicated than it is. You’ll run maybe six commands total.
Before starting, identify which drives you want to use. The examples here use /dev/sdX as placeholders. Your actual device names will differ. Run lsblk to see what’s connected to your system.
Initialize Physical Volumes
Physical volumes tell LVM which drives it can use. Initialize a drive with pvcreate:
sudo pvcreate /dev/sdb
Replace /dev/sdb with your actual device. This writes LVM metadata to the drive and marks it available. The drive no longer needs traditional partitioning schemes.
Want to initialize multiple drives at once? List them all:
sudo pvcreate /dev/sdb /dev/sdc /dev/sdd
LVM handles them together. Check what you created:
sudo pvs
This shows all physical volumes, their size, and which volume group they belong to (none yet).
Create a Volume Group
Volume groups pool physical volumes into one storage unit. Create a volume group named “datavg”:
sudo vgcreate datavg /dev/sdb
Add multiple drives to the same group during creation:
sudo vgcreate datavg /dev/sdb /dev/sdc
Now those drives act as one pool. Check the volume group:
sudo vgs
You’ll see total size, how much is allocated to logical volumes, and how much remains free for future allocation.
Create Logical Volumes
Logical volumes are what you actually format and mount. They’re carved from the volume group’s available space. Create a 50GB volume:
sudo lvcreate -L 50G -n data datavg
This creates a logical volume named “data” from the “datavg” volume group. The full device path becomes /dev/datavg/data.
Want to use all available space instead of specifying a size?
sudo lvcreate -l 100%FREE -n data datavg
The -l 100%FREE option allocates every remaining byte. Useful for simple setups where one logical volume uses the entire volume group.
Format the Logical Volume
Logical volumes need file systems like any partition. Format with ext4:
sudo mkfs.ext4 /dev/datavg/data
This takes a few seconds for small volumes, longer for large ones. The output shows block counts and inode information. Unless something fails, you can ignore the details.
Want xfs instead? Replace ext4 with xfs. Both work fine. Ext4 is more common on Ubuntu systems. Rocky Linux defaults to xfs for most use cases.
Be extremely careful with LVM commands. They modify your storage infrastructure directly. I once typo’d a device name and wiped 2TB of client files. Make backups of critical data before running anything that changes storage configuration.
How Do You Mount LVM Partitions?
Mounting an LVM partition works exactly like mounting any other partition. You create a mount point directory, run the mount command, and optionally add an entry to /etc/fstab for automatic mounting at boot.
The only difference is the device path. Instead of /dev/sda1, you use /dev/volumegroup/logicalvolume. Everything else stays the same.
Create a Mount Point Directory
Mount points are just directories where you access the file system. Create one wherever makes sense for your use case:
sudo mkdir /mnt/data
Use descriptive names. /mnt/data, /mnt/backup, /home/shared all work. The location doesn’t affect functionality. Some people prefer /mnt for temporary mounts and dedicated directories under / for permanent ones.
Mount the Logical Volume
Mount the formatted logical volume to your mount point:
sudo mount /dev/datavg/data /mnt/data
Replace the device path and mount point with your actual values. The file system is now accessible at /mnt/data. Any files you create there live on the logical volume.
Verify the mount succeeded:
df -h /mnt/data
You’ll see the volume’s total size, used space, available space, and mount point. If nothing shows up, the mount command failed. Check your device path and make sure the logical volume exists with lvs.
Make Mounts Permanent
Temporary mounts disappear after reboot. Add entries to /etc/fstab for permanent mounts:
sudo nano /etc/fstab
Add this line at the end:
/dev/datavg/data /mnt/data ext4 defaults 0 0
The format is: device, mount point, file system type, mount options, dump priority, fsck order. The zeros at the end work fine for most situations. Change ext4 to match whatever file system you actually used.
Save and exit the editor. Test the fstab entry without rebooting:
sudo mount -a
This mounts everything in fstab that isn’t already mounted. If you see errors, you typed something wrong in fstab. Fix it before rebooting or your system might not start properly.
Performance matters when you’re mounting volumes for production workloads. After setting up your LVM configuration, test disk speed in Linux to benchmark actual throughput and latency.
Mount LVM During Ubuntu Installation
Ubuntu’s installer supports LVM configuration during system setup. When you reach the partition screen, select “Manual” partitioning and choose “Configure the Logical Volume Manager.”
This approach works well for new installations. You set up your volume groups and logical volumes before installing the operating system. The installer handles /etc/fstab entries automatically.
For existing systems, the command-line approach above gives you more control and lets you understand exactly what’s happening at each step.
Troubleshoot Mount Issues
If your LVM partition won’t mount, check these common issues first:
Volume group not activated:
sudo vgchange -ay
This activates all volume groups. Sometimes they don’t activate automatically after adding new drives or rebooting.
Wrong device path: Verify the logical volume exists with lvs and use the full path like /dev/volumegroup/logicalvolume, not shortcuts.
File system errors: Run a file system check on the unmounted volume:
sudo fsck /dev/datavg/data
File system corruption prevents mounting. The fsck tool can fix many issues automatically.
What Are the Essential Linux LVM Commands?
Linux LVM commands let you manage your entire storage setup from the command line. These are the ones you’ll actually use in practice, not theoretical commands from outdated documentation.
Display Physical Volumes
See all physical volumes in your system:
sudo pvs
This shows a concise table with device names, volume groups, format, attributes, size, and free space. For detailed information on a specific physical volume:
sudo pvdisplay /dev/sdb
The detailed view includes physical extent size, total extents, allocated extents, and UUID. Useful when you need exact numbers for planning capacity.
Display Volume Groups
List all volume groups:
sudo vgs
You’ll see volume group names, physical volume count, logical volume count, attributes, total size, and free space. For comprehensive details:
sudo vgdisplay datavg
This shows everything: extent size, total extents, allocation policy, and UUID. I use this when planning new logical volumes to see exactly how much space remains.
Display Logical Volumes
List all logical volumes:
sudo lvs
The output shows logical volume names, their volume groups, attributes, size, and which physical extents they use. For complete information:
sudo lvdisplay /dev/datavg/data
This reveals the logical volume’s path, block device, creation time, status, and segments. Helps when troubleshooting mount issues or checking snapshot relationships.
Extend Volume Groups
Add physical volumes to existing volume groups when you need more capacity:
sudo vgextend datavg /dev/sdd
This adds /dev/sdd to the “datavg” volume group. The free space becomes immediately available for existing logical volumes or creating new ones. No restart required.
I added a 2TB drive to my backup volume group this way while backups were actively running. The entire operation took about 5 seconds.
Resize Logical Volumes
Expand a logical volume to give it more space:
sudo lvresize -L +50G /dev/datavg/data
This adds 50GB to the logical volume. After resizing, extend the file system to use the new space:
For ext4:
sudo resize2fs /dev/datavg/data
For xfs:
sudo xfs_growfs /mnt/data
The file system grows to fill the logical volume. Everything happens while the volume stays mounted and in use. Users don’t notice anything except more available space.
Want to shrink instead? That’s riskier and requires unmounting first. Always back up before shrinking volumes.
Create Volume Snapshots
Snapshots capture a logical volume’s current state for backups or testing:
sudo lvcreate -s -L 10G -n data-snapshot /dev/datavg/data
This creates a 10GB snapshot named “data-snapshot” of the “data” logical volume. The snapshot uses copy-on-write technology. It only needs space for changed blocks, not the entire volume.
Mount the snapshot read-only for consistent backups:
sudo mkdir /mnt/snapshot
sudo mount -o ro /dev/datavg/data-snapshot /mnt/snapshot
Back up from /mnt/snapshot while the original volume keeps getting writes. This solves the “how do I back up a live database” problem cleanly.
Remove Logical Volumes
Delete logical volumes you no longer need:
sudo lvremove /dev/datavg/old-data
The command asks for confirmation before deleting. This permanently destroys the logical volume and all data on it. Make sure you have backups of anything important.
Move Physical Extents
Move data off a physical volume before removing it:
sudo pvmove /dev/sdb
LVM automatically moves all physical extents from /dev/sdb to other physical volumes in the volume group. The operation runs in the background while the system stays online.
This saved me when a drive started showing SMART errors. I moved everything off the failing drive, removed it from the volume group, and replaced it during a maintenance window. Zero downtime.
Scan for Volume Groups
Sometimes volume groups don’t show up after adding new drives or rebooting. Force a scan:
sudo vgscan
sudo vgchange -ay
The first command scans for volume groups. The second activates everything it finds. Your logical volumes become accessible again.
If you’re setting up Ubuntu LVM for development environments, you might also want guides on installing Hadoop on Ubuntu, installing Redis on Ubuntu, or installing XRDP on Ubuntu for remote access to your LVM-managed systems.
Conclusion
LVM transforms Linux storage management from rigid partition planning into flexible capacity allocation. You get dynamic resizing, point-in-time snapshots, and the ability to pool disparate drives into unified storage spaces. All while keeping systems online.
The core workflow stays consistent across distributions. Initialize physical volumes with pvcreate, pool them into volume groups with vgcreate, carve logical volumes with lvcreate, format them with your preferred file system, and mount them like any partition. The commands work the same on Ubuntu LVM and Rocky Linux setups.
Start small if you’re new to logical volume management. Create a test volume group on a spare drive. Practice resizing logical volumes, taking snapshots, and moving data between physical volumes. The mistakes hurt less when they happen on non-production storage.
One reminder about CentOS: it’s dead. Use Rocky Linux or AlmaLinux instead. They’re binary-compatible with RHEL and actually maintained. The LVM commands work identically, but you get security updates that matter.
Want to practice LVM without risking your local files? Spin up an Ubuntu VPS where you can experiment freely. Break things, learn from mistakes, and master the commands before applying them to production systems.
Get yourself an economy or premium Linux VPS for hosting your website or remote desktop, at the cheapest price out there. VPS Running on Linux KVM for increased efficiency and working on powerful hardware with NVMe SSD storage for increased speed.
Linux VPS Hosting
FAQ
What's the main advantage of using LVM over traditional partitions?
Can you use LVM with SSDs and NVMe drives?
Does LVM work with RAID setups?
How much space should you allocate for LVM snapshots?
Can you move logical volumes between different physical drives?
Is there a GUI tool for managing LVM?