So, one way or another you’ve wound up with a minimal CentOS 7, which is basically a command-line without a Graphic User Interface. That’s ok. It happens to the best of us. Maybe you forgot to select the GUI during installation or maybe it came with an “affordable” Linux hosting plan you chose. Whatever the case may be (maybe it’s not even CentOS but Ubuntu you need to install a GUI desktop on? Read my guide to install GUI on Ubuntu Server), you’re now stuck with a command-line-only operating system on your server.
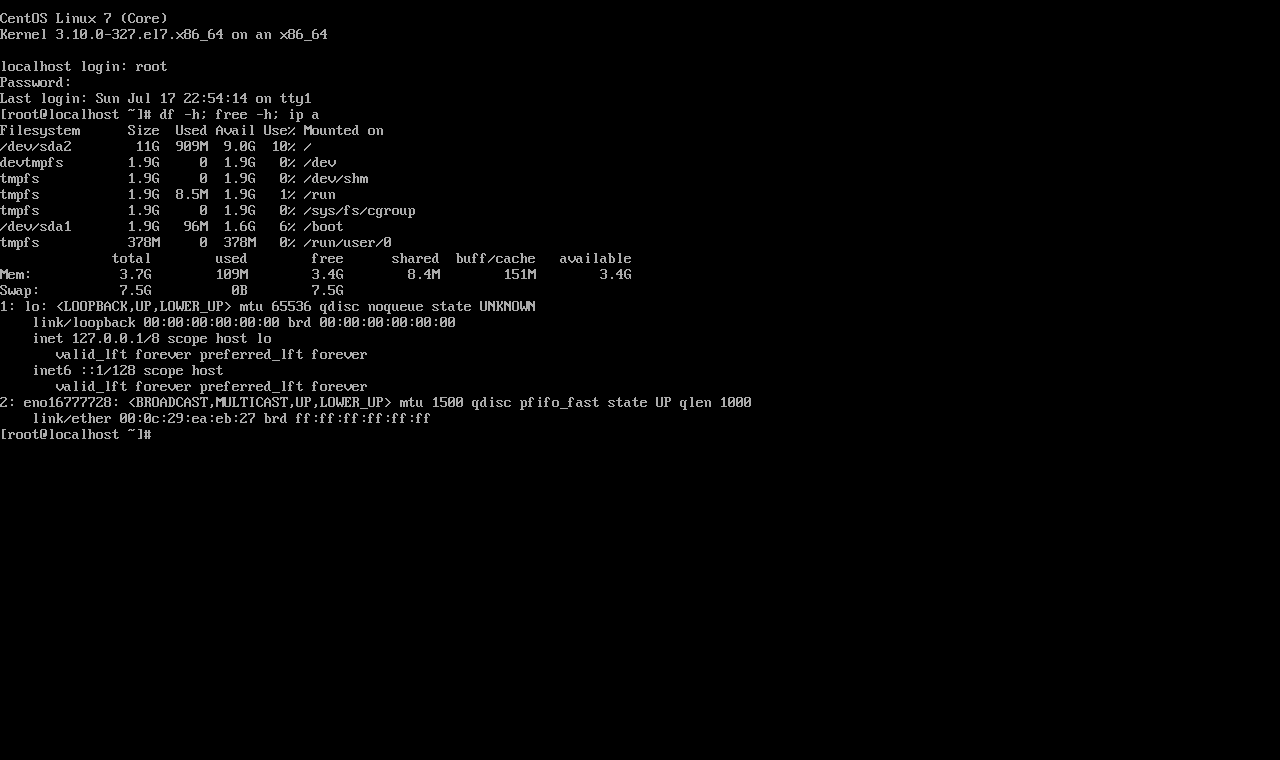
Hardcore Linux coders and server admins might actually prefer this setup to a GUI, but if you’ve just started out or even an intermediate-level admin or coder, you will need to simplify things with something a little more friendly, say the GNOME GUI. As it turns out, it’s actually not that difficult to install GUI on CentOS 7 and here we’ll walk you through it, step by step. First, let’s get oriented. You’ve got a minimal CentOS 7, so you should find yourself staring at something like this:
This is a Command-Line Interface or CLI and it is text-based. To get your new GUI up and running, you only need a working internet connection. For the rest, just follow these simple steps. There are different GUIs you can install on your CentOS server and all of them come with their own signature design and different features.
It’s up to you to choose which desktop environment you want for your CentOS server. Here we’ll look at three popular choices. First off is the GNOME desktop, a popular choice for many Linux distros. Remember that you need to be the root user or have a user with “sudo” rights in order to install GUI on CentOS 7.
 The Ultimate Minimal Server
Get CentOS 7 or CentOS 8 on your Cloudzy CentOS VPS and run an efficient Linux-based server with minimal resource consumption.
Get a CentOS VPSHow to Install GUI on CentOS 7?
Now we are going to tell you how to install GUI on centos7 using 3 different GUIs in the following lines. So you can choose any of them based on your needs.
Installing GNOME
GNOME is among the first GUIs to be released for Unix-like systems, like the various Linux distros, FreeBSD, etc. and it is completely open-source. GNOME is perhaps the best choice for a CentOS server since it’s resource-efficient and looks sleek as well. To install GNOME on your CentOS 7, you first need to update your packages and for that, you need to use yum. Yum is CentOS’s native package manager, similar to Ubuntu’s apt command. To update your server’s packages, you need to run the following command in the CLI:
sudo yum update
Now that you’ve upgraded everything, it’s time to get down to the real business of installing GNOME, which is pretty simple, actually. Run the following command to download and install GNOME desktop once the update is done:
sudo yum -y groups install "GNOME Desktop"
Now, this can take up quite a while, depending on your internet connection, since the GNOME desktop installation files are not exactly light at around 700 to 800MBs. Once the download and installation are done, you will find yourself back at the old command line, as if nothing has happened. To make sure that something does happen, we need to configure and run the X Window System, which is basically responsible for running the GUIs. To run the X Window System, we will use the startx command, but before that, we need to tell it which desktop environment to run, and of course, we’re going to assign the newly installed GNOME shell. To do that, we need to issue the following command:
echo "exec gnome-session" >> ~/.xinitrc
Now X Window System knows to run the GNOME desktop and with that, you’ve finished the installation.
Also Read : KDE Vs GNOME Vs Xfce
Starting GNOME
Now, let’s run GNOME and see if things worked out, using the command to start the X Window System:
startx
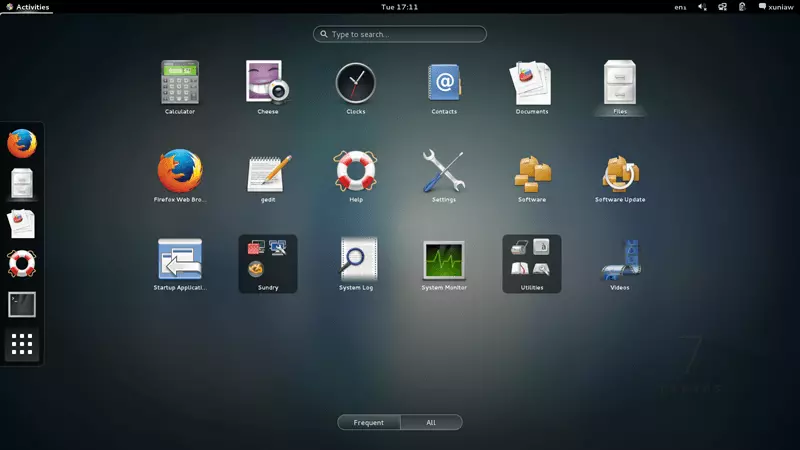
If everything has gone as planned, you will soon be greeted by your brand new GNOME desktop GUI. If you’re seeing something like this, you can finally sigh with relief, since you’ve finally managed to install GUI on CentOS 7.
Default GUI Login
But what about the next time you want to log in to your server? Will you have to run the startx command every time you reboot CentOS? Well, yes but there are ways to correct that as well. If you don’t want to see that bleak CLI text-scape every time you log in, you should open your terminal (CTRL + ALT + T will do it, among other things) and issue the following command:
systemctl set-default graphical.target
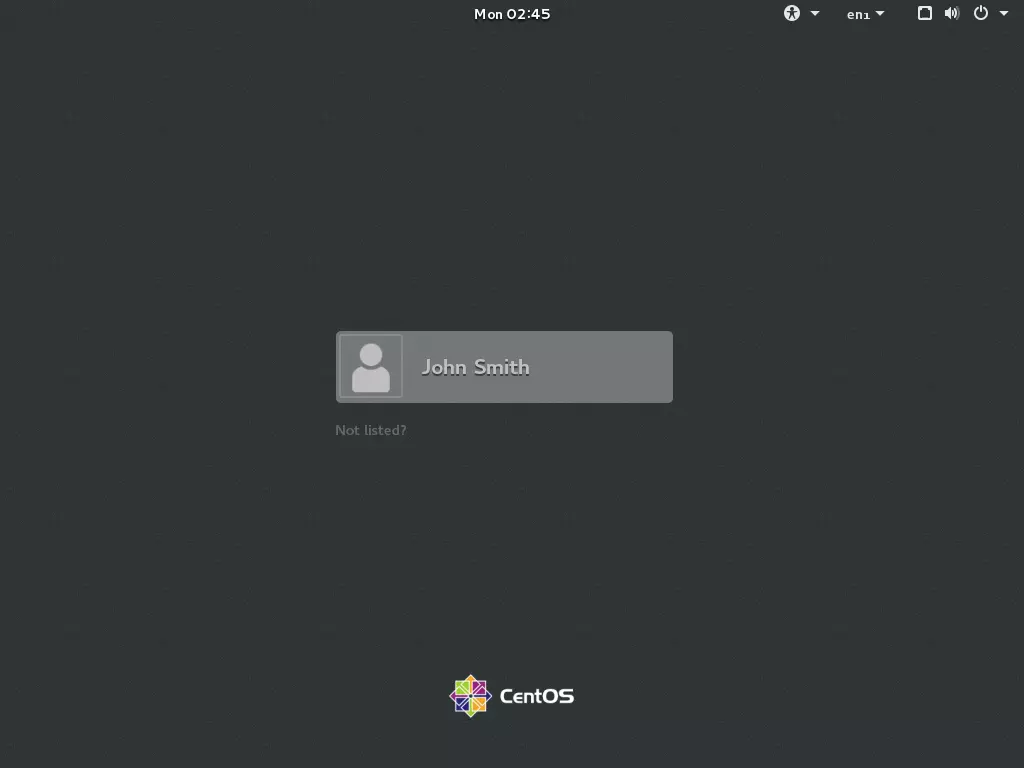
That should tell your CentOS to automatically load and run the current GUI shell, GNOME desktop in this case, whenever it’s booting up. Now let’s test this and reboot the server. No need for commands this time since you can do it via the GUI. When your CentOS is back up, you should be greeted by the GUI login screen, looking something like this (the John Smith is incidental, by the way!).
Easy, right? Now you’ve got yourself a user-friendly GUI on your minimal CentOS 7, which is minimal no longer. But wait, what if you don’t want to go in for GNOME? Well, luckily we’re also going to show you how to install KDE and MATE as well, so if you don’t like GNOME, you’ll have plenty of options. Next up is KDE with various themes.
Also Read: How to install PPTP VPN on CentOS 8?
How to Install GUI on CentOS 7: KDE Plasma
Basically, the steps are the same as installing GNOME. First off start with updating yum using:
sudo yum update
Once that’s done, you need to download and install KDE using the following command:
sudo yum -y groups install "KDE Plasma Workspaces"
This will take a while, depending on your system specs and an internet connection, because it’s going to download a big installation file and then set it up. When it’s done, run the following command to introduce it to the X Window System:
echo "exec startkde" >> ~/.xinitrc
Now, all that remains is to run KDE Plasma and see if the steps we’ve taken so far have worked correctly. Start the X Window System with:
startx
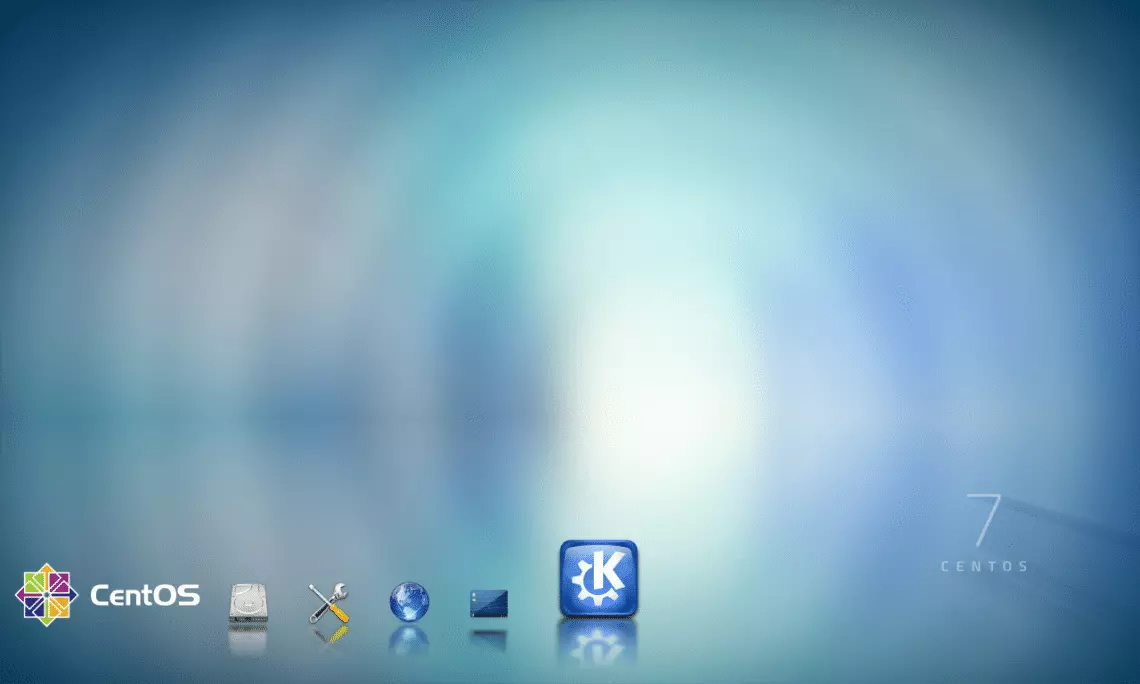
After a while should be greeted by this landing screen:
Congratulations, now you’ve managed to install GUI on CentOS 7 yet again! To make KDE your default GUI and to tell CentOS to load it automatically on bootup, you need to run the following command, just like you did with GNOME:
systemctl set-default graphical.target
Now, you will get to log in via your new GUI every time. Now let’s move on to MATE, another favorite desktop environment, and the final one we’ll teach you how to install here.
Also Read: Install Gnome on CentOS 8
How to Install GUI on CentOS 7: MATE
MATE is one beautiful shell and it’s a great choice for the aesthetically minded. Installing and running it is almost exactly the same as GNOME and KDE, so we’ll go over it more briefly. First, update your server packages using:
sudo yum update
When that is done, let’s download and install MATE:
sudo yum --enablerepo=epel -y groups install "MATE Desktop"
This will take some time and when it’s finished, you need to finalize the installation by assigning it as the current desktop environment:
echo "exec /usr/bin/mate-session" >> ~/.xinitrc
Now, as in the other installations, run the X Window System to test the new GUI:
startx
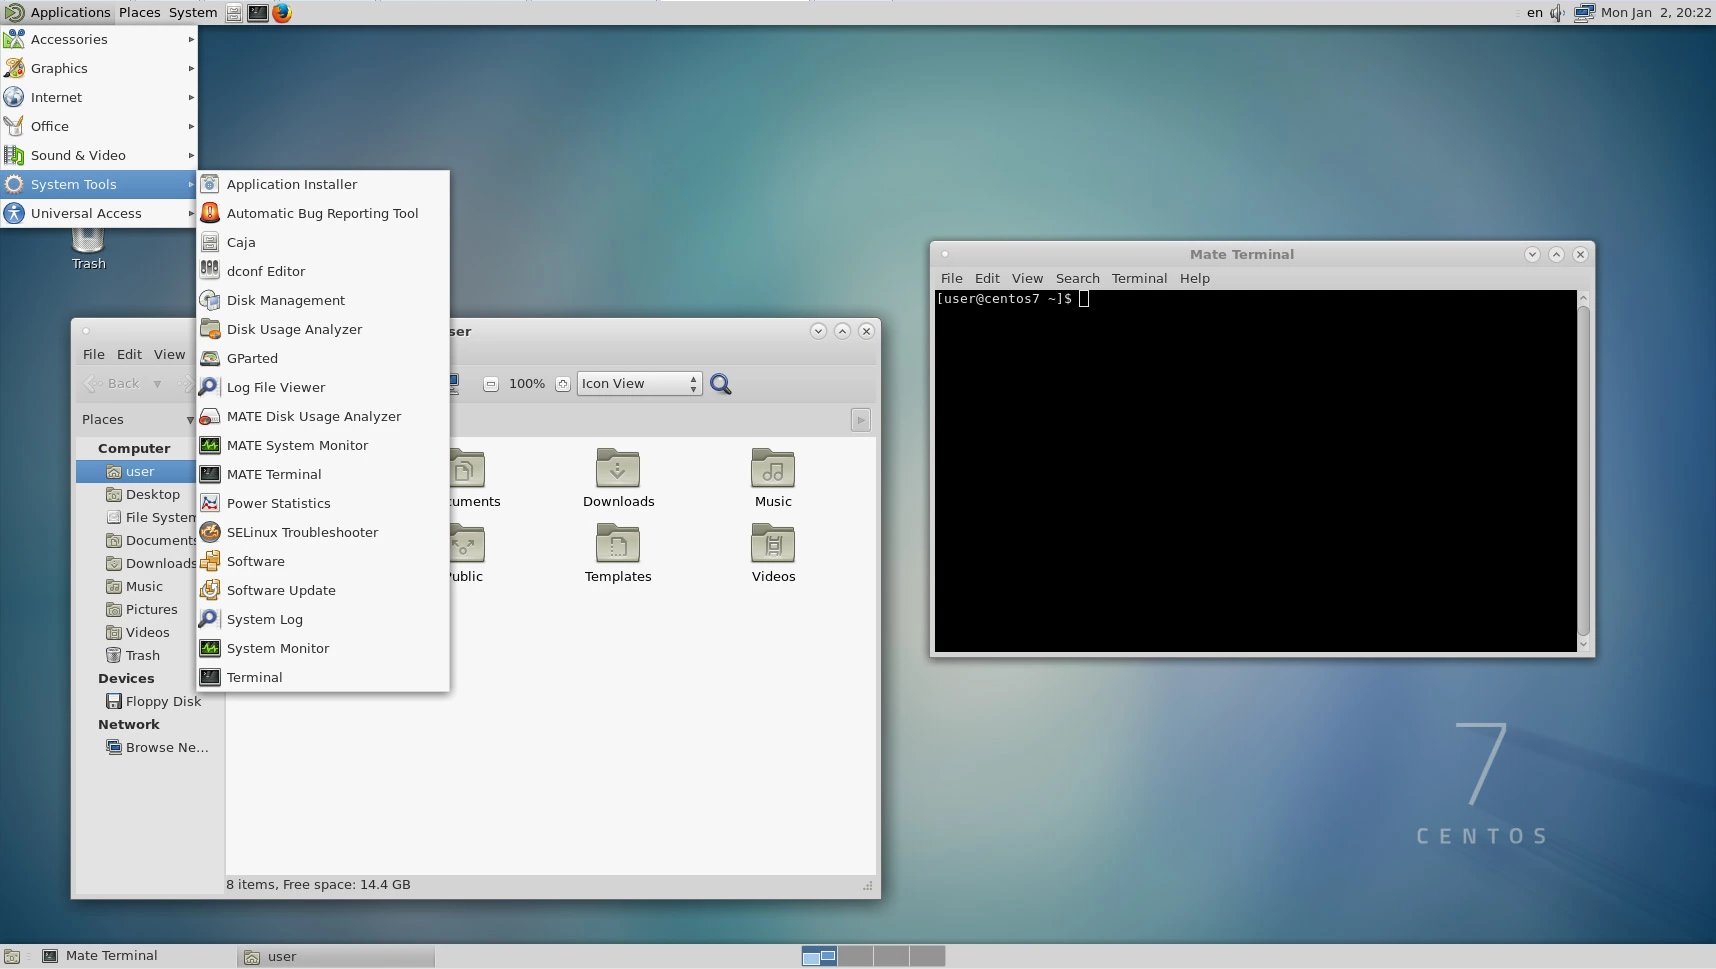
If you’re looking at the beautiful scene below, you’ve succeeded at installing the MATE GUI on CentOS 7.
systemctl set-default graphical.target
 The Ultimate Minimal Server
Get CentOS 7 or CentOS 8 on your Cloudzy CentOS VPS and run an efficient Linux-based server with minimal resource consumption.
Get a CentOS VPSConclusion
So now you know how to install GUI on CentOS 7 after finding yourself trapped in a text-only minimal installation. The good thing about Linux distros like CentOS 7 is that you can even have all three desktop environments at once, choosing which one you like by selecting it from the log-in screen.
If you are worried about CentOS EoL, We are with you for the next steps. This freedom to choose whatever features you want for your server is only one of the advantages that Linux offers. Deciding to go for an affordable Linux hosting plan, like a robust Linux VPS, and configuring it to match your needs is a great way to get optimal performance without paying exorbitant prices for high-end dedicated servers with features you will never use.






Doesn’t centos have a default graphical interface? I mean every person that wishes to have a Linux os on their system, should install gui themselves?
CentOS only installs the command line version, no GUI. So you need to install the GUI on your Linux or UNIX system.
Thank you so much for reading our blog 🌻💛
Perfect post, much gratitude for this great information! How to make my own Linux GUI (‘Desktop Environment’)?
Linux is incredibly configurable. however it should or might not finally come through the vision you’ve got within your head, that your sketch will solely partially describe to us. Most people, I think, use a Desktop environment (DE) with Linux. These are generally the same as Microsoft Windows, and that they need a good amount of system resources (RAM).
Thanks for your information.
Is there any GUI for Linux similar to Windows 10?
Linux distros don’t have “a” GUI. They have a range of GUIs that you can install, including (if you so wish) no GUI at all, pure command line . In case of doubt between Windows operating systems Ubuntu 16.04 is very similar to Windows 10.
Perfect post, much gratitude for this great content.!
What is the Linux distribution with the best GUI?
You can choose a distribution that best suits your needs but we suggest Fedora and Ubuntu.